Over the weekend the girls had 3 birthday parties to attend – they haven’t had a party to go to in months and in one weekend 3 show up together!!!
Last week I showed you two of the birthday cards that I made and tomorrow I am going to be showing you the third one (which happens to be my favorite!) – but today I thought I would show you how I packaged the gift cards that we bought for their friends – this box is quick & easy to put together and costs very little to make – and I love how it turns a simple gift card into a packaged gift…
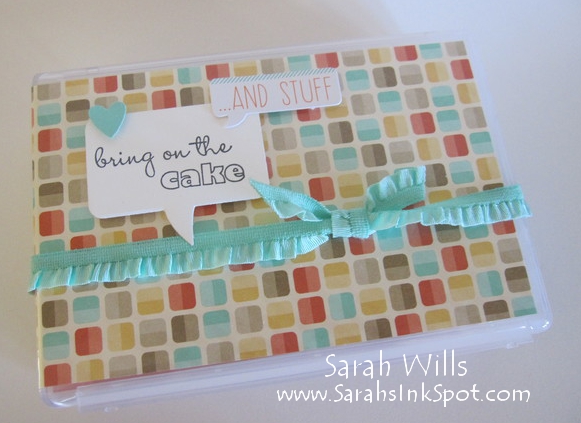
Here is my first box…
This idea is courtesy of Deb Snyder who was kind to show us this idea at Founders Circle in September – thank you Deb!
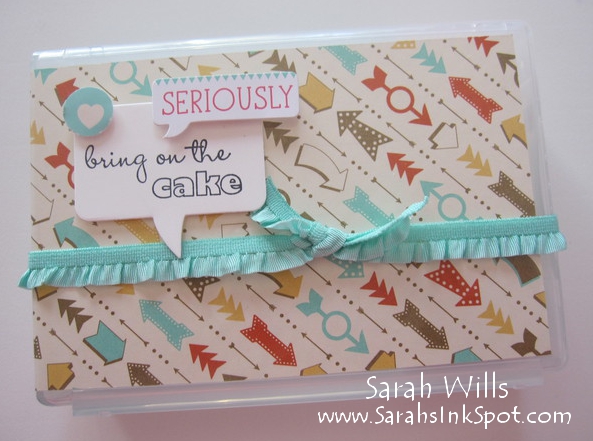
The outside of the box:
Could not be easier to make – it is one of the new style wood mount plastic stamp storage case that is simply prettied up using patterned papers!
It is a Half Wood Mount Stamp Case (that measures 3 3/4″ x 5 1/2″) – you can find them on pg 197 of the annual Catalog or in the online store by clicking HERE – you get 4 in a pack for just $4.95, making each box just $1.24!
Now these cases are super easy to decorate because they feature a plastic cover that you simply slip stamp set info OR in this case, patterned papers beneath…and they are super fun to make…
To decorate the box…simply cut a piece of patterned paper to be 3 1/4″ x 11 1/4″ – I used a cool piece of paper from the fabulous Retro Fresh DSP (pg 19 Occasions Catalog) – and slipped it under the plastic cover of the box- and that is it – easy and fun!
And then you add trim & bling to your heart’s content…I tied around a piece of Cool Cabana 3/8″ Ruffle Stretch Trim (pg 173 annual Catalog) and secured it with a Mini Glue Dot just under the knot so that it doesn’t move around…
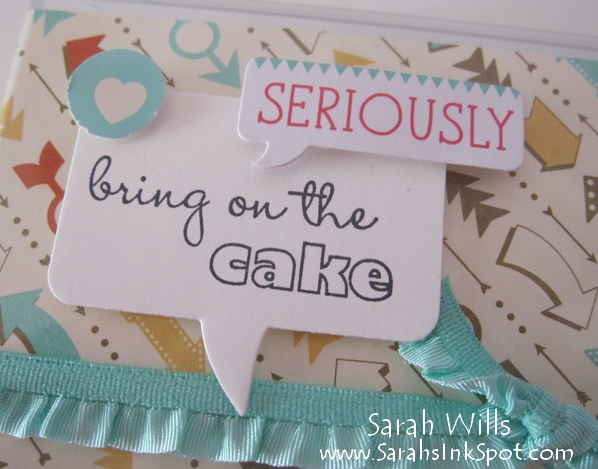
The sentiment tag…I stamped the words ‘bring on the cake’ using a stamp from the set ‘Bring on the Cake‘ (pg 14 annual Catalog) – it is a fabulous go-to set to have in your stash since it features 13 different unique birthday sentiments – click HERE to find it online to see what I mean…it is available in wood & clear versions AND MDS too!
I then used a die from Word Bubbles Framelits (pg 36 Occasions Catalog) to die cut my sentiment out into that fabulous speech bubble shape and added it to my box using Dimensionals…
Those finishing touches…it wasn’t done yet but what else to add…hmmm…it needed a little something something…so I got to thinking…what would appeal to a tween girl? And then it hit me…
I had the PERFECT embellies to hand from December’s Paper Pumpkin Kit!!! That kit was a journal that contained sheets of stickers – click on the piccy below to check out how cool those stickers are…
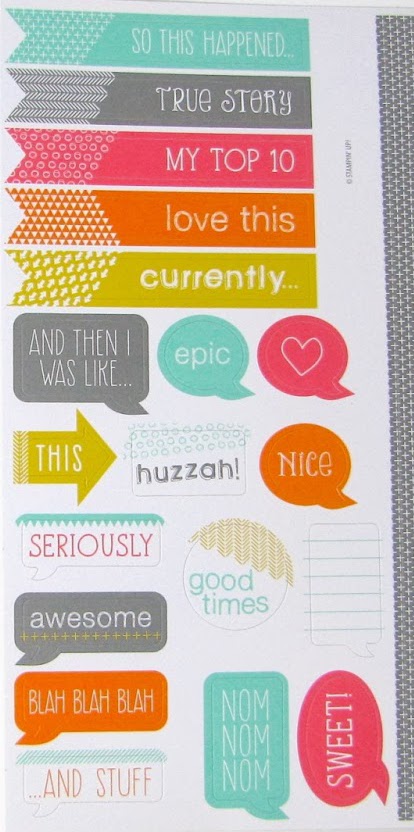
And so I used a speech bubble sticker and a heart sticker and added them to my box – and voila – one super cute & finished box just perfect for a tween girl!
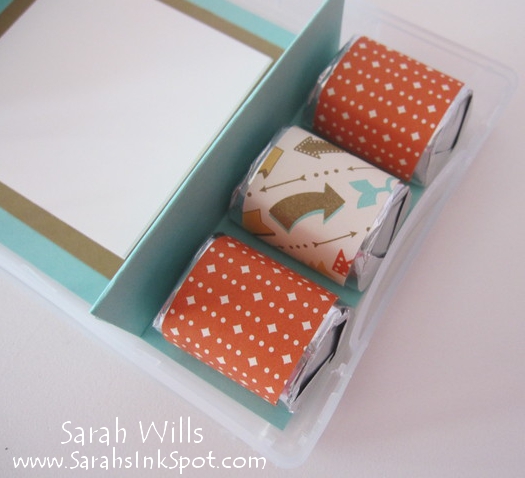
The inside of the box:
Contains an easy-to-make cardstock insert that holds the gift card and three chocolate candies for an even sweeter gift!
When you open up that box you can see the other side of the patterned paper – isn’t that cool? Just by using one sheet of DSP you decorate the inside & outside at the same time!

To make that insert…take a piece of cardstock in the color of your choice – I used Coastal Cabana – and cut it to be 8 7/8″ x 3 1/4″
Then put it into your Simply Scored Scoring Tool or Stampin Trimmer with the long edge along the top – score at 1″, 2″, 5 1/2″, 6 1/2″ and 7 1/2″
Fold along those score lines to create the shape you see above – you will end up with a large section to hold your gift card and a small section on the end that is perfect for holding 3 Hershey Nuggets or similar sized candies – yum!!! Simply put tape on the bottom and adhere into the base of your box.
You can see that I decorated those nuggets to co-ordinate with my box and again this is SO easy to do – cut three pieces of DSP – each should measure 3 1/4″ x 1″ – apply tape to the back and wrap around your candy – easy and cute!
You can see that I also added extra mats to the larger section – this is where my girls will write a note to their friend…
Simply by changing the papers & embellishments, you can use this idea for packaging a gift card for any occasion during the year – perfect for upcoming Valentines, Easter, Graduations, Mother’s Day, Fathers Day…birthdays…the uses are endless!
So where do you find these fabulous plastic stamp cases so that you can make your own?
Order details:
- 127553 Half Wood-Mount Stamp Cases – pack of 4 for $4.95
- They are on pg 197 of the annual Catalog and in the online store – click HERE to find ’em!
Here is my second box…again I used patterned paper from Retro Fresh DSP – looks a little different but still cute, eh?
What about my third box? That you will see tomorrow along with the matching card and it is my favorite one!
It is very different to those two shown above because it is themed for a popular online game that my girls & their friend who I made it for are big fans of…here is a sneak peek of the theme…this is a snipet of the cake that I made for my girls’ birthday earlier this month…
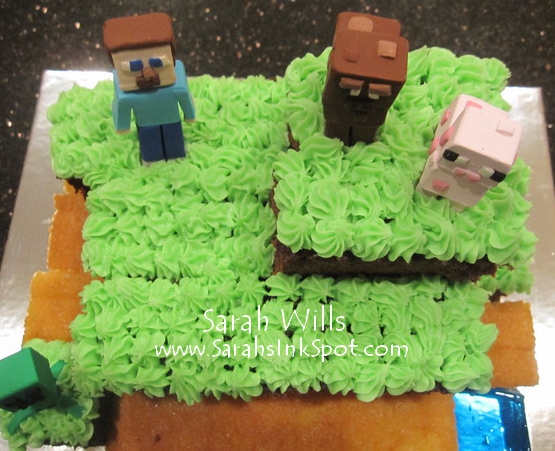
Now that was one FUN cake to make…I even dug out the Sculpey and made the characters – I haven’t used Sculpey for years and forgot how fun it was to use!!!
Be sure to come back tomorrow to find out what I made for the birthday girl and I’ll have more photos of my cake here for you too!
Supplies used to make this gift card box:
Box: Half Wood-Mount Stamp Cases (127552)
DSP: Retro Fresh DSP (132993)
Cardstock: Coastal Cabana (131297), Whisper White (100730), Baked Brown Sugar (131296)
Ribbon: Coastal Cabana 3/8″ Stretch Ruffle Trim (130024)
Stamps: Bring on the Cake (CM 121958/WM 128490/MDS 124015)
Die Cutting: Word Bubbles Framelits Dies (132968), Big Shot (113439)
Embellishments: Stickers from December Paper Pumpkin Kit
Misc: Dimensionals (104430), Mini Glue Dots (103683), Gift Card & Hershey Nuggets
CLICK HERE TO PURCHASE YOUR STAMPIN UP SUPPLIES ONLINE!