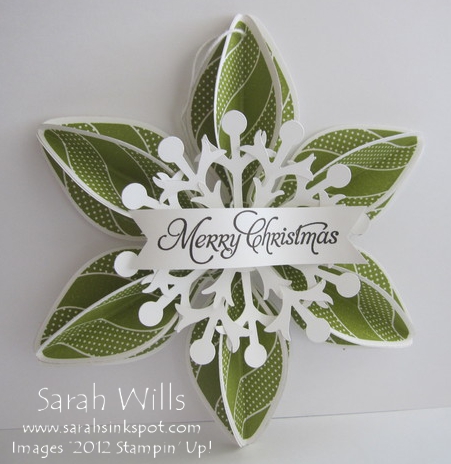
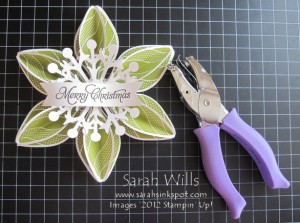
This is an absolutely stunning addition to your Holiday decorating and you can make this beautiful ornament using stamps & dies featured in the current Holiday Mini Catalog…
I was amazed by how lovely it is in real life – it is a real WOW project and you can use it for hanging from a tree or around the house and for decorating gifts for those special people in your life.
You could change the color you use to give a different look and use some glitter on there too – make smaller ornaments by using smaller stamps – there are so many possibilities!
These are the supplies that you will need to make this ornament:
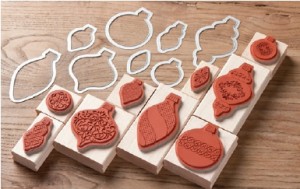
- Ornament Keepsakes Stamp Set*
- Holiday Ornaments Framelits Dies*
- Snow Flurry Bigz Die
- Big Shot
- Sentiment Stamp
- Whisper White cardstock
- Adhesives including Hot Glue
- Bakers Twine or Linen Thread
* Purchase these together as the Ornament Keepsakes Bundle and save 15%!!! The Bundle contains the Ornament Keepsakes Stamp set AND Holiday Framelits Dies at a discount!
Available in both clear & wood mount, click on the blue words below to view these Bundles in the online store:
129950 Ornament Keepsakes Clear Mount Bundle – $42.95
129949 Ornament Keepsakes Wood Mount Bundle – $49.95
Here is my tutorial so that you can make your very own beautiful Holiday Ornament – at the end of this tutorial you will find a printable version too so that you can print it out and keep it for reference.
Stamping & Die Cutting:
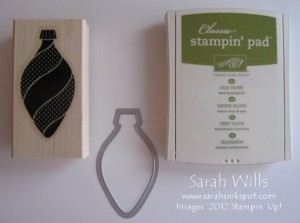
Take an Ornament stamp from the set Ornament Keepsakes along with it’s co-ordinating Die from Holiday Ornaments Framelits – plus an ink pad in the color of your choice – I am using Old Olive…
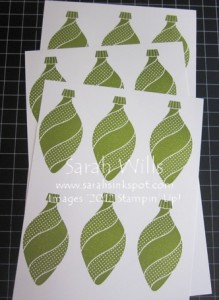
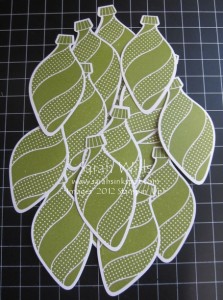
Stamp 18 ornaments onto Whisper White cardstock…
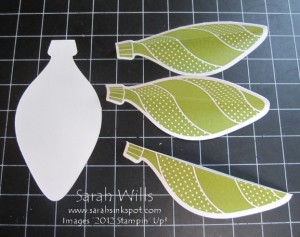
Take your Big Shot and Framelit Die and die cut out those ornaments – this is what you will have…already you can see how beautiful this is going to be…
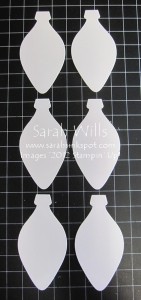
Then die cut 6 white ornaments – these are going to be on the back of your ornament…
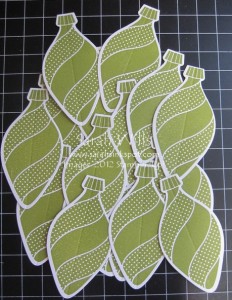
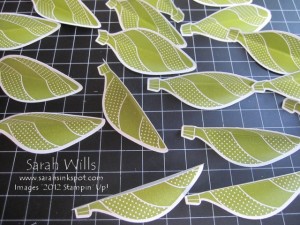
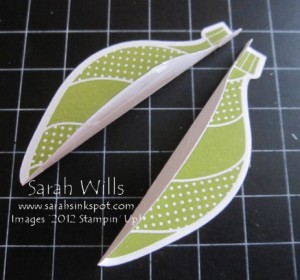
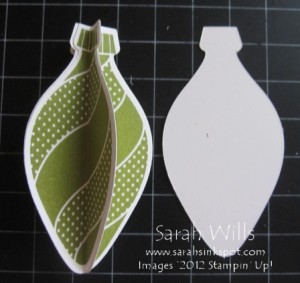
Next you are going to fold your ornaments in half, lenthways…now you can do this freehand or (if you are a perfectionist like me LOL!!!) you can score each down the center and then fold…this is what I did…
Important note – ONLY fold your stamped ornaments – leave your white ones ‘whole’ and unfolded.
Fold each down the center line and this is what you will have…
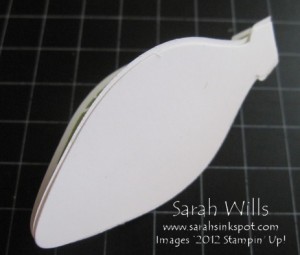
Now take 3 stamped ornaments and 1 white ornament…
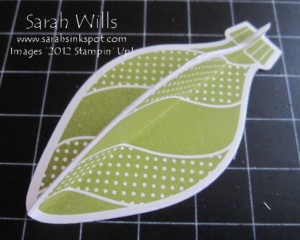
You are going to adhere two ornaments together – put strong adhesive onto one side of one ornament (I used Sticky Strip) and press the second ornament onto that adhesive…
This adheres it in place…
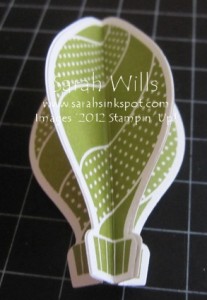
Repeat and add the third ornament and this is what you will have…
Now you are going to add the back to it…take the white piece and add adhesive tape to it…
And push onto the back of your stamped ornament…this provides a strong backing for your completed ornament…
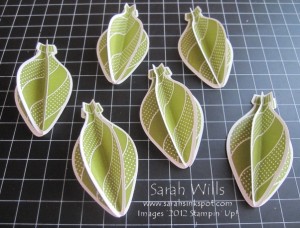
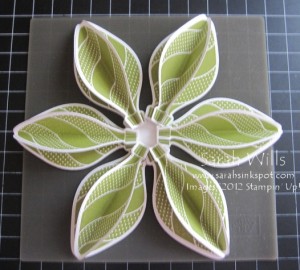
Repeat for the other stamped & white ornaments and you will have 6 total 3-d ornament pieces…
Assembly:
You are going to use Hot Glue for this and the perfect thing to use with Hot Glue is Stampin’ Up!’s brand new Silicone Craft Sheet that you can find on pg 31 of the Holiday Catalog!
You can add hot glue directly to that sheet and place the items you want to adhere on to it – once dry, your item simply peels away from the sheet like magic! Click HERE to find it in the online store…
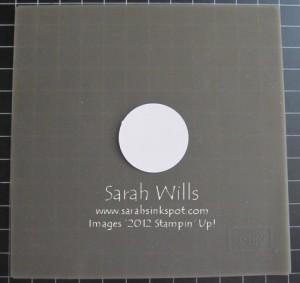
Punch out a 1″ circle (slightly larger or smaller will also work) and lay it onto your Silicone Craft Sheet or work surface…
Next take all the ornament pieces and arrange them as you would like…
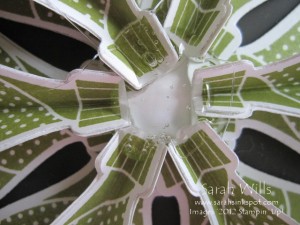
Plug in your Hot Glue Gun and once ready, pump lots of Hot Glue right into the center there…wiggle the ornaments around gently to get them covered in glue and leave them to dry…
And yes, it pays to be patient…I never am with hot glue and always get my fingers a little burned when I cannot resist seeing if it’s ready yet!!!
Snowflakes:
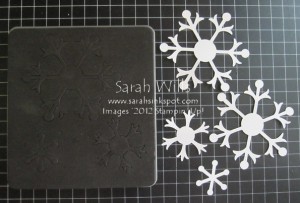
Take your Big Shot & Snow Flurry Bigz Die (find it on pg 14 of the Holiday Catalog) and die cut out snowflakes using Whisper White, Shimmery White or Glitter paper…I used two large ones and one smaller one…
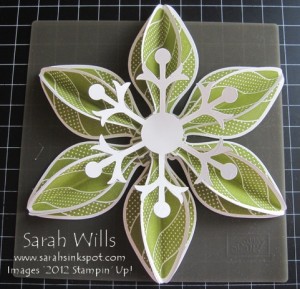
Add the first large snowflake to the center of your ornament – you can do this before the Hot Glue is dry or after using Mini Glue Dots or Sticky Strip…
Then add another large snowflake and stagger it to fill in the gaps of the first one…and then add a small snowflake or two on top of those – I used Dimensionals to add mine…
The Sentiment:
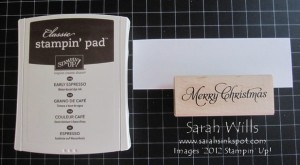
Stamp your sentiment – I used one from the set More Merry Messages (pg 15 of the main catalog) – I samped mine using Early Espresso ink onto Whisper White cardstock…
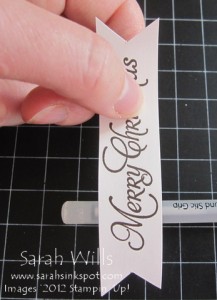
I then trimmed it to size and cut V’s in each end.
To add that curled look simply take a rounded pen or pencil and hold the strip in one hand – using the other hand, hold the pen and pull firmly towards one end – this will curl your cardstock…play around a give it a whirl – it’s fun & easy to do!
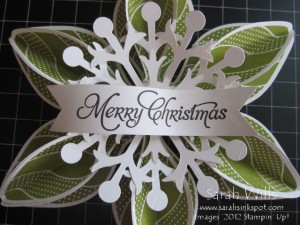
Then add your sentiment to your ornament using adhesive…
To hang your ornament you will need to add some thread…
Take the 1/8″ Circle Punch and make a small hole at the top and thread through Linen Thread or Bakers Twine – I used White Bakers Twine on mine…
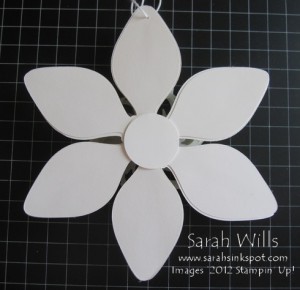
And as a finishing touch, turn your ornament over and to neaten up the center, simply punch another small white circle and adhere in place…
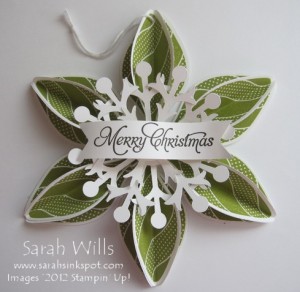
And there you have one BEAUTIFUL ornament – perfect for hanging or decorating a special gift…
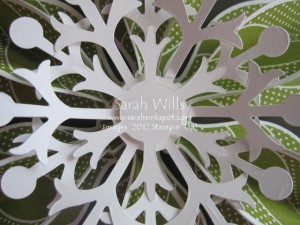
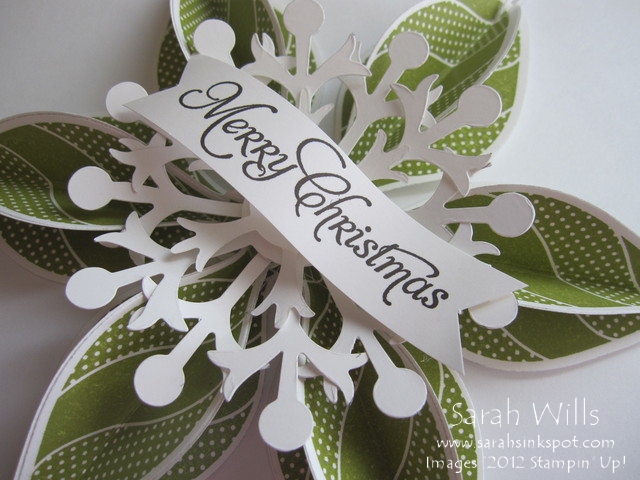
Here is a close up – don’t you just love all that detail?
WANT TO PRINT OUT THIS TUTORIAL? PLEASE CLICK HERE FOR A PRINTABLE VERSION WHICH WILL OPEN IN A NEW BROWSER WINDOW
Please click HERE to view my other Project Tutorials
