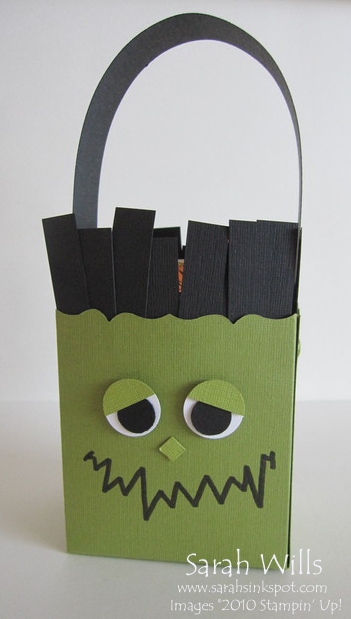
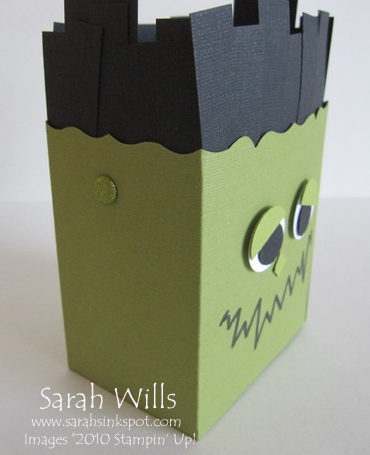
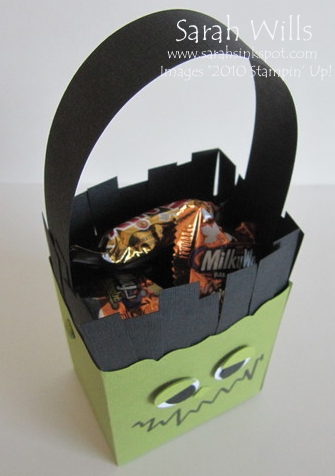
This is just an adorable treat bag and perfect for Halloween…or parties for those who love monsters!!!
This treat bag is so quick & easy to put together – the main body of the bag is made using the Big Shot & Fancy Favor Bigz XL Die that you can find on pg 221 of the Catalog and some circle punches…simple, easy & fun!
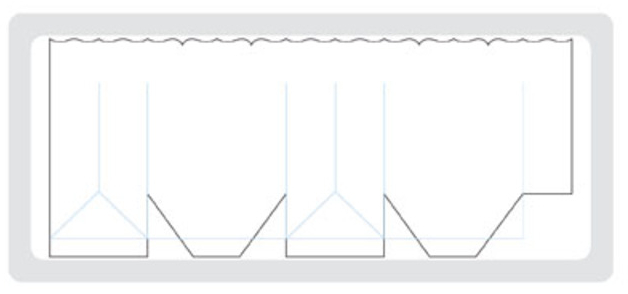
Here is the shape of that Die – the top edge has a beautiful trim…
Want to view the Fancy Favor Bigz XL Die online? Click HERE to go to it!
Here is my tutorial so that you can make your very own FrankenMonster Bag – at the end of this tutorial you will find a printable version too so that you can print it out and keep it for reference.
To get a closer view of the photos below, click on them – this will enlarge each for easier viewing.
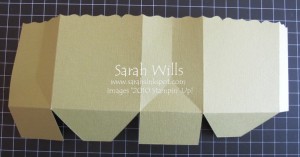
Use your Big Shot & Fancy Favor Bigz XL Die to cut out your box shape…I cut mine out of the fun color Lucky Limeade cardstock – and I used the textured cardstock to give his face more feature…
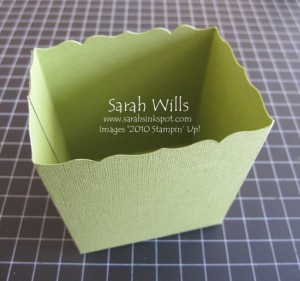
And then use very strong adhesive tape such as Sticky Strip to adhere your box together…
You need to add FrankenMonster’s mouth – I use a thick black Sharpie Marker to do this.
If you are well organised, you can draw this on before you assemble your box together…but if you are like me, and realise after you’ve assembled your box you should have done it first, here is my tip:
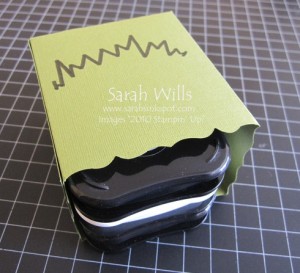
I place around 3 Stazon ink pads inside my box – they fit beautifully and provide a nice firm surface to write on – here is what I do:
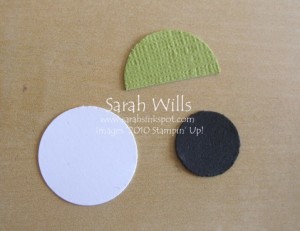
Once you’ve drawn his mouth, it’s time to make his eyes…punch two 3/4″ White Circles, two 1/2″ Black Circles and one textured Green 3/4″ Circle – cut that one in half for his eye lids…and assemble using Mini Glue Dots…
Add to your bag along with a nose – you can either draw that on or add punched shapes to make it – I used a 1/4″ square for mine.
Next add your handle – simply cut a piece of Black cardstock to measure 1″ x 11″ – poke a hole in each end using a Paper Piercing Tool and pierce a hole in each side of your Bag…
Secure your handle to each side using Brads…tuck the handle ends into your bag for a nice clean finish – push through a brad and open out the ends inside…I used Olive Glimmer Brads for mine.
To make his hair – simple cut strips of Black cardstock 1/2″ x 2″ and adhere them in place just inside the top of your box…
Fill with little candies and there you have one cool Halloween FrankenMonster treat bag…
WANT TO PRINT OUT THIS TUTORIAL? PLEASE CLICK HERE FOR A PRINTABLE VERSION WHICH WILL OPEN IN A NEW BROWSER WINDOW
Please click HERE to view my other Project Tutorials
