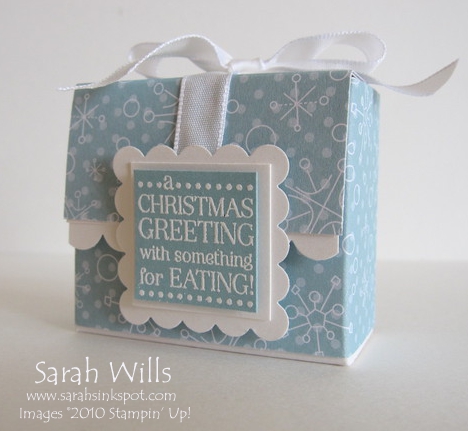
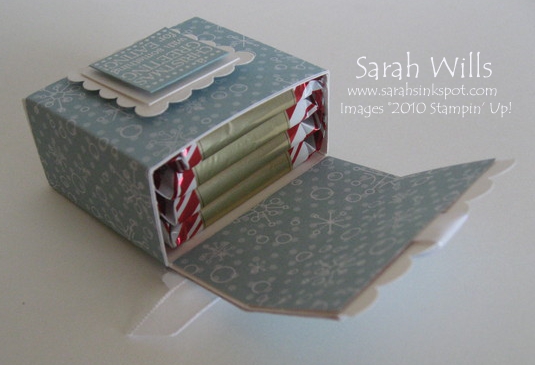
This is a cute little box that holds 4 Ghirardelli chocolate squares making this a very sweet treat!
You simply need a sheet of cardstock, some patterned papers and any other embellishments that you wish to add…
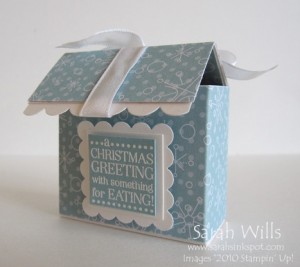
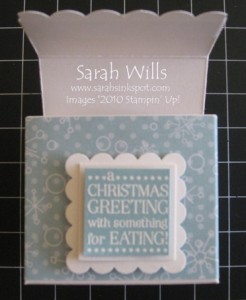
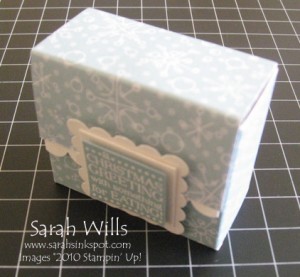
The box lid is secured by the stamped image in the front – to open it up, simply slide the lid up…
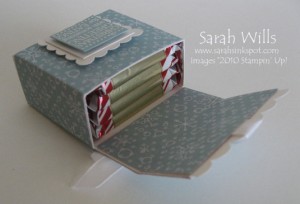
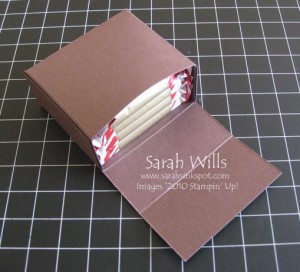
And when opened this is what is inside…
Here is my version of a tutorial so that you can make your own chocolate box – at the end of this tutorial you will find a printable version too so that you can print it out and keep it for reference.
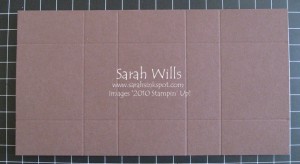
Cut a piece of cardstock to be 8″ x 4 1/4″ .
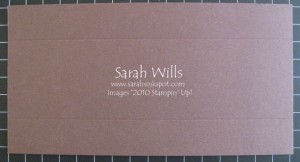
Place it in your score tool or paper trimmer with the score blade inserted, with the shortest edge along the top – score at 1″ and 3 1/4″…
Turn around so that the longest edge is along the top and score at 2″, 3″, 5″ and 6″…
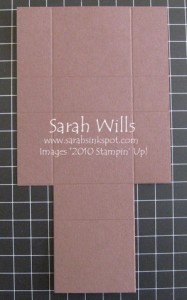
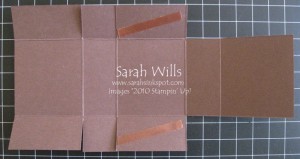
Then at the bottom end measure in 1″ – where your long score line is – and trim up 3″ to an intersecting score line – do this for the other side and this is what you will have…
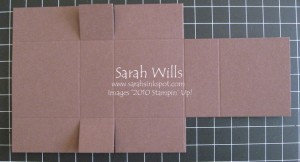
Then take your Paper Snips or very sharp scissors and make 4 cuts – you are going to trim in 1″ from the edge on each side – along score lines – to make small flaps…
Fold along all your score lines…
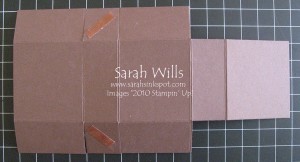
And apply strong adhesive such as Sticky Strip to 2 of the large flaps…
Turn over and apply Sticky Strip to the two small flaps in the center…
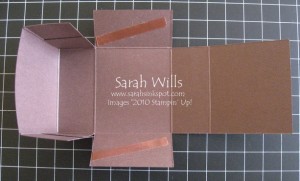
And start fold in your box and adhering in place…
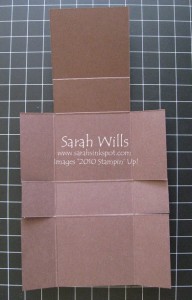
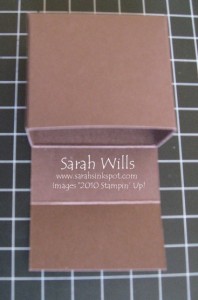
And this is what you will have – a box with a fold over flap…
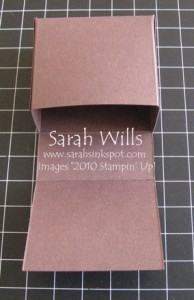
Now you need to make the flap shorter so trim off 1″…
And this is the base of your box complete – as you can see, 4 of those yummy chocolates fit nicely inside…
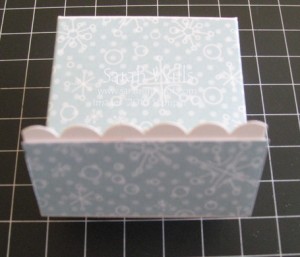
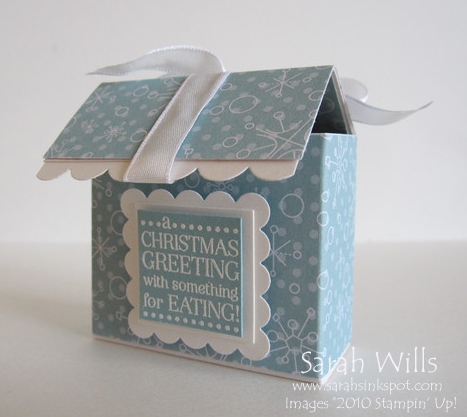
Now to decorating it and adding the closure…this is one that I made earlier – you can use patterned papers of your choice to cover it and on my box below I used papers from Candy Cane Christmas & Shimmery White cardstock for the box base…I also added a Scallop Edge trim to it for a cute look…
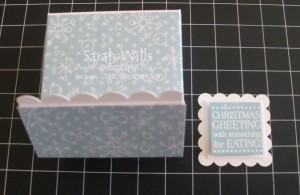
And then you need to make the item you wish to use as a closure for your lid. You could use a stamped image that you punch out or any embellishment that springs to mind…I choose to use a stamp from Tags til Christmas and the Scallop Square punch to make mine…
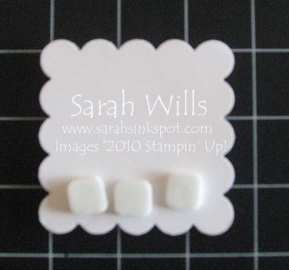
Turn your item over and add Dimensionals to the very bottom of it ONLY…
Turn back over and adhere to your box front – make sure that you adhere it low enough so that the lid will slide behind it and rest there easily…
Slide your lid in place and add any other embellishments you wish…
I also added a piece of Whisper White Tafetta Ribbon to my lid to make it look like a cute gift…
Fill with those chocolate squares and there is one cute and delicious gift just ready for giving…
You could also add a ribbon handle to this box if you wish to do so – simply make holes each side and thread ribbon through…they would make cute handbags!
WANT TO PRINT OUT THIS TUTORIAL? PLEASE CLICK HERE FOR A PRINTABLE VERSION WHICH WILL OPEN IN A NEW BROWSER WINDOW!
Please click HERE to view my other Project Tutorials
Very Sweet little box. Great for Christmas stocking stuffers. Thanks for sharing.
Jerrie Buchanan
Can’t wait to give this a try. Thank you for sharing the idea and for the detailed instructions. Appreciate the time you have to helping others (me!).
Thank you so much. Instructions were PERFECT and very easy to follow. Made mine with a fall leaf pattern to give as Thank You’s. Great idea and I am so glad you shared. So easy!!!! Thank you so much.