This is a cute way to package up a little bar of chocolate and would make a great addition to a Thanksgiving or Christmas table – what a sweet treat to put at each table setting…
This matchbook is so easy to make and is sized perfectly to hold an individually wrapped Ghiradelli square – there are some great seasonal flavors available right now which I have used in my matchbooks below – if you prefer you could put a treat sized Hershey bar or similar in there as they would fit well too.

They would also make great wedding and shower treats too and are very easy to make…when you open up the cover this is what is inside…a pocket that holds the candy and room for a sentiment beneath…

As you can see above, you make your matchbook in 2 parts – there is an outer piece and an inner piece – and you can use two different colored cardstocks or the same color for both.
Here is my tutorial so that you can make your own – at the end of this tutorial you will find a printable version and template with measurements so that you can print them out and keep it for reference.
Choose the colors of cardstock you wish to use and cut as follows:
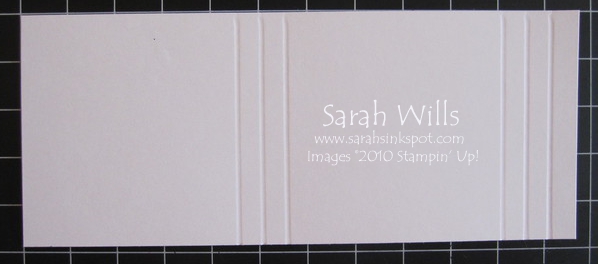
Outer piece – 7 3/8″ x 2 3/4″
Inner piece – 5 3/4″ x 2 3/8″

Inner Piece:
Take the smaller inner piece and score as follows: 2 1/4″, 2 1/2″, 2 3/4″ and 5″, 5 1/4″, 5 1/2″…if you wish to stamp on your piece of cardstock, do so now before folding it up…

Fold along those score lines using mountain and valley folds to create a concertina like this…

Apply a very strong adhesive such as Sticky Strip to the small flap like so…

And adhere in place – this is what you will have – this is the pocket that your candy bar will slide in to…

Outer Piece:
Take the larger outer piece and score as follows: at 3″, 3 1/2″ and 6 3/4″…if you wish to stamp on your piece of cardstock, do so now before folding it up…

Next take your outer piece and fold along the score lines like so…

Apply Sticky Strip to the smallest flap that will form your bottom section – make sure that the length of sticky strip is no longer than the size of your insert – be very careful to apply the sticky strip as low as you can on that flap so that they top cover will be able to slide in there…if you wish to stamp on your piece of cardstock, do so now before folding it up…

And adhere your inner piece in place on that Sticky Strip…

You can use brads or staples for the next part – make holes for your brads, again as low down as you can on that bottom flap – make holes or staple through just the front flap and insert (not the back section)…

And post your brads through and secure on the reverse side like so…

Add your chocolate square…

And fold over your top cover, tucking it into the front flap…

I love the simplicity of them and you can make them for any occasion by using themed colored/patterned papers, embossing, stamps and all sorts of embellishments to decorate them…here is my Thanksgiving themed one that I will be setting at each place setting at our table…

WANT TO PRINT OUT THIS TUTORIAL? PLEASE CLICK HERE FOR A PRINTABLE VERSION WHICH WILL OPEN IN A NEW BROWSER WINDOW
Please click HERE to view my other Project Tutorials
Templates with measurements…
Outer template…

Inner template…

thank you, excellent idea
Sarah. I saved this about we could go to save it for Valentine’s Day. The snow is flying outside and I’m ready to create! I belong to a stamping up Club and intend on making these as a Valentine’s gift for each of the ladies. Thank you for such a cute idea and …… stamp on!
Awww thank you Judy – I hope you enjoy making them and your ladies enjoy receiving them :-)