Here is a beautiful idea for presenting some Chocolate treats which is just perfect for Easter or any other time of year…
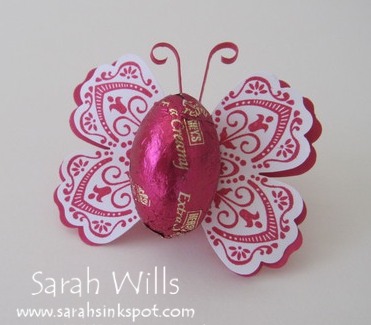
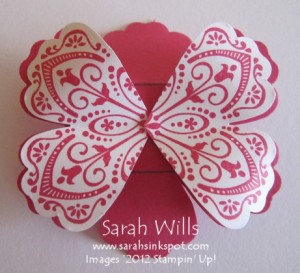
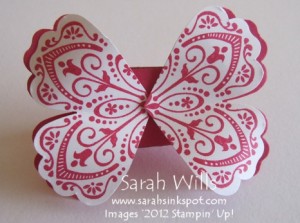
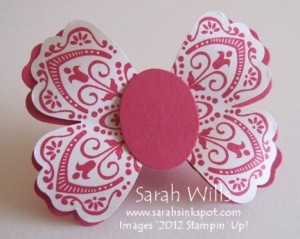
It is a beautiful free-standing Butterfly complete with a Hersheys Chocolate Egg and she is made using the Mixed Bunch stamp set and the co-ordinating Blossom Punch, both of which are featured on pg 17 of the 2012 Occasions Mini Catalog.
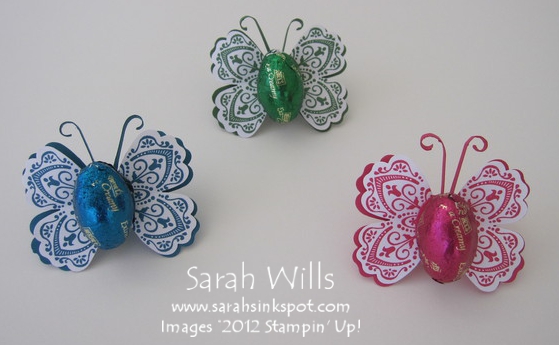
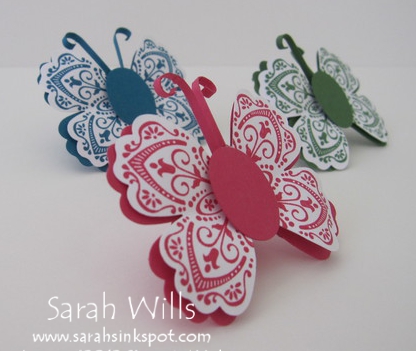
You can make them in whatever colors you choose – I had a pack of Hersheys Chocolate Eggs that came in 3 colors and so I found cardstocks & inks that matched them perfectly – you can see them below – for pink I used Melon Mambo, for green I used Garden Green and for blue I used Island Indigo…
Where can you find the Mixed Bunch stamp set & the Blossom Punch?
On pg 17 of the Occasions Mini Catalog – or to view in the online store, click on the links to each below – but HURRY – these items are currently only available through April 30th!
Click on the blue highlighted words below to view each in the online store…
125537 Mixed Bunch Clear Mount Stamp Set – $21.95
125535 Mixed Bunch Wood Mount Stamp Set – $27.95
125603 Blossom Punch – $16.95
Here is my tutorial so that you can make your very Chocolate Butterflies – at the end of this tutorial you will find a printable version too so that you can print it out and keep it for reference.
The Free-standing Base:
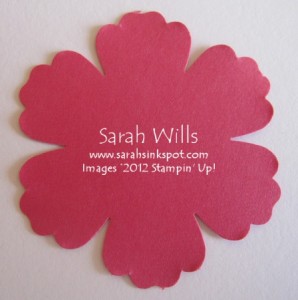
Take your Blossom Punch and punch the shape out of solid colored cardstock of your choice…
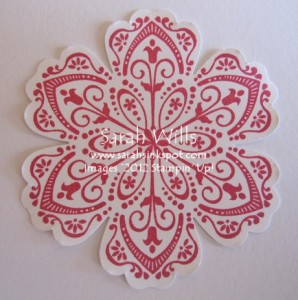
Using a stamp from Mixed Bunch, stamp this beautiful image onto a piece of Whisper White cardstock and use the co-ordinating Blossom Punch to punch it out…
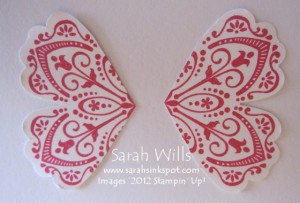
Take your Paper Snips (very sharp scissors) and cut out two sections out of the stamped image as shown below…
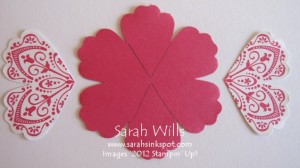
Lay these two sections onto your punched out solid cardstock as shown below – their center points should meet at the center…
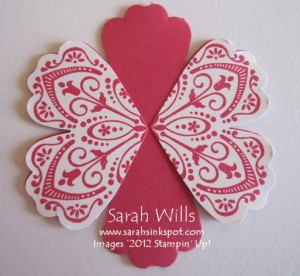 Take a pencil and draw around the outline of each…
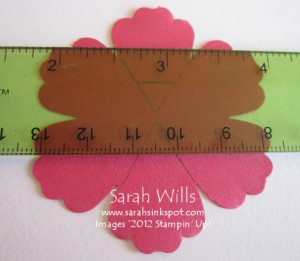
Now take your pencil & a ruler and mark a small line across between these lines – to ensure an even line, use the petals on each side to line your ruler up.
As you can see from the photo below, I am getting ready to make my bottom line and have lined my ruler up at the same point each side of the flower, and that is where I will make my mark, between those two pencil lines…
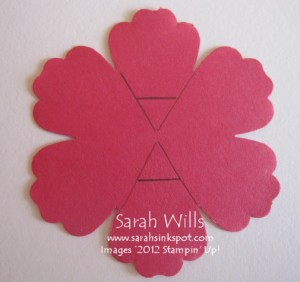
When you have done this for the top and bottom this is what you will have…
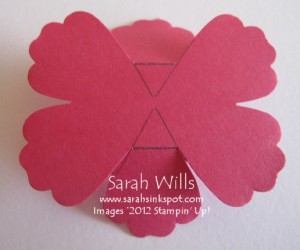
Now take your Paper Snips and cut along all the pencil lines until you reach the lines you have just drawn horizontally – stop there…
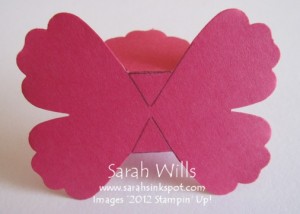
And then fold the top & bottom sections backwards. Dont worry about erasing those lines – they will not be seen…
Now to add the Decorative Wings to your Base:
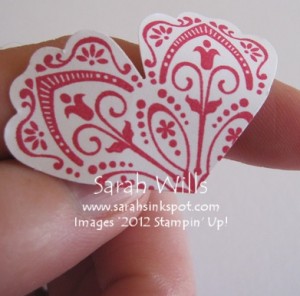
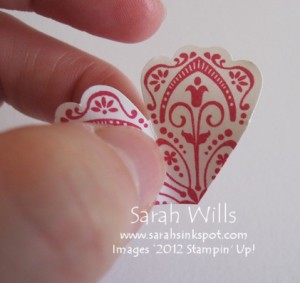
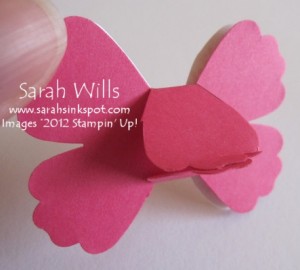
You are going to give your wings some shape – take your first section and lay on a finger – then using your other hand, gently push down on each piece to round it…
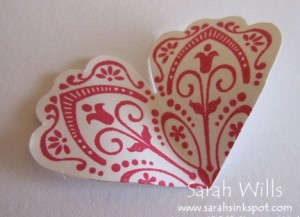
When you have rounded both pieces, use a fingernail to mark a line between those two sides…
And this is what you will have…
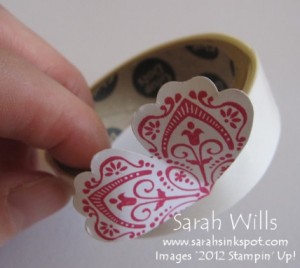
Now to adhere them to the base – I use Mini Glue Dots as they make this very easy & quick…
Add adhesive to the point…
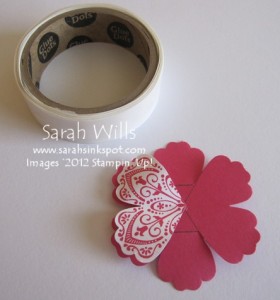
Line it up with your base and move it just a little towards the center so that you have a nice margin on the outer edge where the color from below shows through – and press down to adhere in place…
And repeat for the other side…
Turn your Butterfly over and adhere the two back petals together – I use Sticky Strip to give a firm adhesion…
Turn back over and put it down – your Butterfly should stand up all by itself…
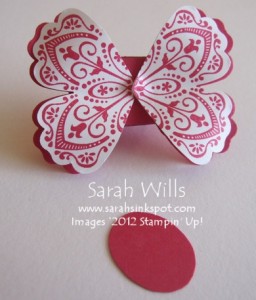
Now to add it’s body – cut or punch out a body part shape – I used the 15/16″ x 3/4″ Medium Oval Punch for mine…
And secure in place – I used a Dimensional to make it pop off of the body…
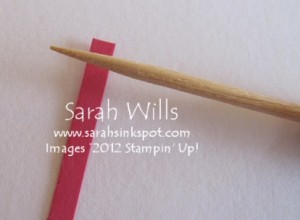
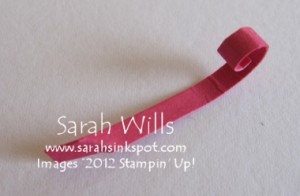
Now for the antenna…cut a thin strip of cardstock and wrap to top bit around a cocktail stick…
When you unwind it you will have a curled piece of cardstock – repeat to give you two and adhere to your Butterfly…
And here are my 3 without their Chocolate Eggs attached…you can see how well they stand up and they still do even when you add the weight of an egg – to add an egg simply add a Glue Dot to it and pop it on over the body part.
Sarah’s tip – if you use removable tape then your recipient can easily remove their candy and keep the butterfly in pristine condition!
I hope you enjoy making them as much as I enjoyed designing them – please contact me if you have any questions and I will be very happy to help.
WANT TO PRINT OUT THIS TUTORIAL? PLEASE CLICK HERE FOR A PRINTABLE VERSION WHICH WILL OPEN IN A NEW BROWSER WINDOW
Please click HERE to view my other Project Tutorials
So stinkin cute!!! You are so sweet to share your projects. Love that you created PDF’s to print. Thank you Thank you thank you