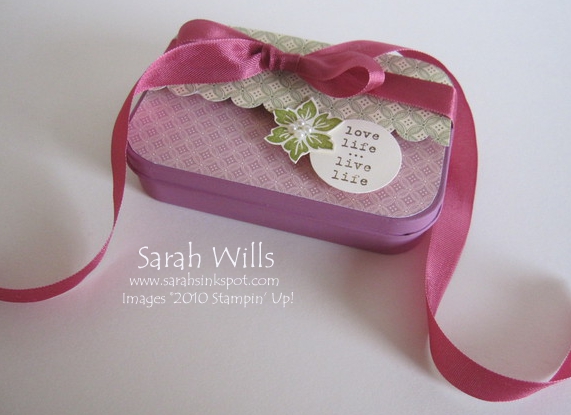
This is one cute way to recycle an Altoids Mints Tin and turn it into a beautiful keepsake…
You can use paint, ribbon and papers to transform it into a cute mini scrapbook album that has 17 pages inside to add photos and journaling to – and being small and lightweight it makes the perfect gift to mail to loved ones who live away.
I used patterned papers from Springtime Vintage DSP that you can find in the Occasions Mini Catalog to decorate mine along with the beautiful Rose Red Seam Binding.
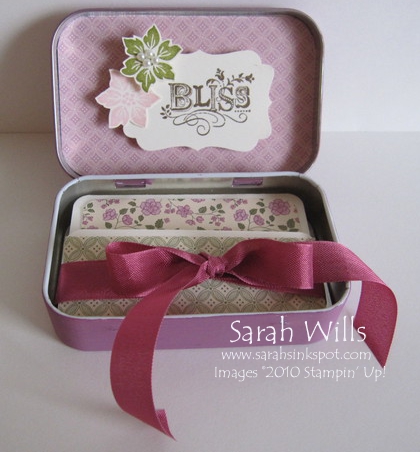
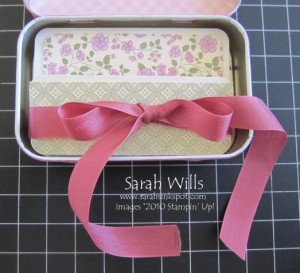
This is what you see when you open the lid…
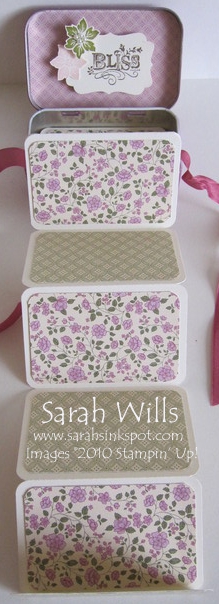
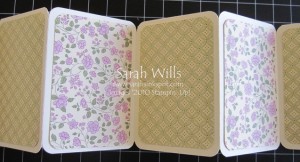
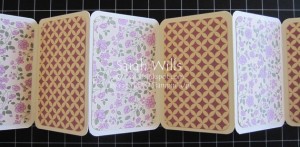
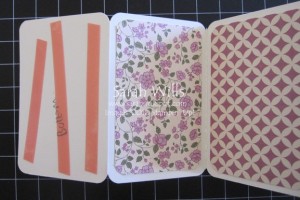
And here you see the inside pages opened out – and of course there are more on the reverse side…
Here is my tutorial so that you can make your very own Altoid Tin Album – at the end of this tutorial you will find a printable version too so that you can print it out and keep it for reference.
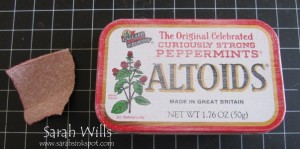
Take your empty and clean Altoids Tin.
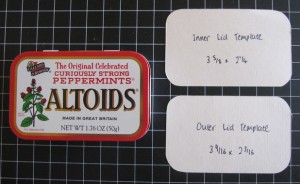
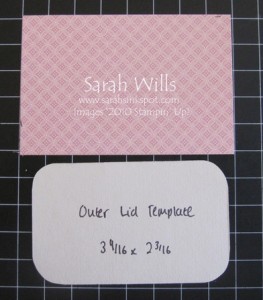
Make two templates – one for the outer lid and one for the inner lid – cut two pieces of card stock as follows:
Outer piece – 3 9/16″ x 2 3/16″
Inner piece – 3 5/8″ x 2 1/4″
Label them both and use your tin to trace around and cut away the corner shapes.
Next you need to rough up the surface of your tin so that the paint will adhere to it – take a piece of sanding paper and lightly rub it all over the surfaces to be painted…
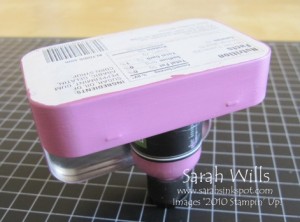
Take acrylic pain in the color of your choice – I am using Making Memories Plum – and paint the top and sides – leave to dry (I hang mine upside down on my paint pot) and then paint the bottom.
It might take 2-3 more coats to get good coverage depending on the paint you are using – be sure to only add thin layers to the top part of the tin so that the lid can slide on and off easily.
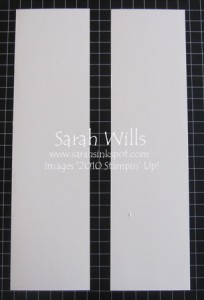
Cut two pieces of card stock to be 12″ x 3 1/4″…
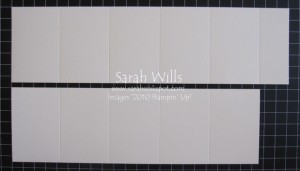
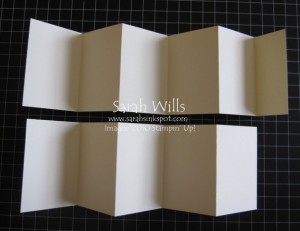
Using your Score Tool or Paper Trimmer with score blade, score your two pieces of card stock every 2 1/8″ – you will score each 5 times – and each piece will have a small bit left over at the end.
On one of your pieces, cut this small piece away…leave it on the other…
Fold along all score lines concertina-style, making sure to be accurate and use your Bone Folder to get crisp folds…
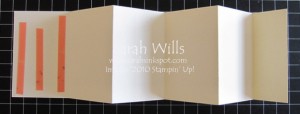
On one of the large end panels apply strong adhesive tape such as Sticky Strip…
Take the other piece and adhere a large end panel onto it – so you will have one long strip…
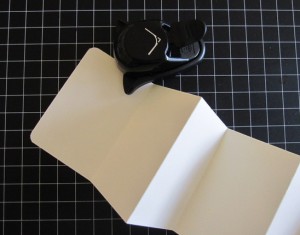
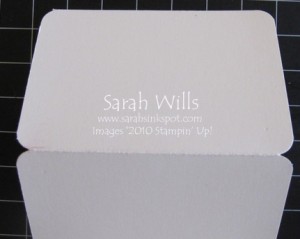
Use your Corner Rounding Punch to shape the corners – this allows your insert to fit perfectly inside your tin. Start with the end large panel…
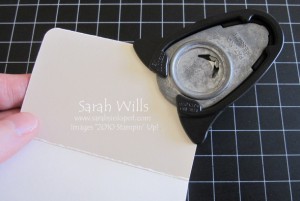
And fold your next pages over – your Corner Rounding Punch will punch through two layers of card stock at a time allowing you to shape them…
And this is what you will have…
Continue all the way down your strip until all corners are rounded…
Fold up your strip and test-place it into your tin – the small panel should be facing you at the top of the ‘pile’ – this makes a great little title page. When you have determined the panel which will adhered to the bottom of your tin, be sure to mark on it so that you don’t decorate it!
And now it’s time to decorate and embellish your ‘pages’…you have 17 of these sweet pages to attach photos and embellishments to…
For reference, I cut my patterned papers to be 3″ x 1 7/8″ and again rounded all the corners. You can do each side in the same papers or different ones to get a completely different look.
Here is my first side…
And here is my second side…
Use your Inner Lid Template to cut paper to fit and adhere in place – decorate with embellishments or stamp/write a sentiment as wished.
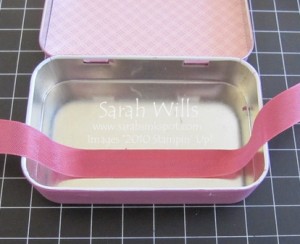
Take a piece of ribbon 20″ long and use a piece of Sticky Strip to secure it to the bottom of your tin, making sure that the center of your ribbon is in the center of your tin…
Apply Sticky Strip to the bottom of your strip and adhere in place into the bottom of the tin…
Tie your ribbon around ending in a bow or a knot and your insert is done!
Now onto the lid…
Make sure that your paint is dry and use your Outer Lid Template to cut your patterned paper to size…
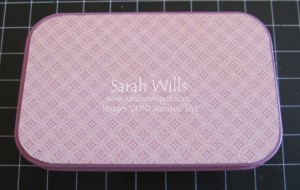
Use Sticky Strip to adhere to the lid and decorate as desired…
Once decorated, your altered scrapbook is complete – i f you wish to do so you can seal the outside of your box using Mod-Podge to protect it – just be sure to do this before adding any fabric or metal embellishments to it.
Enjoy!
WANT TO PRINT OUT THIS TUTORIAL? PLEASE CLICK HERE FOR A PRINTABLE VERSION WHICH WILL OPEN IN A NEW BROWSER WINDOW
Please click HERE to view my other Project Tutorials


Love this idea, thank you