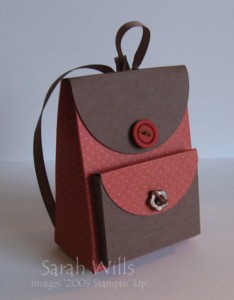
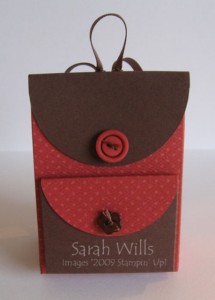
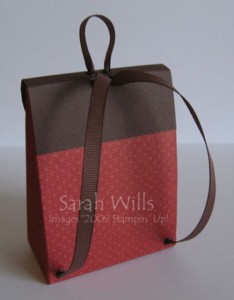
How to make this adorable backpack
This is just the coolest little project and would be just perfect for teacher appreciation gifts, bridal party or shower gifts, baby shower favors, girl scout treats and even for Fathers Day – you could fill it with candies, a gift card, miniature toiletries, have a theme such as a nail pampering kit with nail polish and accessories…with imagination and using the right papers it would be perfect for any occasion…

This Backpack is so much fun to make and is very economical – it uses just 2 sheets of paper/cardstock, ribbon, eyelets and fixings – and looks so beautiful. The Stampin’ Up! Specialty Designer Series Papers would be just perfect for this project as they are thicker than regular DSPs – you can find the Specialty Series on pg 163 of the Catalog.
At first glance the directions appear to be quite complex but if you follow them step by step as you make your Backpack it all makes sense and is an amazingly easy ‘wow’ project to make which is alot of fun – it really isn’t complicated at all.
In the above Backpack I used papers from Sweet Slumber Specialty DSP, Chocolate Chip Cardstock, Metallic Eyelets, 1/4″ Chocolate Chip Grosgrain Ribbon, Button Bouquet and magnetic closures.
You can find the templates & instructions at Splitcoaststampers by clicking on the links below:
Please click here if you have any questions and I will be very happy to help.


Please click HERE to view my other Project Tutorials
Achei a ideia genial, muito bom como embalagem para presentear.
Thanks for sharing cant wait to create for my kids
This is absolutely amazing. Thank you for sharing xxx