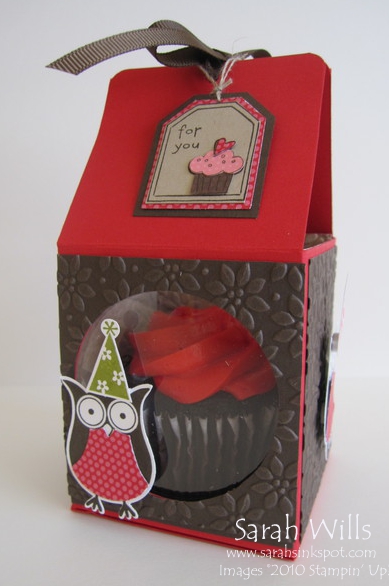
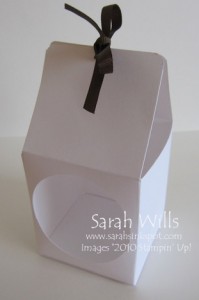
This is a CUTE birthday Cup Cake Box…take a peek through that window and see what yummy goodness is inside…
This would make a cute party take-away gift – a delicious Cup Cake in it’s very own take- out container!
Don’t you just love this box? And it is SO very easy to make from just one sheet of card stock – I decorated it using card stocks that I textured with an embossing folder and made a circular window in the front and added a Window Sheet so that the yummy cake is visible…
And here is a co-ordinating cute Cup Cake Owl Pick that is perfect for decorating cakes on the party table…
Again, fun and easy to make…how bright and cheery are these?
Here is my tutorial so that you can make your very own Cup Cake Take Away Box & Cup Cake Pick – at the end of this tutorial you will find a printable version too so that you can print it out and keep it for reference.
Cut a piece of cardstock to measure 11 1/2″ x 8 1/2″…
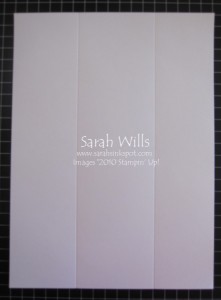
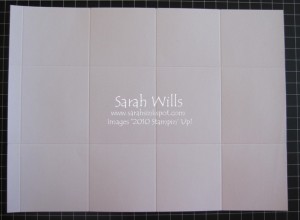
Place into your score tool or Paper Trimmer with score blade inserted – with the shortest side along the top edge of your trimmer – and score at 2 3/4″ and 6″…
Turn around so that the longest side is along the top of your trimmer and score at 1/2″, 3 1/4″, 6″ and 8 3/4″…
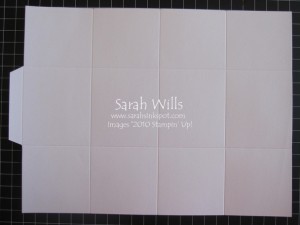
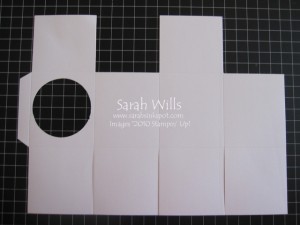
To make your closure tab – at the side where you have the 1/2″ strip, cut up from the bottom and down from the top edges to the center panel – and then trim these strips away – then make little diagonal cuts for easy assembly…
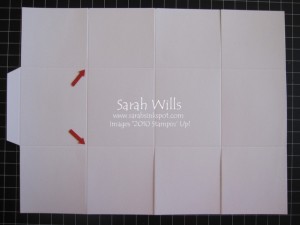
Then using your Paper Trimmer or sharp scissors, cut down the remaining score lines from the top edge, until you meet the intersecting score line – and then repeat for the bottom edge…
You can see those intersecting score lines shown with red arrows below…
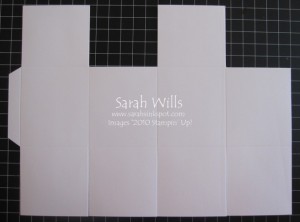
Next you need to cut out two squares along the top edge, as shown below…
To make the window…I used my Circle Scissors Plus and Glass Mat to cut a 2 1/4″ Circle into my end panel – you could also use Punches or Dies to do the same.
If you have none of these tools, you could use take a Ruler and a Craft Knife – be sure to use a self healing mat so that you don’t damage your table top, and use these tools to cut a square window out instead – it will still look great…
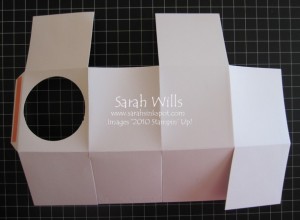
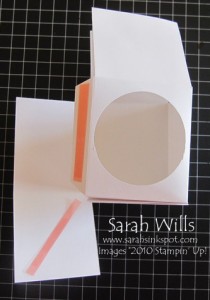
Fold along all score lines and apply a piece of very strong double sided tape such as Sticky Strip to your end closure tab…
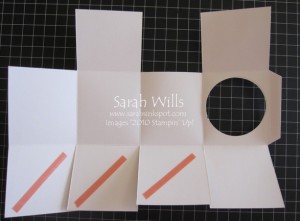
Turn your card stock over and add Sticky Strip to three of the bottom flaps…
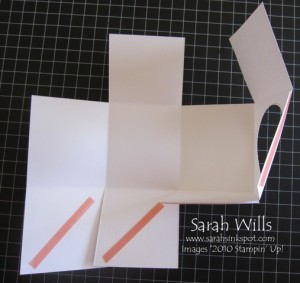
Peel the backing strip off of one of them to expose the adhesive and adhere to the first bottom panel…
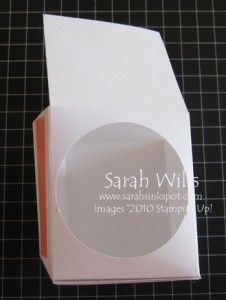
And finally the last, until all bottom panels are secured in place…
Then pop the side tab inside your box, expose the adhesive and adhere in place…
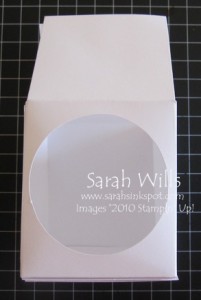
At this point you can add a window covering if you would like – simply cut a Window Sheet or piece of acetate to be larger than your window and apply adhesive to each corner – I like to use Mini Glue Dots as they are so easy to work with – and adhere in place on the inside of your box…
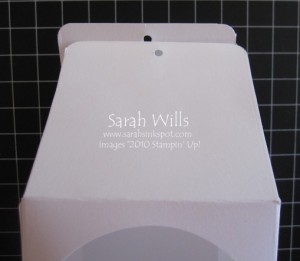
I like to shape the corners of my lids as I think it gives a neater & professional look – to do this you need a Corner Rounding Punch…and then make holes using a small Circle Punch to thread through your ribbon, yard or thread…
Decorate your box as wished and once your cupcake is inside, tie your ribbon through and finish with a knot or bow…
And there you have one cute party favor – a delicious cup cake in it’s own cute little box…
I made mine using Real Red and Early Espresso card stocks – I textured my espresso pieces using the Big Shot and Petals-a-Plenty Embossing Folder…
I used the Sale-a-bration stamp set Punch Bunch (that you can get for free right now!) to make my owls and paper pieced cute bellies onto them – I added hats from the set Party Hearty and LOVE how they turned out…
My tag is stamped from the Level 1 Hostess set Birthday Bakery and is the perfect accent for this yummy treat…
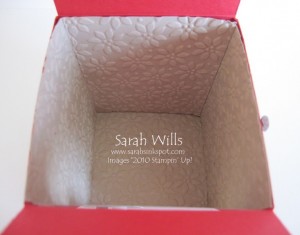
I decided to line my box and used Crumb Cake card stock that I again textured using the same embossing folder. To line my box I cut 2 3/4″ square for the base and two strips sized 5 1/2″ x 3 1/4″ – I textured them and adhered the bottom piece in place…I then made a score line at 2 3/4″ on each of the longer pieces, folded them and adhered each inside – this gives a nice, neat finish to the inside of your box…
And check out my cute co-ordinating owl pick I made that you can use to decorate cup cakes on the party table…
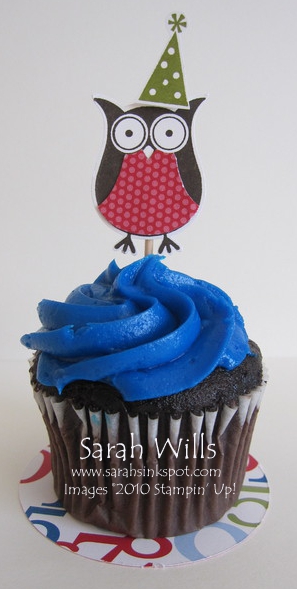
Again, so simple to make – simply stamp the owl using that cute stamp from Punch Bunch, paper piece a bit of patterned paper onto his belly, add a hat and a cock tail stick and there is one CUTE decoration!
My cup cake is standing on a piece of Designer Series Paper from Celebrations (pg 173) – perfect fun and bright designs for a birthday – my mat is a simple circle but you could cut a Scallop Circle instead for a more girly shape.
WANT TO PRINT OUT THIS TUTORIAL? PLEASE CLICK HERE FOR A PRINTABLE VERSION WHICH WILL OPEN IN A NEW BROWSER WINDOW
Please click HERE to view my other Project Tutorials
This is adorable! Thank u so much for such a wonderful, detailed tutorial ???? These are so versatile and I will definitely be making them for all holidays for my kids classes.