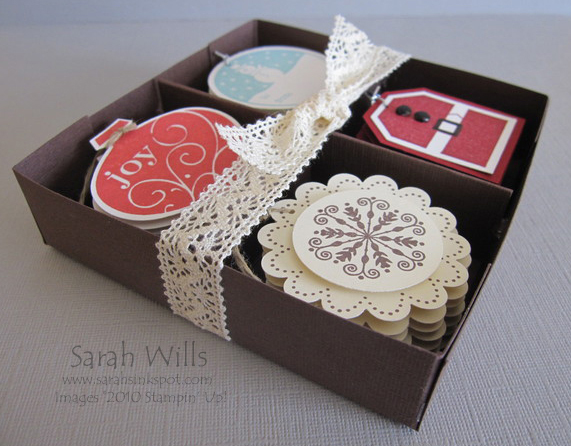
This cute box has four individual compartments and is made from just one sheet of 12×12 cardstock and strong adhesive.
I have gift tags in mine but you could put in any treats or little gifts and easily add a lid using acetate to stop your goodies from falling out…
Here is my tutorial so that you can make your own – at the end of this tutorial you will find a printable version along with the template of measurements so that you can print it out and keep it for reference.
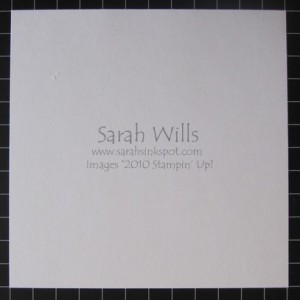
Firstly cut a piece of cardstock for your box – it needs to be 6″ x 6″…
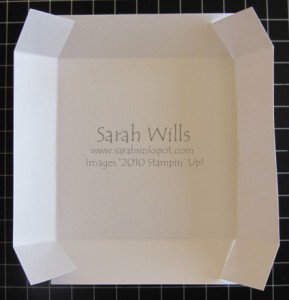
Score it at 1″ in on all 4 sides so that you have 4 score lines…
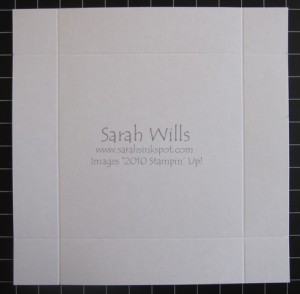
Cut 4 slits down 1″ on two sides to where the score lines cross…
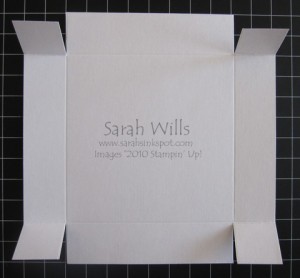
Fold along all score lines…
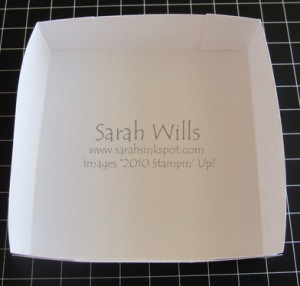
And adhere using very strong adhesive – I use Sticky Strip – and ensure that the small flaps are inside the box like so…and that is your box base made.
If you wish to make a lid for your box, simply cut a Window Sheet (pg 205) or piece of Acetate to be sized 6 1/8″ x 6 1/8″ – as we did to make the box base, score 1″ in from all edges, cut slits and fold – you can use Mini Glue Dots as the adhesive as they are strong and small.
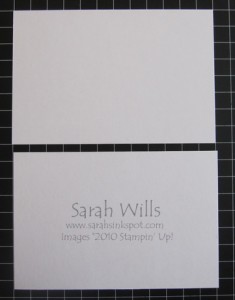
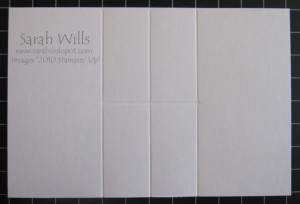
OK to make the Dividers – cut two more pieces of cardstock to be 6″ x 4″…
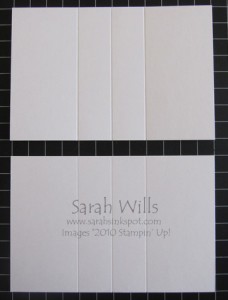
Score both pieces of cardstock at 2″, 3″ and 4″…
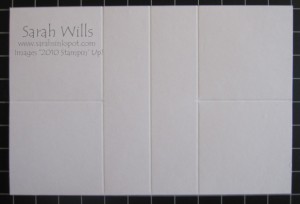
Take the first piece and turn it around – score a line in the center section – 2″ from each end and 2″ in from both the top and bottom edges like so…
Take your second piece of cardstock and score two lines on the outer parts – one on each side at 2″ down from the top…
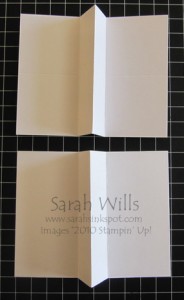
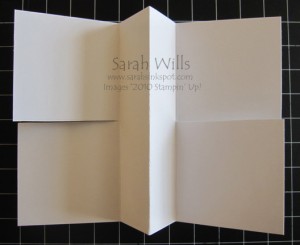
Take both pieces and fold along the first 3 score lines that you made on each…
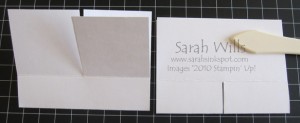
Take the first piece where you scored in the center section and fold it in half and cut down the score line that you made – cut down again along the same slit to make a wide cut…
Then take the second piece that you scored on the outer parts and cut down both of those score lines…you will be left with 4 big flaps …
Fold both in half and this is what you will have…
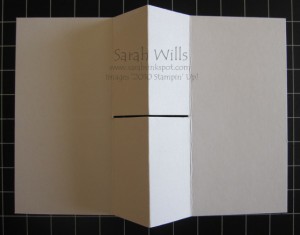
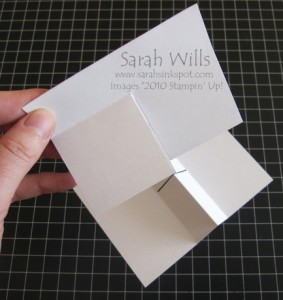
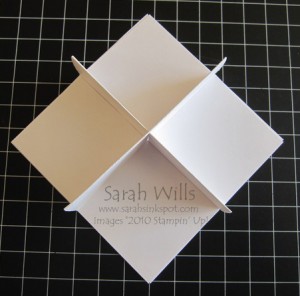
Take the one with the slit in the center in one hand – this is your bottom piece – and the other in the other hand and slide it on top of the first – it should slide into the slit on the bottom one…
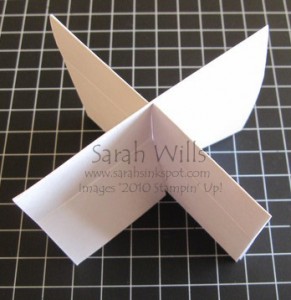
Like so…
Fold out the flaps and secure with tape so that they lay flat…and this is what you will have…
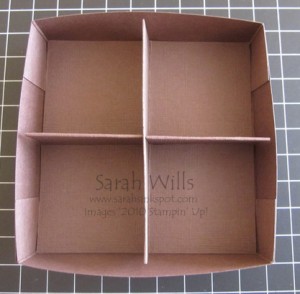
Insert into the base and use tape to adhere to the very bottom of your box base. If desired, you can use Mini Glue dots that you can stretch out to adhere the divider edges to the box wall.
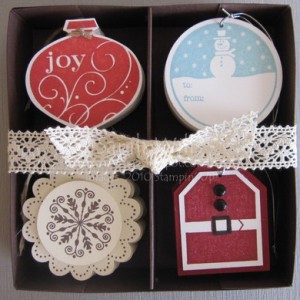
And then fill with your treats or gifts and add a ribbon or lid & ribbon…here is mine filled with my gift tags…and my base is made from Chocolate Chip Textured cardstock…
I stamped my tags using stamps from a variety of sets including Tags til Christmas that you can find on pg 24 of the Holiday Mini Catalog – the cute snowman and santa suit tags are both from that set and the other tags are made using stamps from Delightful Decorations (pg 35) and Sweet Season (pg 34).
There are many other sets with stamps just perfect for this project both in the main and Holiday Mini Catalogs…we are spoiled for choice! And Rub-Ons would work fabulously well for making tags too – you can find Holly Jolly on pg 184 and Candy Cane on pg 36 of the Mini and would work great…
And what makes this such an easy thing to make is that many stamps are designed to work with punches that you can find on pgs 200-203 – punches I used include the Big & Small Tag Punches, the Ornament Punch, Circle Punches and the Scallop Circle Punch…in the Catalogs where you see a thin red or blue line outlining a stamped image then there is a co-ordinating punch for cutting it out – almost all the stamps in Tags til Christmas have a punch making it very quick and easy to make something like this.
To finish up, I tied around a piece of Victoria Crochet Trim with a knot in front and added Linen Thread & Silver Cord to my tags…I put Black Brads on my santa tag and there you have one fun-to-make little gift!
WANT TO PRINT OUT THIS TUTORIAL? PLEASE CLICK HERE FOR A PRINTABLE VERSION WHICH WILL OPEN IN A NEW BROWSER WINDOW
Please click HERE to view my other Project Tutorials
PLEASE CLICK HERE FOR THE TEMPLATE FOR THIS DIVIDED BOX – it will open in a new browser window and you can print it out for reference.
Thank you, I hope to make one at least
I love this! Thank you for sharing :) I have made the box, now for the tags.