This is a super cute treat that you can make using a variety of punches – it is fun & easy to make and the kids (and grown up’s!) are going to LOVE them!
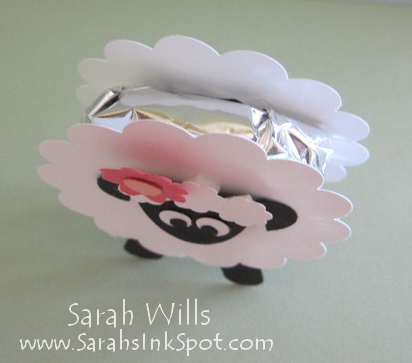
There are two outside pieces and in between them you sandwich a circular thin candy such as a Peppermint Pattie – so this Sheep tastes as good as she looks – and she is freestanding making a perfect little treat for your table place settings!
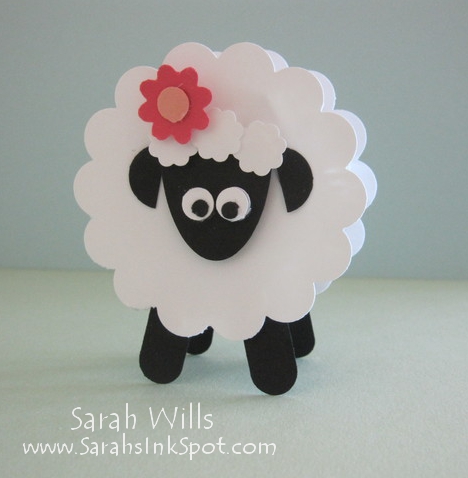
Here is my tutorial so that you can make your own Easter Sheep Treat – at the end of this tutorial you will find a printable version too so that you can print it out and keep it for reference.
Supplies I used to make this:
- Cardstocks – Whisper White, Basic Black, Strawberry Slush and Crisp Cantaloupe
- Punches – Word Window (119857), 2 3/8″ Scallop Circle (118874), Large Oval (119855), 1/2″ Circle (119869), Itty Bitty Shapes Punch Pack (118309), Boho Blossoms (119858) and googly eyes or 1/8″ & 1/16″ Punches
- Die: Word Bubbles Framelits (132968)
- Mini Glue Dots, Dimensionals, tape
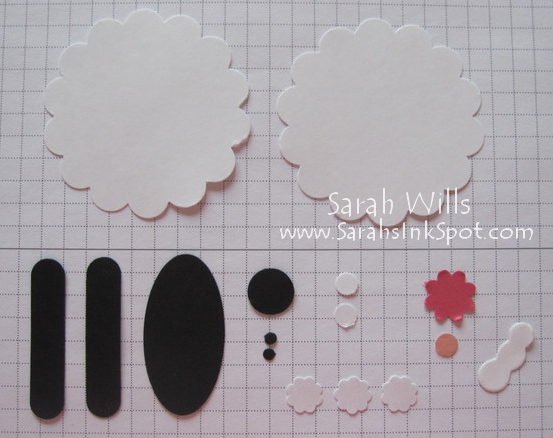
The punched shapes you need:
- 2 x 2 3/8″ Scallop Circles in white
- 3 x small Scallop Circles in white
- 1 x small tail piece (from Word Bubbles Framelits)
- 1 x large Oval in black
- 2 x Word Window in black
- 1 x 1/2″ Circle
- 1 x Flower in pink
- 1 x Flower center in pink
- 2 x 1/8″ Circles in white & 2 x 1/16″ Circles in black or googly eyes
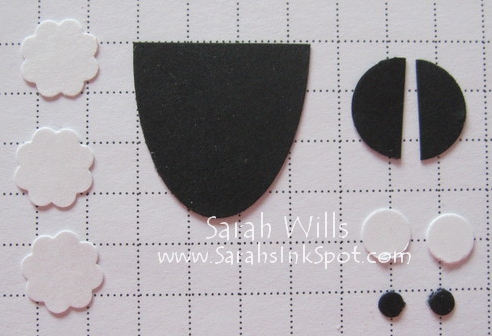
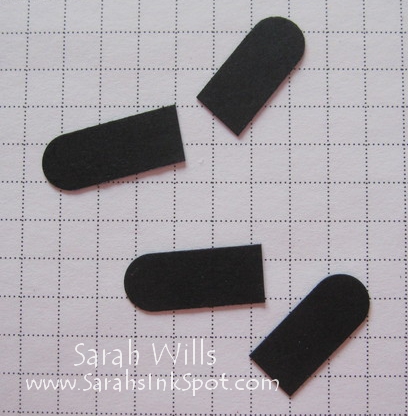
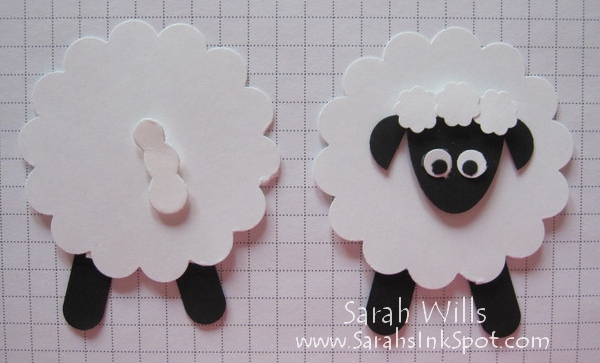
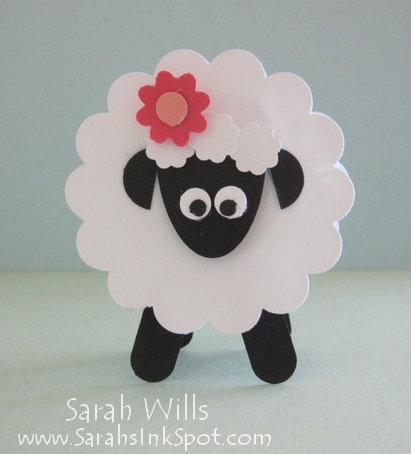
Take the shapes shown in the photo below – cut the black Oval in and the black 1/2″ Circle in half…
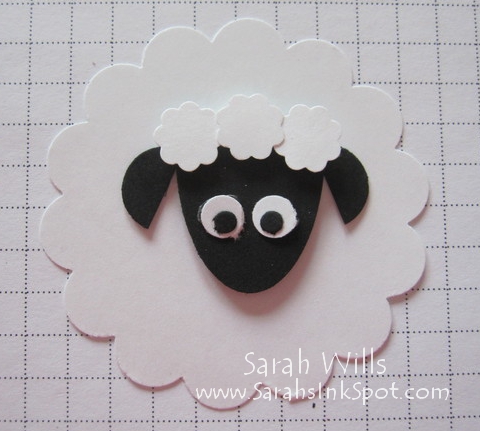
And assemble as shown below – I used a Dimensional to attach the face to the body…
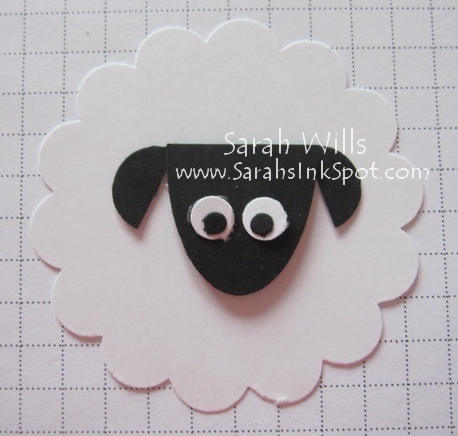
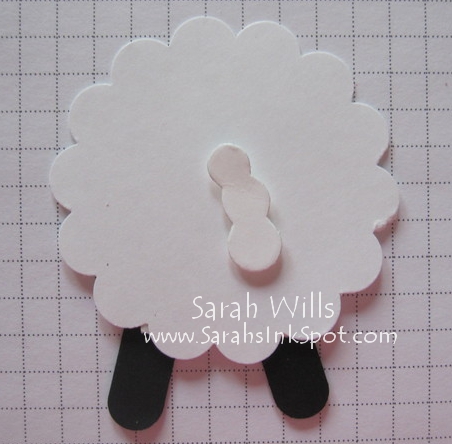
Then take the three small Scallop Circles and attach to the top of the face…
Take the 2 Word Window pieces and cut each in half…
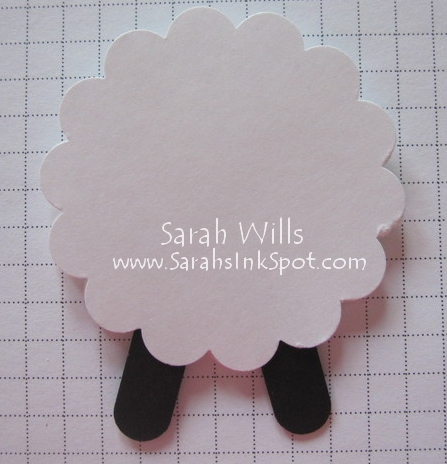
Attach two of them to the back of the front body part – I used Dimensionals for this…
Then turn the front part over…
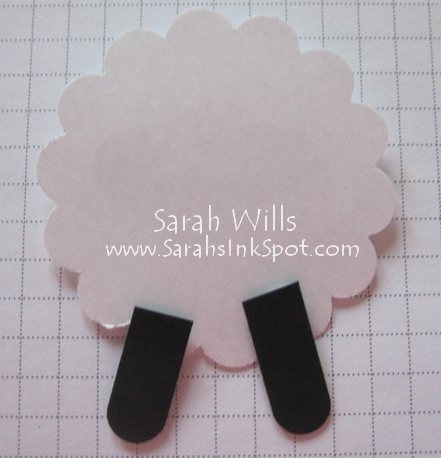
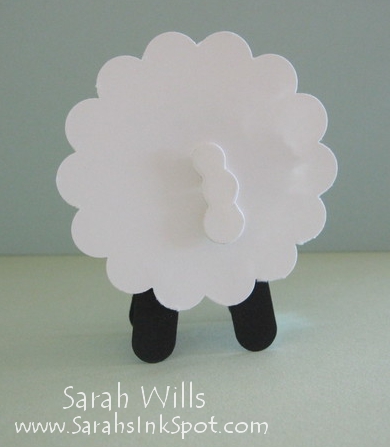
And place the second large Scallop Circle on to it and line it up so it fits perfectly – this will give you a guideline on where to attach your ‘back legs’…
Attach your back legs in place to mirror those on the front…
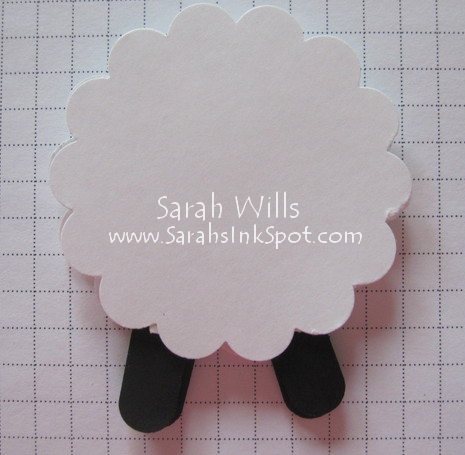
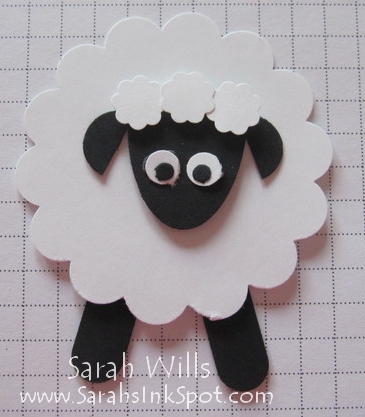
And attach your tail…
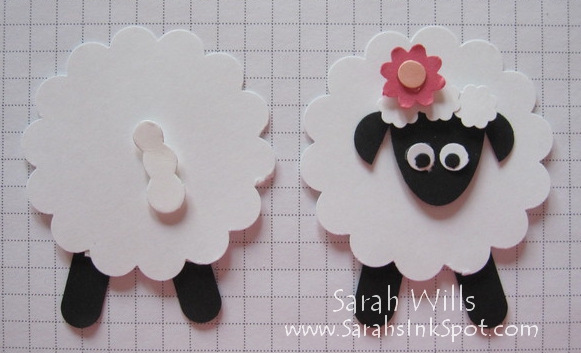
 And then attach your flower to the sheep’s head…
To assemble:
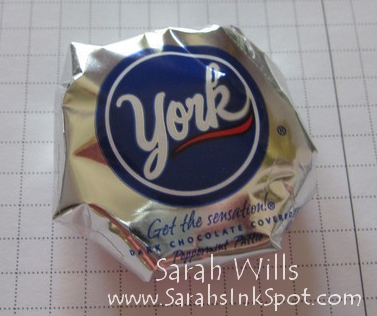
Take a Peppermint Pattie (or other similarly shaped & sized candy)…
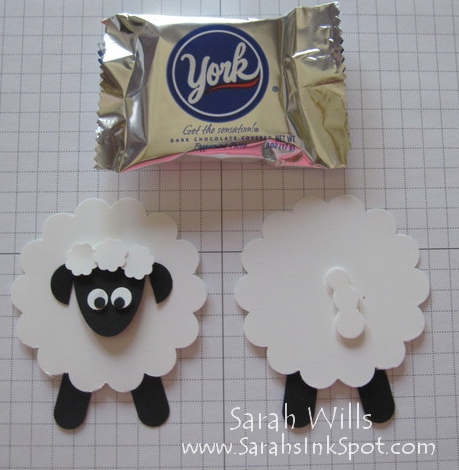
And fold the wrapping in and tape in place so that it will fit nicely between your sheep body…
And using a piece of tape adhere to the reverse side of the front of the sheep…

And then add the back of the sheep, again using a piece of tape…
And your sheep is done!
Here she is from the top view…
And behind…
How cute is that?! Have fun making your own flock!
WANT TO PRINT OUT THIS TUTORIAL? PLEASE CLICK HERE FOR A PRINTABLE VERSION WHICH WILL OPEN IN A NEW BROWSER WINDOW
Please click HERE to view my other Project Tutorials