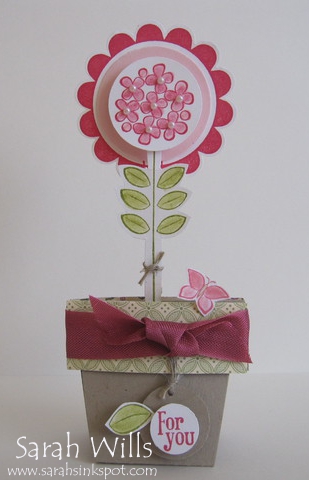
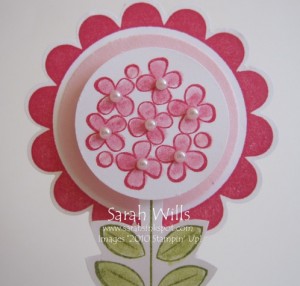
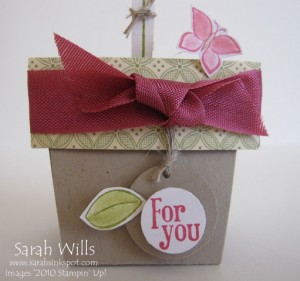
This beautiful flower and pot disguises a dum dum lollipop – it makes one cute sleepover treat or party favor for girls…
The round part of the lollipop is hidden in the flower pot base and the lollipop stick is hidden behind the stem – cute! And it is easy and fun to put together…
On my flower above, both the stem and cute flower at the top are stamped using stamps from the beautiful Sale-a-bration set Sweet Summer – you can get this stamp set for FREE right now with a $50 purchase – please click HERE to find out more about the freebies on offer during Sale-a-bration!
Here is my tutorial so that you can make your own Flower Pot Lollipop Holder – at the end of this tutorial you will find a printable version too so that you can print it out and keep it for reference.
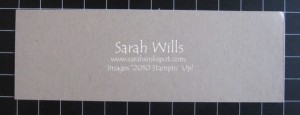
Take a piece of cardstock in the color of your choice – I used Crumb Cake (Kraft) and cut it to size – 6″ x 2″…
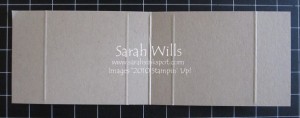
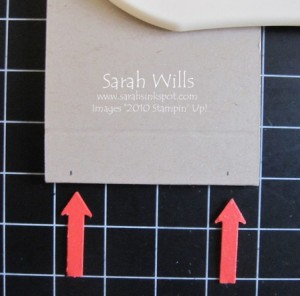
Place into your Scoring Tool or Paper Trimmer with score blade inserted – with the longest edge along the top – and score 5 times – at 3/4″, 2 1/2″, 3″, 3 1/2, 5 1/4″…
Fold in half – at the 3″ score line…
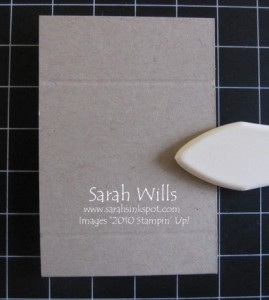
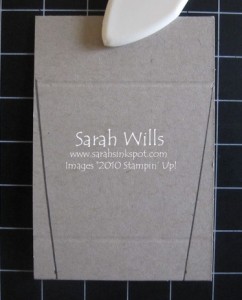
At the bottom make a pencil mark 1/4″ in from each side…
Take a ruler and place one end at the first pencil mark and position it on an angle to meet the top score line on that side – make a pencil line – do this for both sides…
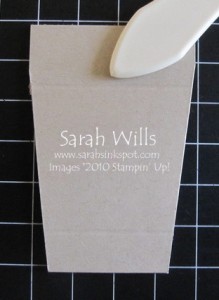
And this is what it will look like – the flower pot is starting to take shape…
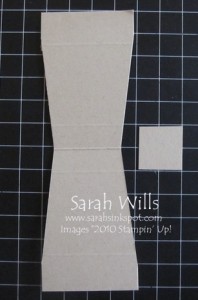
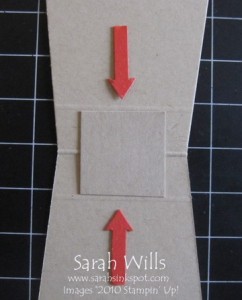
Open out your pot and cut a piece of cardstock to measure 1″ square…
Adhere this square across the center score line so that it is between the next two score lines – this stiffens the base…
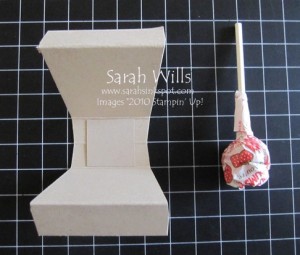
Fold along all score lines and take a dum dum lollipop…
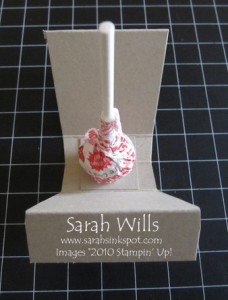
Place a piece of tape on the top of the lollipop and adhere into place on that square…
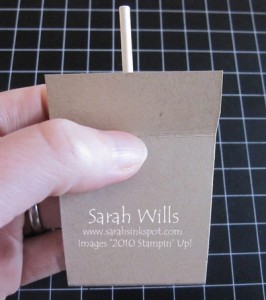
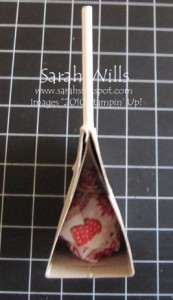
Close your sides together around the lollipop stick and hold in place…
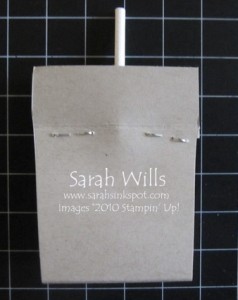
And use a stapler to staple each side of the lollipop stick – this holds your pot very firmly in place.
You can also use large brads or eyelets instead if you prefer – and you can choose to close the outer flaps and staple/apply brads over the outer flaps if you prefer – I choose to do this inside as it produces a very neat outer finish…
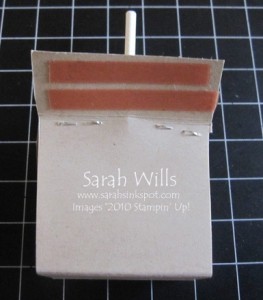
Next apply a very strong tape such as Sticky Strip to the underside of each top flap…
And press firmly in place…
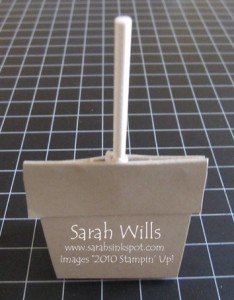
And there is your flower pot base with stem just ready for decorating – this is the side view…
And now decorate as wished! You could paint the lollipop sticks before assembling these pots or you can cover the stick with a stem that you stamp…
I used the free Sale-a-bration set Sweet Summer to make mine…I stamped & colored my flowers using Rose Red ink and added Pearls for a cute touch…my stem was stamped & colored using Old Olive. My background flower is another Sale-a-bration stamp from the set Punch Bunch which I punched out using my Scallop Circle Punch.
I used Dimensionals to adhere my flower to the stick and Mini Glue Dots to adhere my stem to the stick…
My pot uses Crumb Cake cardstock and I trimmed the top using Designer Series Paper from Springtime Vintage and a piece of Rose Red Seam Binding that you can find in the Occasions Mini Catalog. My sentiment is also from Punch Bunch and my butterfly and leaf from Sweet Summer…
I absolutely love how it turned out and can’t wait to make more – I hope you enjoy making yours too!
WANT TO PRINT OUT THIS TUTORIAL? PLEASE CLICK HERE FOR A PRINTABLE VERSION WHICH WILL OPEN IN A NEW BROWSER WINDOW!
Please click HERE to view my other Project Tutorials
