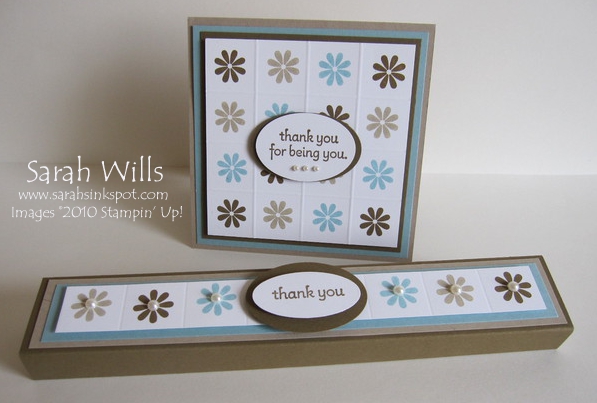
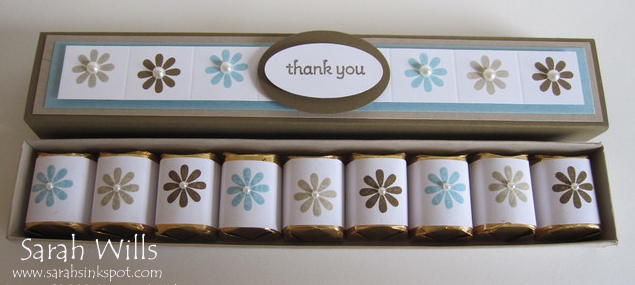
This is a great way to package some chocolates and it is sized for Hershey’s Nuggets to fit perfectly…make a co-ordinating card like I did and you have a very cute and economical birthday or thank you gift.
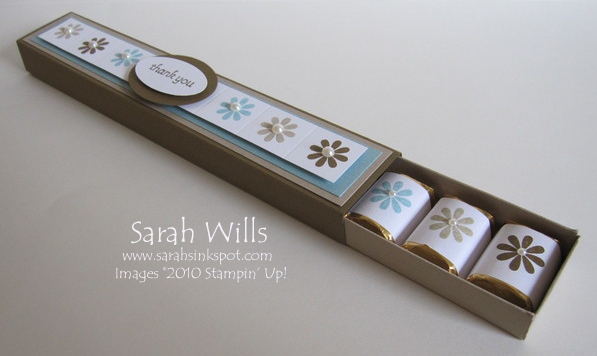
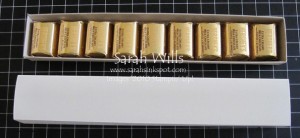
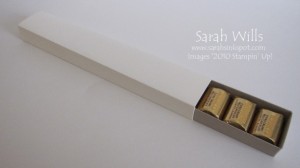
The drawer slides out of the outer sleeve to reveal the chocolates – 9 Nuggets fit in there – and you can cover the nuggets with patterned papers or as I did, by stamping on a sheet of Avery labels and adding a label to each chocolate…
Here is my tutorial so that you can make your own Long Nugget Box – at the end of this tutorial you will find a printable version too so that you can print it out and keep it for reference.
Slide Out drawer
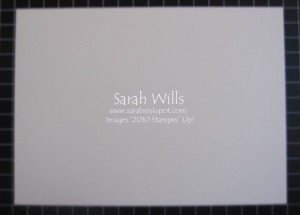
Cut a piece of card stock to be sized 11″ x 3 3/4″…
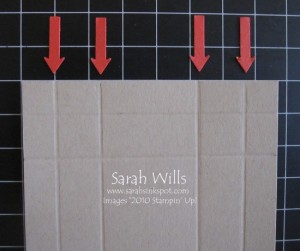
Place your card stock into a score tool or Paper Trimmer with score blade inserted, with the longest side along the top of your trimmer – score at 1/2″ and 1 1/8″.
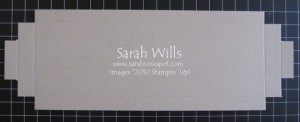
Turn your card stock so that a short edge is along the top and score again at 1/2″ and 1 1/8″ – turn and repeat with the remaining two sides so that you end up with each end looking like this…
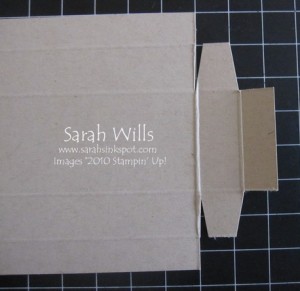
Next you need to make your tabs – using your paper trimmer or sharp scissors, cut down to the intersecting lines as shown – click on the photo below for a closer view…
At each end cut tabs and shape the edges to make it easy to fold them into your box…
And fold along all score lines…
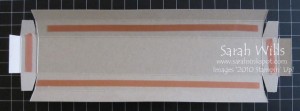
Apply a very strong adhesive tape such as Sticky Strip to your flaps…again, click on the photo for a closer view…
Expose the adhesive and fold over the small flap on each small end to adhere in place…
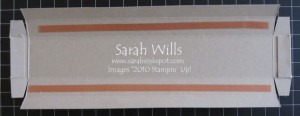
Bring both small ends up – expose the adhesive on one of the long strips and fold over – ensure that each small tab at each end is sandwiched between the panel with the adhesive strip and the panel you are folding over to adhere onto it…
Repeat for the other long side and your slide out drawer is complete…
Outer Sleeve
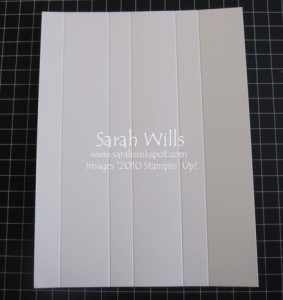
Cut a piece of card stock to be 8 7/8″ x 6 3/4″…
Place into your score tool or Paper Trimmer with score blade inserted – with the shortest side along the top edge of your trimmer – and score 5 lines at 3/4″, 2 1/4″, 3″, 4 1/2″ and 5 1/4″…
Fold along all score lines and place a piece of Sticky Strip along the smallest strip that is 3/4″ wide…
Fold your box over and adhere in place, making sure this tab is adhered to the inside of your box…
You will find you have a large flap outside – use Sticky Strip to adhere this flap in place…
Fill your drawer with Nuggets and slide into the outer sleeve…
And there is your Long Nugget Box ready for decorating and embellishing…
My Box? I used Crumb Cake card stock for my slide out drawer and Soft Suede for my outer sleeve…I used a cute floral stamp from Bold Blossom that is featured in the Occasions Mini Catalog to stamp my flowers in Soft Suede, Crumb Cake and Baja Breeze inks, adding a cute Pearl in the center of each…
I stamped my sentiment using a stamp from Bold Blossom and punched it out and matted it using Oval Punches…
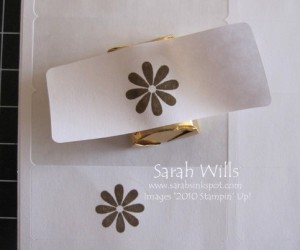
My Nuggets? SO easy to decorate to co-ordinate with the outside of your box – you can either use strips of patterned papers measuring 1″ x 3 1/4″ or the easiest way is to stamp onto Avery labels…
You can find these Avery labels in any large grocery or big box store in the stationery aisle and you need the labels that are sized 1″ x 2 5/8″ (no. 8860) – simply stamp onto each label, peel it off the sheet, center onto the top of your Nugget and adhere in place – simple as that – I even added a little Pearl into the center of mine to continue the theme from the outer sleeve…
My Card? You can see it at the very top of this tutorial – you can find out how I made it by clicking HERE
WANT TO PRINT OUT THIS TUTORIAL? PLEASE CLICK HERE FOR A PRINTABLE VERSION WHICH WILL OPEN IN A NEW BROWSER WINDOW
Please click HERE to view my other Project Tutorials
