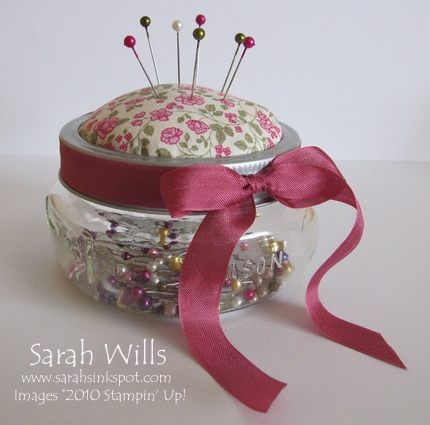
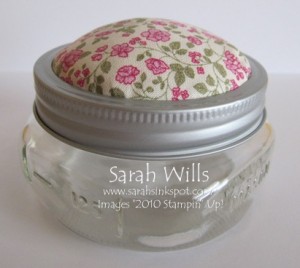
This is a Pin Cushion that is on top of a Jar – it will make a beautiful gift for fabric crafters, and I just love how it turned out…
All you need to make it is a preserving jar and some cute fabric – I used fabric from the beautiful new Springtime Vintage assortment that is featured in the Occasions Mini Catalog – notice the ribbon around it? It is Rose Red Seam Binding, also available in that catalog and it is just gorgeous…
If you’ve followed me for a while, you’ll know that sewing is not one of my talents…well, I am delighted to say that this is another project that uses fabric where no sewing is required – just the use of a hot glue gun making it perfect for those of you who aren’t great with the needle & thread, just like me!
For the base you will need a Preserving Jar – the one I used is made by Ball and you can find it in their Collection Elite range – a preserving jar is necessary for this project as you need the lid to be in two parts – you can find them online or in stores – I found mine in Target.
Here is my tutorial so that you can make your own Pin Cushion – at the end of this tutorial you will find a printable version too so that you can print it out and keep it for reference.
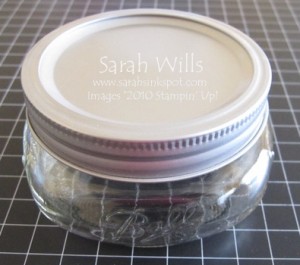
This is the Jar I used – it is the half pint size…
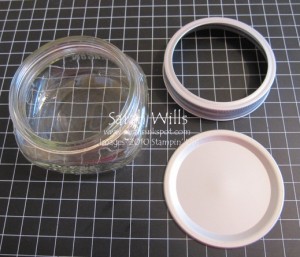
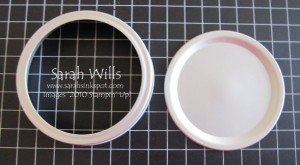
And this is how it separates out, into 3 parts – the jar base and two parts of the lid…
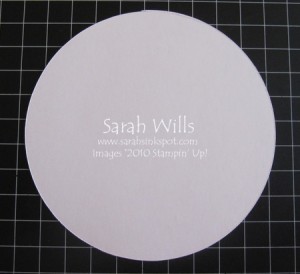
Put your Jar aside…the first thing you need to do is make a template so that you can accurately cut out your fabric. Cut out a 5″ diameter circle from a piece of scrap cardstock…
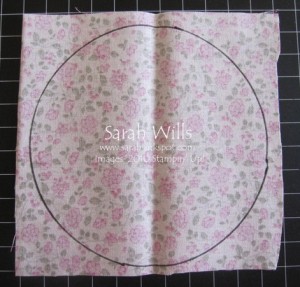
Take your piece of fabric and turn it over onto the reverse side – place your circle template onto it and draw around it using a black marker pen…
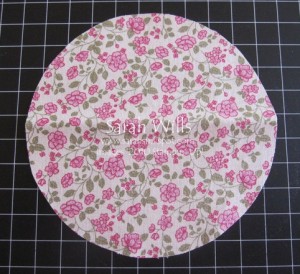
And cut out using sharp fabric scissors…
Now to make the base to glue the fabric on to…go to your lid pieces…
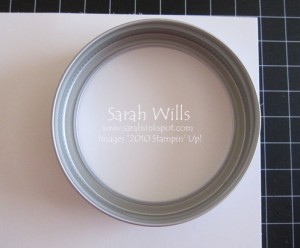
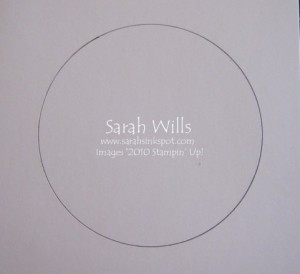
And take the outer ring piece – place it onto a piece of card and using a black marker pen, draw a circle – use the inner circle to do this…
Remove the ring and cut out your circle…don’t worry about being too accurate as this circle will be hidden underneath the fabric…
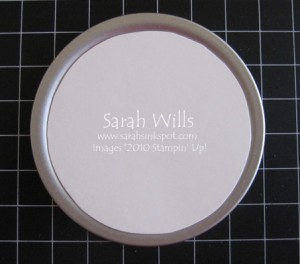
To check for size, take your other lid piece (the solid part that fits into the outer ring) and place your card circle that you just cut out on top – it should fit nicely like this…
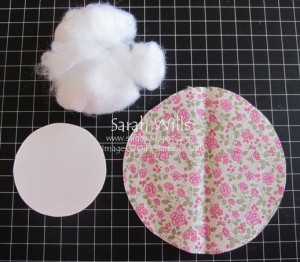
Now take your fabric circle, the card circle that you just cut and some quilt batting – you can find this filling at any large craft store…
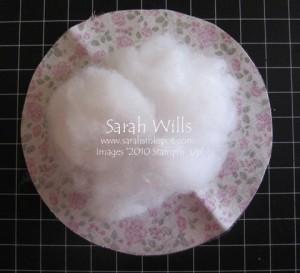
Turn your fabric circle onto the reverse side and put the batting into the center…
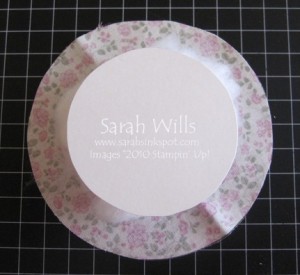
Place your card base on top of the batting…making sure that the batting and card are centered over the fabric.
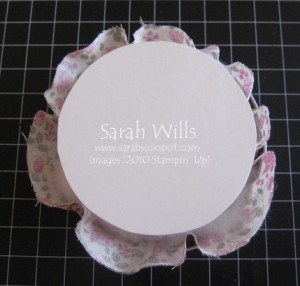
To make assembling this easier, take the outer ring piece of the lid and turn upside down – place your fabric/batting/card ensemble into this ring…
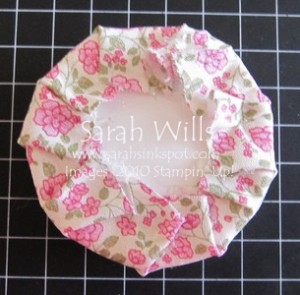
And using a hot glue gun or very strong adhesive of your choice, glue the fabric to the back of the card circle – as you work your way around the circle, gently pull the fabric taut to erase any wrinkles…
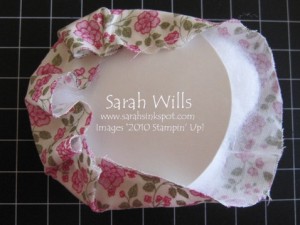
And this is what you will have when finished – not very pretty but don’t worry as this will not be seen at all…
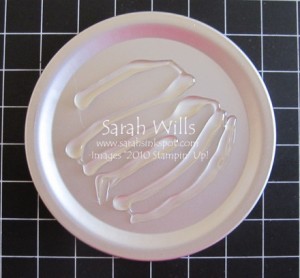
Take the inner piece of the lid and apply hot glue/very strong adhesive to the center part of it…
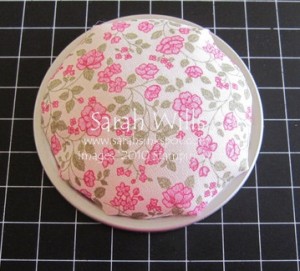
Turn your pin cushion piece over and push firmly down onto the glue to adhere in place…and this is how it will look…
Take the outer ring of the lid and apply hot glue/very strong adhesive to the inside top edge…
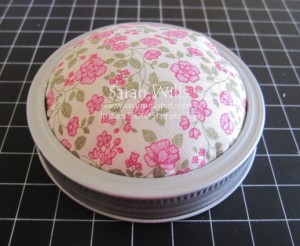
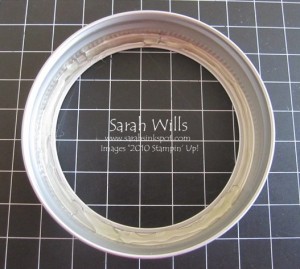 Push your pin cushion section into it and push very firmly to adhere in place…
Screw on to the jar base and there you have one very cute and practical Pin Cushion…
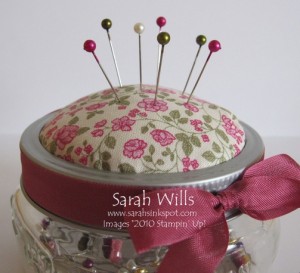
Here is a close-up of mine…I tied around a piece of Rose Red Seam Binding to show you how cute this will look packaged as a gift – and I added pins that I found in a large craft store – those colors handily co-ordinate beautifully with my fabric too!
WANT TO PRINT OUT THIS TUTORIAL? PLEASE CLICK HERE FOR A PRINTABLE VERSION WHICH WILL OPEN IN A NEW BROWSER WINDOW!
Please click HERE to view my other Project Tutorials
Thank you so much for sharing your beautiful pin, l loved ????????????