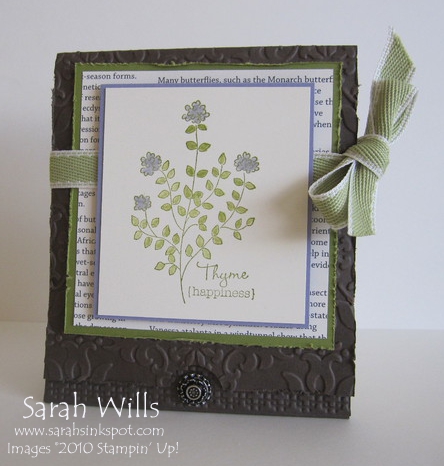
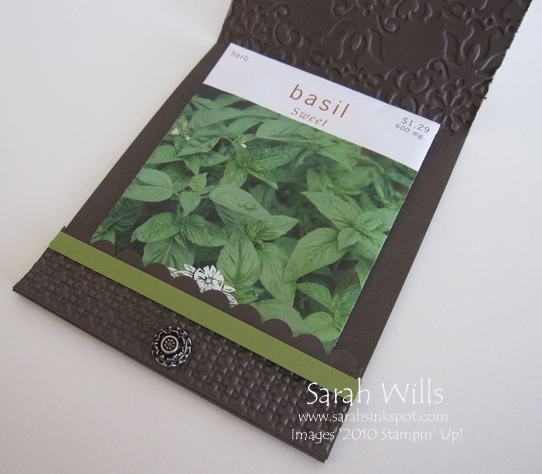
This beautiful card houses a grow-able gift – a packet of seeds!
You could put herb, vegetable or flower seeds in there – and what cute favors a bunch of these would make for a summer party, bbq, shower or wedding…
I have a packet of herb seeds inside mine – and found the perfect stamp for the front in the set Herb Expressions that you can find on pg 68 of the catalog – it has cute herby images and sentiments!
Here is my tutorial so that you can make your very own Seed Packet Holder – at the end of this tutorial you will find a printable version too so that you can print it out and keep it for reference.
To get a closer view of the photos below, click on them – this will enlarge each for easier viewing.
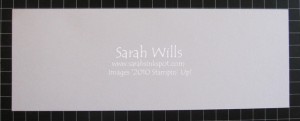
Take a piece of cardstock in the color of your choice and cut it to be 4″ x 11″ – now if you have a taller seed packet you might want to use a 12″ size…and if your packet is wider you can add to your width too…
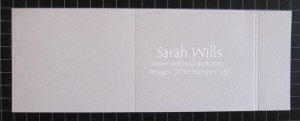
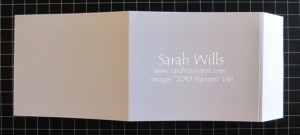
Place into your Score Tool or Paper Trimmer with score blade inserted – the longest edge along the top – and score at 4 3/4″, 9 1/2″ and 9 5/8″…
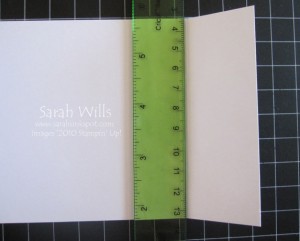
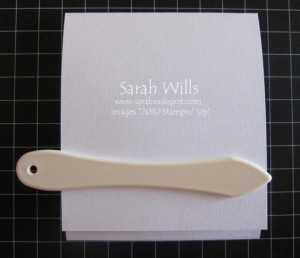
And fold along all score lines. To get a neat crisp fold when you have two folds close together I fold the first and then I like to use a ruler to help fold the second – simply butt it up to the score line and gently ease the cardstock up towards it – this helps get that fold in the correct place so that it is accurate…
And this is what you will have…
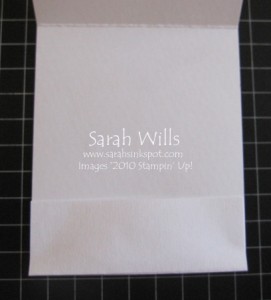
Fold up your card with the small flap to hold the seed packet tucked inside – as you can see on the front panel, I have then trimmed away 1/4″ at the bottom edge so that I have a little of that flap showing…
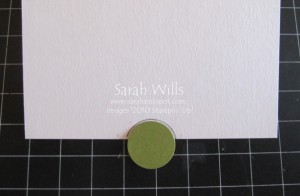
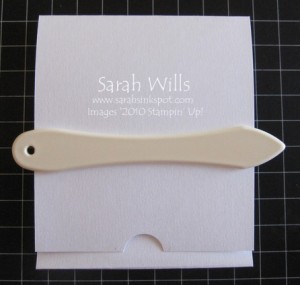
Now to make the notch for the brad or button – take a 3/4″ Circle Punch and punch out a piece of scrap paper – then use this to position where you want your notch on your card front – when happy, mark around it with a pencil…
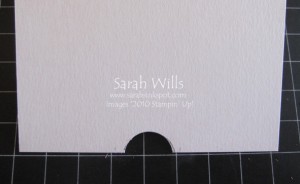
And use your Circle Punch to punch it out…
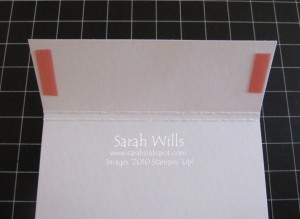
To secure the small flap that will hold the seed packet in place inside your card, simply apply two pieces of very strong adhesive tape such as Sticky Strip to each side – be sure to keep this tape close to the sides so that you have room to insert your seed packet…
And adhere in place – you could use staples, brads or eyelets if preferred…
Close over your flap and your card is ready to decorate and fill…
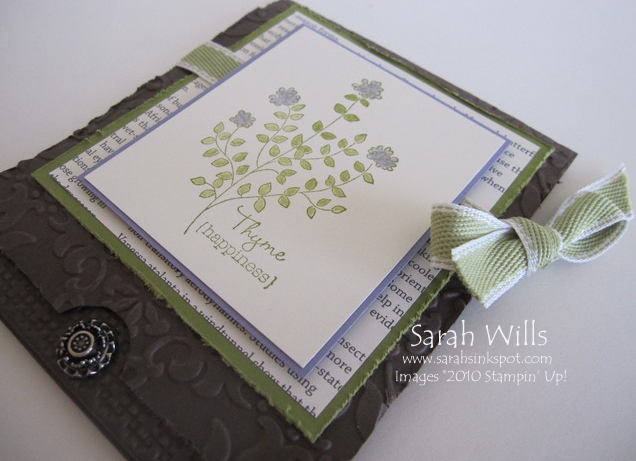
Here is mine…
I used Early Espresso cardstock for my card base and then my Big Shot and Vintage Wallpaper Embossing Folder to texture the front panel of my card. I added an Old Olive layer and then a piece of First Edition DSP onto that…see the edges of my brown and green cardstocks? I distressed them to make them look a little rough around the edges which I think fits in perfectly with a gardening theme…
I then stamped my image, layered it onto a piece of Wisteria Wonder cardstock and attached it to my base using Dimensionals – which left me room to slide a piece of Pear Pizzazz ribbon underneath with a bow on the side to hold it all together…
And inside you can see my seeds slot down into the pouch nicely – I decided to edge my flap using the Scallop Edge Border Punch and added a piece of cardstock that I textured using my Big Shot and Square Lattice Embossing Folder – adding a vintage touch using a brad from Antique Brads (pg 187) and a little slither of Old Olive cardstock along the top…
WANT TO PRINT OUT THIS TUTORIAL? PLEASE CLICK HERE FOR A PRINTABLE VERSION WHICH WILL OPEN IN A NEW BROWSER WINDOW
Please click HERE to view my other Project Tutorials
