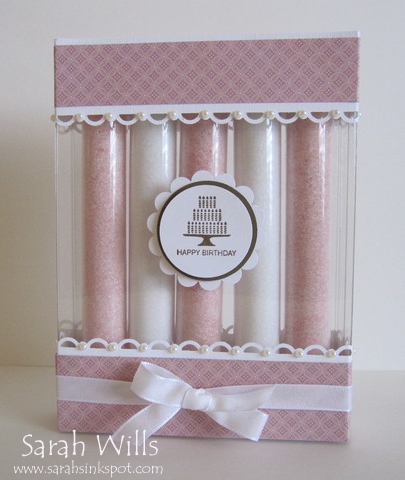
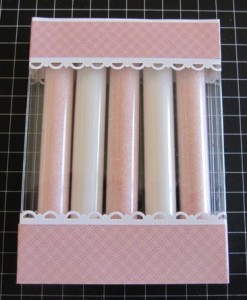
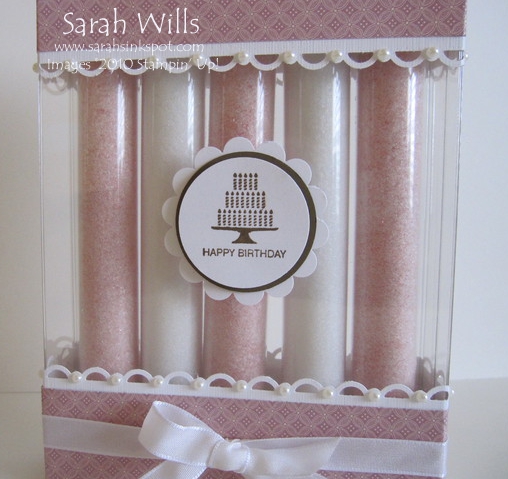
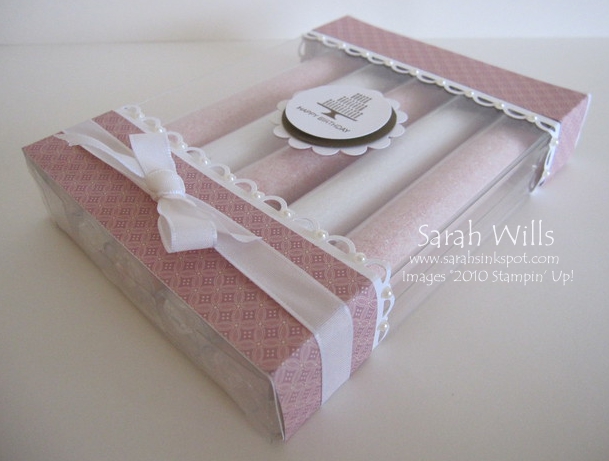
This is a beautiful way to present a gift – you could fill those Tubes with bath salts or beads, candies, sprinkles, lip balms…there are no limits!
This gift features 5 Tubes packaged in a clear plastic case that you decorate with papers, ribbons and embellishments…
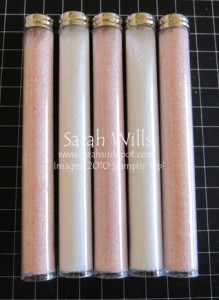
Inside mine below those tubes are filled with bath beads – the tubes have screw top caps making it easy to pour out some of the contents leaving the rest safely inside…and all packaged in a crystal clear box making a nice way to present your gifts which would make a perfect birthday, thank you or Mother’s Day gift…
Here is my tutorial so that you can make your very own Filled Tubes Gift Set – at the end of this tutorial you will find a printable version too so that you can print it out and keep it for reference.
To get a closer view of the photos below, click on them – this will enlarge each for easier viewing.
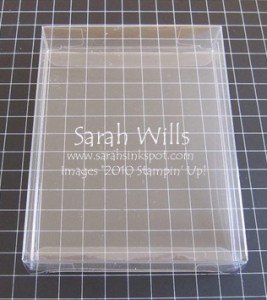
First you will need your clear plastic case – this is a standard plastic case that holds A2 cards – it measures 1″ deep x 4 1/2″ wide x 5 7/8″ long…
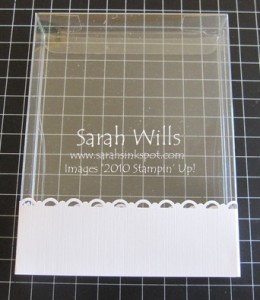
First you are going to make a band to go around the bottom – cut a piece of card stock to be 1 1/2″ x 12″ – BUT if you wish to shape the top edge with a punch add 1/4″ on to this measurement and cut your cardstock to be 1 3/4″ x 12″…
Shape your edge with a paper punch if desired – I used the Scallop Trim Border Punch.
Then place into your score tool or Paper Trimmer with score blade inserted – with the longest side along the top edge of your trimmer – and score at 2 3/8″, 3 1/2″, 8″ and 9 1/16″…and fold along all score lines…
Turn over and apply strong adhesive tape such as Sticky Strip…
And carefully adhere to the bottom of your box – to get perfect placement stand your box up so that you have a firm bottom edge to use and apply the front panel first – then wrap around one side and then the other…
To decorate this panel with patterned paper cut a strip to be 1 1/4″ x 12″ – score as above and adhere in place.
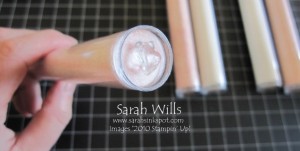
Next take your 5 Tubes and fill them…
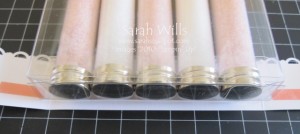
To ensure they don’t move around in the box I like to add a pop-up glue dot to the base of each – you can find these at any large craft store – or you could use a blob of hot glue…
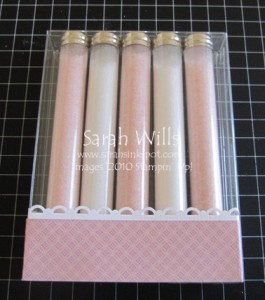
Push each into position in your box – dont worry if they dont line up well – they will as soon as you close that lid – close the lid and this is what your box should look like…
Now to make the top band – cut a piece of cardstock to be 1 1/4″ x 12″ – again, if you wish to shape one edge with a punch add 1/4″ on to this measurement and cut your cardstock to be 1 1/2″ x 12″…
Shape your edge with a paper punch if desired and place into your score tool or Paper Trimmer with score blade inserted – with the longest side along the top edge of your trimmer – and again score at 2 3/8″, 3 1/2″, 8″ and 9 1/16″.
Fold along all score lines and apply Sticky Strip…
Adhere in place at the top of your box but this time you want to make sure that the cardstock sticks out 1/8″ above the top of your box – this ensures a nice neat look.
I find it easiest to peel off the backing strip of the tape on the front panel and lay the box onto it – then attach each side being sure to keep a nice even line around the box…
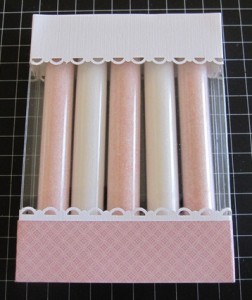
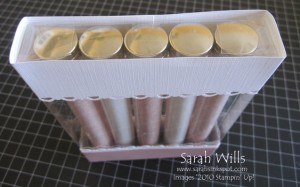 And this is what you will have…
To add a band of patterned paper cut a piece to be 7/8″ x 12″, score as before and adhere…
And add embellishments as wished…
I used papers from Springtime Vintage to decorate mine and added some Pearls between each scallop and a piece of Taffeta Ribbon to give a touch of luxury…
My image is from the set Pretty Postage as featured in the Summer Mini Catalog and I used my 1 3/8″ & 1 1/4″ Circle Punches and my Scallop Circle Punch to highlight it.
My Bath Beads? They are Vaseline Moisturising Bath Beads which I found at Walmart for just $2.17 for a 24 oz box – a fab deal!
WANT TO PRINT OUT THIS TUTORIAL? PLEASE CLICK HERE FOR A PRINTABLE VERSION WHICH WILL OPEN IN A NEW BROWSER WINDOW
Please click HERE to view my other Project Tutorials
