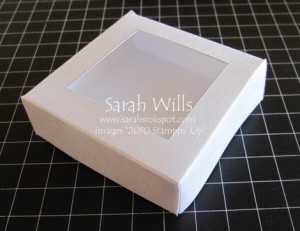
This is one cute way to present some treats – this box is quick, easy and fun to make with no special equipment required.
You can put a window into the top like I did below, or leave it covered…and it is a great size to hold candies or even 3″ x 3″ note cards for a cute gift…
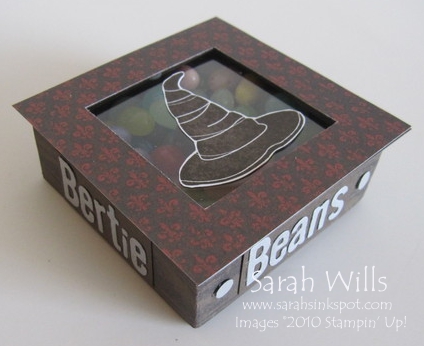
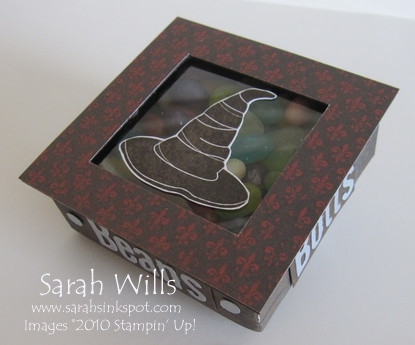
Here is one I made to hold some Jelly Beans – it has a Harry Potter theme and so I put the wording ‘Bertie Botts Beans’ around the side and decorated the top with a ‘sorting hat’ stamp that I found in the Stampin’ Up! set Jack of All Trades…
Here is my tutorial so that you can make your very own – at the end of this tutorial you will find a printable version too so that you can print it out and keep it for reference.
To get a closer view of the photos below, click on them – this will enlarge each for easier viewing.
To make the box:
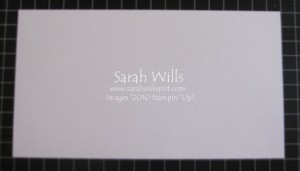
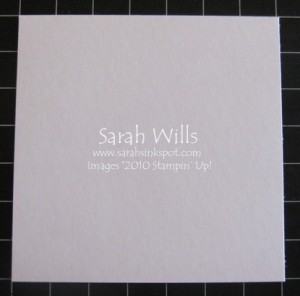
Cut a piece of cardstock to be sized 9″ x 5″…
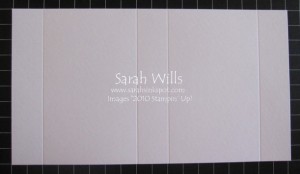
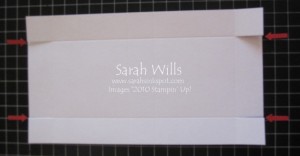
Place into your Scoring Tool or Paper Trimmer with Score Blade inserted – with the long edge along the top – and score at 1″, 4″, 5″ and 8″…
Turn around so that the shortest edge is along the top and score at 1″ and 4″…you will now have some intersecting score lines…
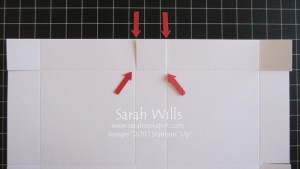
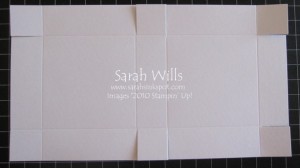
At one short end, use a sharp pair of scissors to cut down one of your score lines by 1″ – until you reach the intersecting score line as shown below…
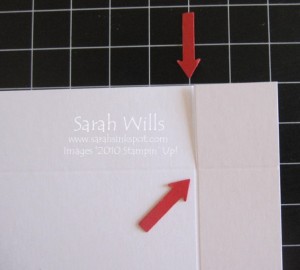 Repeat for the other 3 corners…
Then you are going to do the same thing along the center score lines at the top edge…
And repeat for the bottom edge…
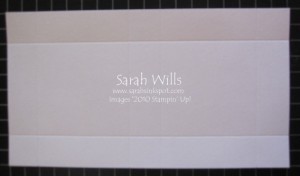
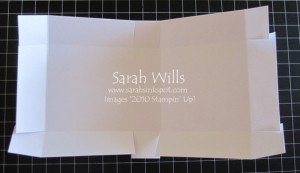
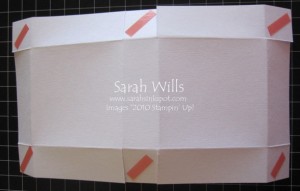
And then fold along all score lines like so…
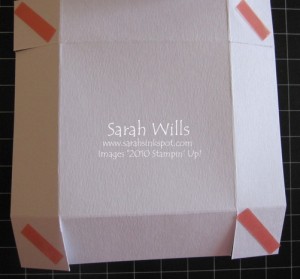
Turn your cardstock over and apply a very strong adhesive tape such as Sticky Strip to each small flap that you have made…
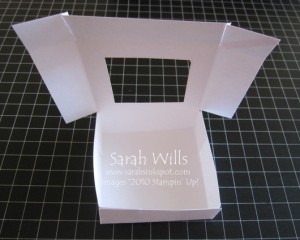
IF YOU WISH TO MAKE A WINDOW IN THE LID the next few steps will show you how to do that – if you do not wish to make a window then move on down to where we assemble the box.
To make a window:
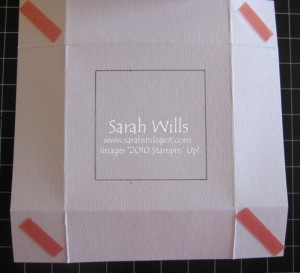
Choose a panel to be your lid…
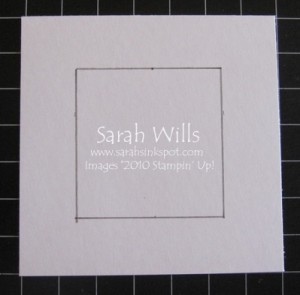
I decided to make a 2″ window in my lid and so measured in 1/2″ from every side and drew a box using my pencil and ruler…
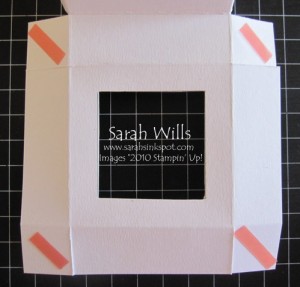
Then using a self-healing mat and a craft knife, cut along those lines to give you your window.
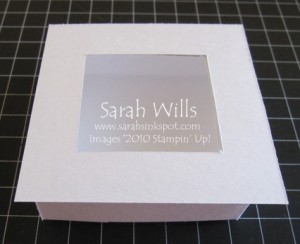
You can add a piece of Window Sheet/acetate to the underside to stop the contents from falling out…
To assemble your box:
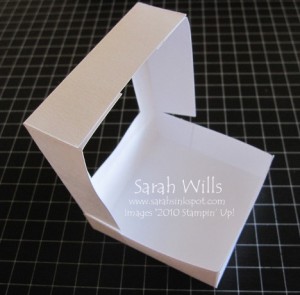
Peel the backing strip off of your tape on the flaps of your base and fold your box in and secure the flaps inside the box…
Repeat for the lid…
Fold the lid over and there is one quick, easy and fun to make box…
You will notice on my box that I added an extra larger bit on the top to make it look framed – this is how you can do that…
Cut a piece of cardstock to be sized 3 1/2″ x 3 1/2″…
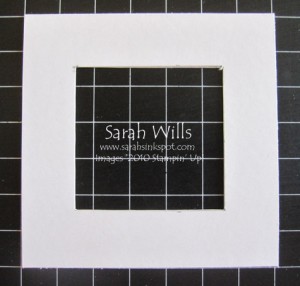
If you wish to make a window, you will need to do as we did above except measure in 3/4″ from each edge to give you a 2″ square in the center…
Cut along those lines…
And adhere to your box lid – you can attach it flat using tape or if you want a bit more of a framed look, use Dimensionals like I did for mine…
Here is mine…
You can see that by adding the top piece with Dimensionals my acetate and hat appear to be framed…
So what did I use to decorate mine? I covered the top and sides using beautiful patterned papers from Well Worn DSP and made my box using Early Espresso cardstock.
My hat on the top is a stamp from the set Jack of All Trades and the lettering I made using my Big Shot and Billboard Decorative Strip Die…
WANT TO PRINT OUT THIS TUTORIAL? PLEASE CLICK HERE FOR A PRINTABLE VERSION WHICH WILL OPEN IN A NEW BROWSER WINDOW
Please click HERE to view my other Project Tutorials
