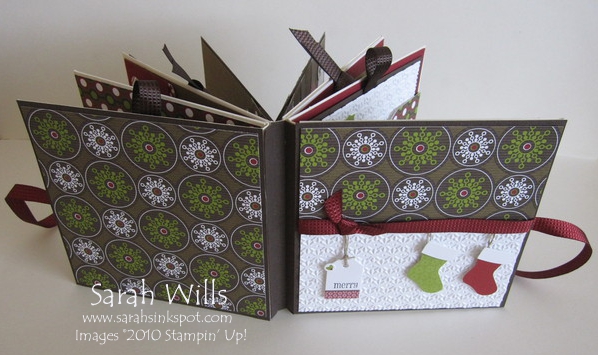
This is a beautiful Album that would make a fabulous Holiday gift for family members – especially for Grandma & Grandpa…
It opens out to reveal lots & lots of pages and also lots of slide up or slide out pages from pockets – this gives you LOTS of room to add photographs, journaling or even a gift card…
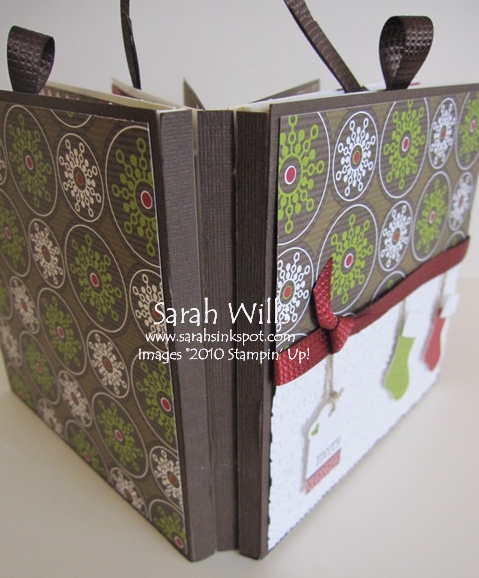
And here’s the bit that makes it different from other albums – you can flip through it like a normal book type album but there’s an extra cool feature – you can also display it – you simply pull the front cover around to meet the back cover and secure with ribbons to hold it in place – imagine it filled with photos – what a cute holiday display it will make!
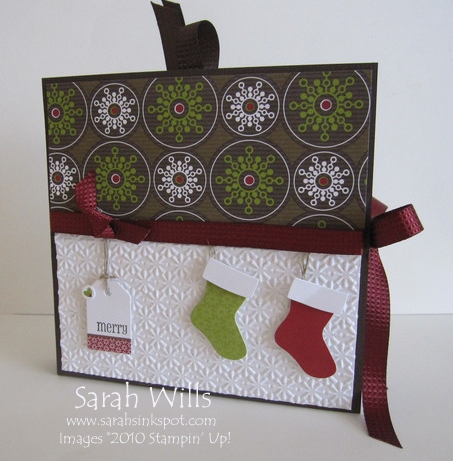
Here is the front cover with that gorgeous Quilted Satin Ribbon tied in a bow at the side…
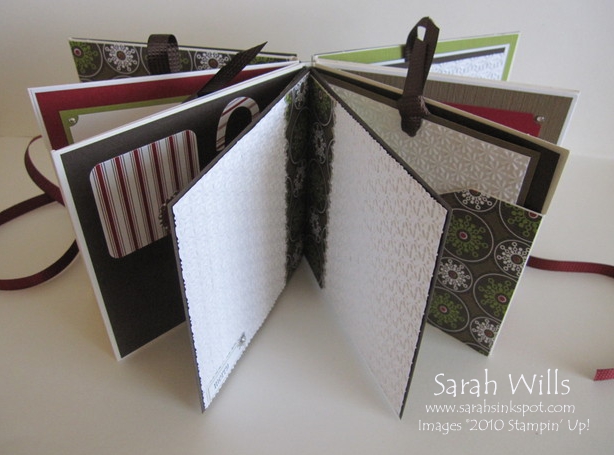
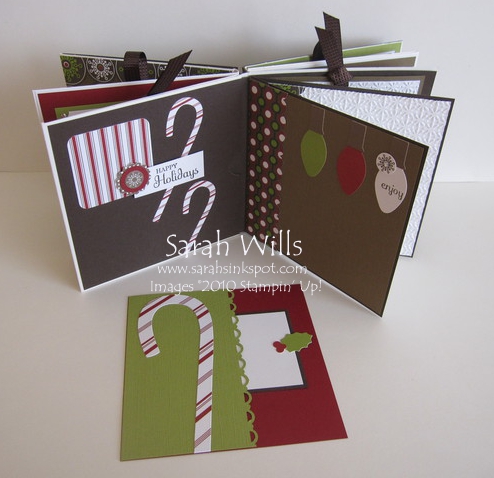
Here is what you see when it is half open…those ribbon tabs at the top are attached to pull-out pages – and there are slide out pages in side pockets too…
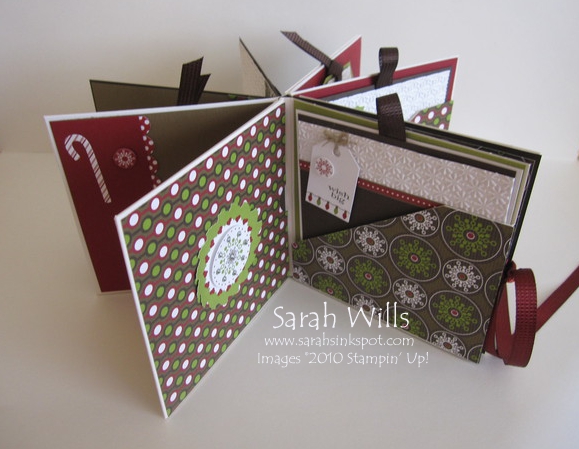
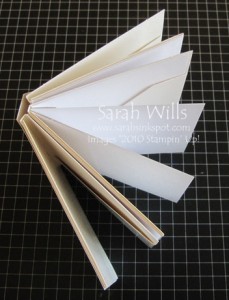
And this is what you see when you open it fully up & tie it in place – I decided to call it my Carousel Album…
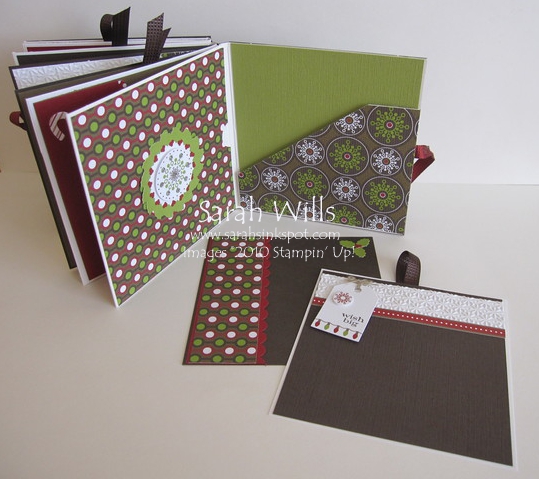
And here is a glimpse of one of the pull-out and one of the slide-out pages…there are 20 surfaces inside to decorate!!!
If you prefer you can turn it into a traditional book style album by adding a traditional book cover rather than the carousel type method – both are shown in my free tutorial below…
TO MAKE IT EASY FOR YOU TO MAKE YOUR OWN CAROUSEL ALBUM: I have put together a Carousel Album Kit to make it super easy for you! My Kit contains everything that you will need to make one the same as mine – included in each kit are the following:
- 3 CD Folders
- Pre-cut Cardstock Pages
- Pre-cut & Scored Center Panel
- 4 sheets of 12×12 Textured Solid Cardstocks
- 3 sheets of 12×12 Christmas Lane Designer Series Papers
- 3 sheets of 6×12 self-adhesive Die Cut Stickers & Borders
- Pre-cut cardstock Mats
- Pre-cut cardstock Pull-out & Slide-out Inserts
- Quilted Early Espresso & Cherry Cobbler Ribbons
- Linen Thread
- Whisper White Cardstock pieces textured with the new Snowburst Embossing Folder
- Sparkly Rhinestones
- Pre-punched border strips
Additionally you will receive my very detailed step-by-step instructions showing you how to complete your album:
- These are different from the free tutorial below – you will be shown how to replicate my album exactly!
- They are easy to follow & a step-by-step guide to assembling your album to be just like mine
- They are complete with photographs of every page & insert making it easy for your re-create what I did
- These instructions will be emailed to you
Please note that you will need to supply your own Stamps, Adhesive Tape, Sticky Strip & Dimensionals.
I am taking orders for this Kit through September 1st – I will place my order with Stampin’ Up! on that day for all supplies and should receive it on or around your September 5th – I will package up your kit and mail it out to you by September 7th so you will get it FAST!
And of course if you choose to decorate yours differently you can – you will have lots of supplies in this Kit to be creative with!
HOW DO YOU GET YOUR KIT? Click on the ‘Buy Now’ button below…the price INCLUDES shipping to you.
Would you like to purchase the step-by-step instructions only, with or without the 3 CD Folders? You have those options below!
Perfect for demonstrators who are planning a class or for those who already have supplies…click on the ‘instructions only’ option below to purchase your copy and they will be emailed to you within 24 hours – they are also available to my international visitors too!
Here is my tutorial so that you can make your very own CD Folder Carousel Album – at the end of this tutorial you will find a printable version too so that you can print it out and keep it for reference.
To get a closer view of the photos below, click on them – this will enlarge each for easier viewing.
What you will need to make this album:
- 3 CD Folders
- co-ordinating solid colors of cardstock, patterned Designer Series Papers, embellishments & stickers, Ribbons
- very strong Adhesive Tape such as Sticky Strip & Dimensionals
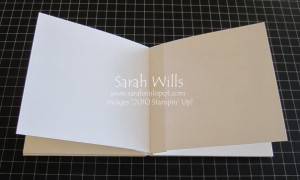
You will need 3 CD Folders…the front one below shows you what they look like inside… 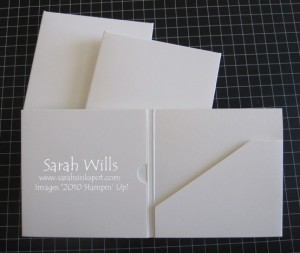 To make the Center Panel: Cut a piece of cardstock in the color of your choice to be sized 5″ x 11″. Place in your Score Tool or Paper Trimmer with the score blade inserted and score at 5″, 5 3/4″, 6 1/2″, 7 1/4″ and 8″
 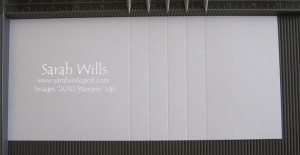 And fold along those score lines as shown below, to make mountains and valleys…
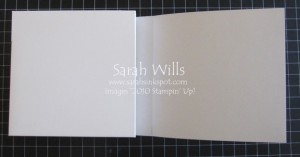
 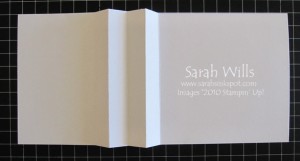 Take your first CD Folder and fold it ‘inside out’ like so…
 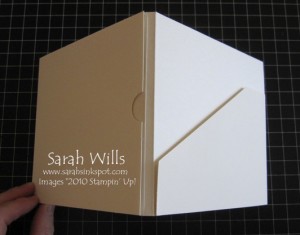 Take your Center Panel and fold almost in half – insert the smaller end into the fully enclosed pocket and the larger piece into the diagonal flap, whilst holding your folder like this…this makes it easy to slide in those panels…
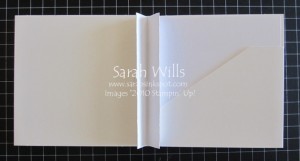
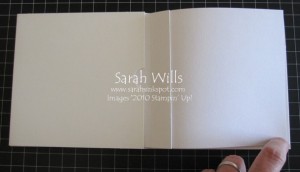
 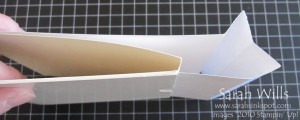 When both sides are in the pockets, lay flat on your work surface and this is what you will have – two flaps sticking out from the center. These flaps will act as an anchor point for pages.
 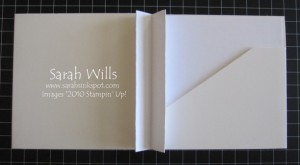 If you wish you can adhere the piece down that lies in the diagonal pocket – but do not adhere the other side – your central panel will need to be able to move slightly when the book is opened and closed. Put this to one side.
Assembling your Album Core: You need to cut 2 pieces of cardstock to measure 10 1/8″ x 5 1/16″. Score each in the center at 5 1/6″ and fold along those score lines… 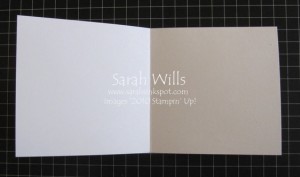 Take one of those pieces and fold in half – apply a very strong adhesive tape such as Sticky Strip all around the edges of it…
 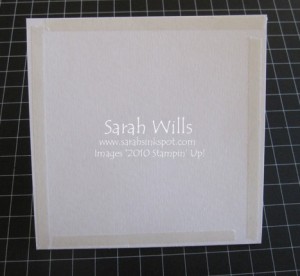 Take your second CD Folder and adhere that panel to one side of it – this is what you will have…
 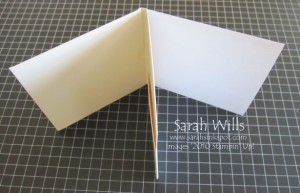 Now bring back the CD Folder with the Central Panel in it. Take the folder with the page attached that you just made, and apply Sticky Strip to the other side of your page – you are now going to adhere it to the left panel of your CD Folder with the Central Panel in it.
Be careful at this point to make sure that your CD Folders are in the same orientation before adhering them together! And this is what you will have…two CD folders attached together by your page strip… 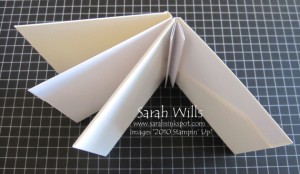
You are now going to repeat the above with the second piece of cardstock and third CD Folder.
When you have done this, you will have all 3 CD Folders linked together by 2 page strips – like this…
Now you can really see it start coming together…
Adding Pages to that Central Spine:
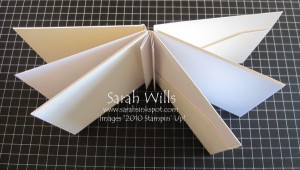
So the first thing that we did was to make a Central Panel with flaps – you are now going to add pages to these flaps.
Lay your album out so that you can see those central flaps…
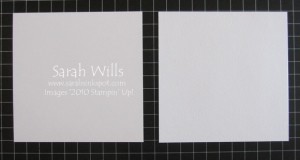
Cut two pieces of cardstock to measure 5″ x 5″…
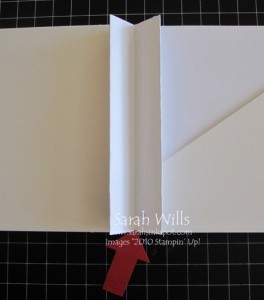
Apply Sticky Strip to your first flap – be sure to apply it to the center part of the flap as shown by the red arrow below…
And then adhere the first page to it…and then repeat for the other side – and this is what you will have…
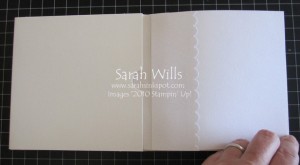
Now when you turn that page over, on the reverse this is what you will see – the other side of the flap – but fear not – this is very easy to disguise!
You can simply cover this by adding a border – I like to edge a piece of cardstock with a punch or add some patterned papers to cover mine.
But this is what it looks like when you do that – nicely disguised so you would never know…
To make the Album Cover:
You have two choices for this – you can make a Carousel Album that opens all the way out in a circle like mine does OR you can make this a simple book style album – here is what you do for each:
Carousel Album Cover:
Because you want to be able to bring your front and back covers together you can’t make a typical book spine because it would be destroyed by folding it back on itself – so here is what I do:
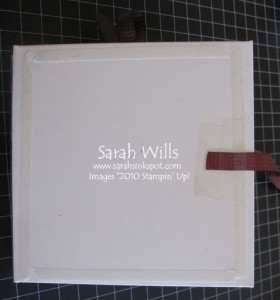
I simply cut two pieces of solid cardstock to be sized 5 1/8″ square – I decorate both pieces using patterned papers & onto the front one I add embellishments and a piece of ribbon – here are my front & back covers…
To add those covers – I take two lengths of ribbon – approximately 10″ in length each – and adhere one to the front cover & one to the back cover.
I then add Sticky Strip all around the edge…
And adhere my covers in place.
For the spine – I simply cut 3 strips of cardstock to be sized 5 1/8″ x 1/4″ – I then adhere each strip to each folder using Sticky Strip – you need to use very strong adhesive to ensure they stay in place – and this is what they look like:
Because you have given each CD Folder spine it’s own ‘cover’ you can freely move the folders around to form a circle shape.
If you decide you want to make a simple book style album then you can easily add a traditional cover to this album instead…
Book Style Album Cover:
If you prefer to make a book style cover that will not open up into a circle, then this is what you do…
Cut a piece of cardstock to be 11 1/4″ x 5 1/8″…
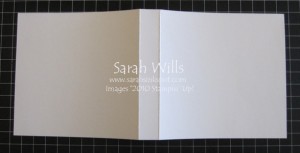
Score at 5 3/16″ and 6″ and fold along those score lines…
Use Sticky Strip to adhere one panel to the front cover of your album…
And then adhere the other panel to the back cover of your album -and this is what it will look like – ready for decorating, adding photographs & embellishing..
Be sure not to put adhesive onto the spine area – this part needs to be left free so that your album can easily be opened & closed.
And now comes the very fun part…now you’ve made it, you get to decorate it!
I used contents of the Simply Scrappin’ Christmas Lane Kit to decorate & embellish mine – and I just LOVE how it turned out…
You can find this kit on pg 26 of the Holiday Mini Catalog and it is just gorgeous – filled with beauitful patterned Designer Series Papers, Textured co-ordinating cardstocks and self-adhesive Die Cut Stickers & Border – just perfect for this project!
Below you can see an example of my pages and a pull-out insert – that insert has a pull out tab that is perfectly sized to put a gift card on – how cool is that?
WANT TO PRINT OUT THIS TUTORIAL? PLEASE CLICK HERE FOR A PRINTABLE VERSION WHICH WILL OPEN IN A NEW BROWSER WINDOW
Please click HERE to view my other Project Tutorials
