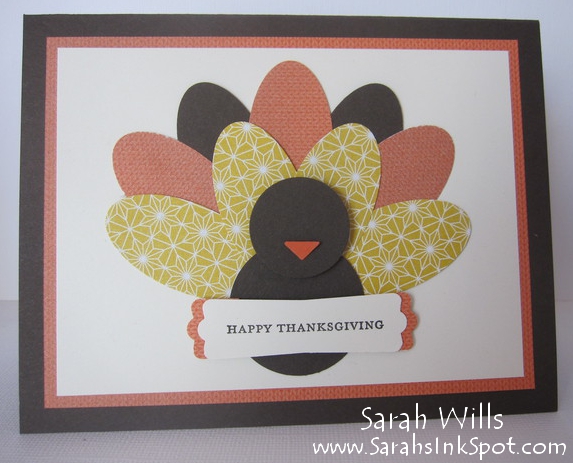
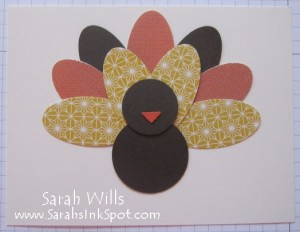
This is a super cute & easy to make Punch Art Turkey – he is perfect for your Thanksgiving cards & projects and would be super cute for place setting name cards…
Here is my tutorial so that you can make your own Punch Art Turkey – at the end of this tutorial you will find a printable version too so that you can print it out and keep it for reference.
Supplies needed:
- 119855 Large Oval Punch
- 119868 1″ Circle Punch
- 119860 1 3/8″ Circle Punch
- Cardstocks & Patterned Papers in fall colors
To make your Turkey:
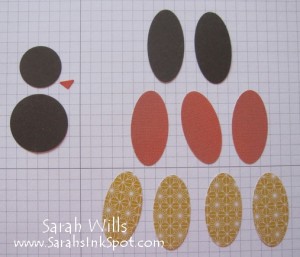
Punch out the following shapes:
- 1 x 1 3/8″ Circle
- 1 x 1″ Circle
- 9 x Ovals
- Cut 1 small triangle for the beak
For my Turkey, I used Early Espresso for his body & two of the feathers, Tangerine Tango for his beak and the orange & yellow patterned papers are from Sweater Weather DSP (pg 18 Holiday Catalog)…
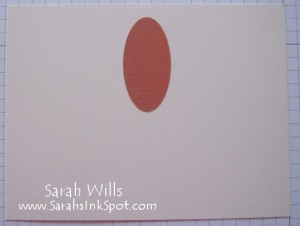
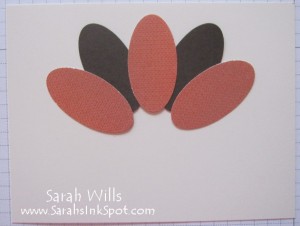
Place your first feather onto your background – I am using Very Vanilla cardstock for my background – and I find that Mini Glue Dots are the easiest way to adhere the features to it – you just need one small glue dot at the top of the feather and it holds nicely…
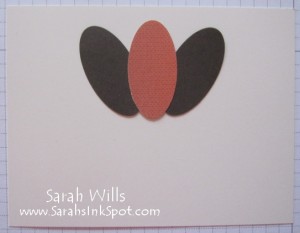
Then adhere two more feathers as shown…
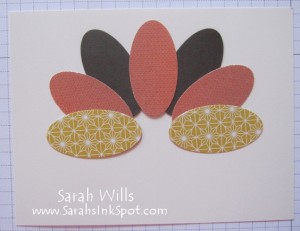
And then the next two – this now completes the back row…
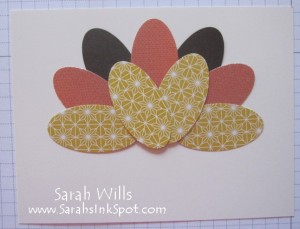
Now for the front row – add two different colored/patterned feathers…
And then the last two…
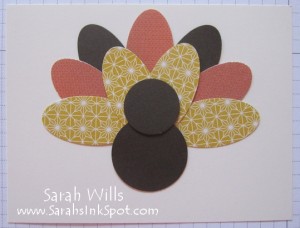
Next add your body to the center – I used a Dimensional to put his head on to make it look a little more 3D…
And then add his beak…
And there he is – easy and fun!
WANT TO PRINT OUT THIS TUTORIAL? PLEASE CLICK HERE FOR A PRINTABLE VERSION WHICH WILL OPEN IN A NEW BROWSER WINDOW
Please click HERE to view my other Project Tutorials
