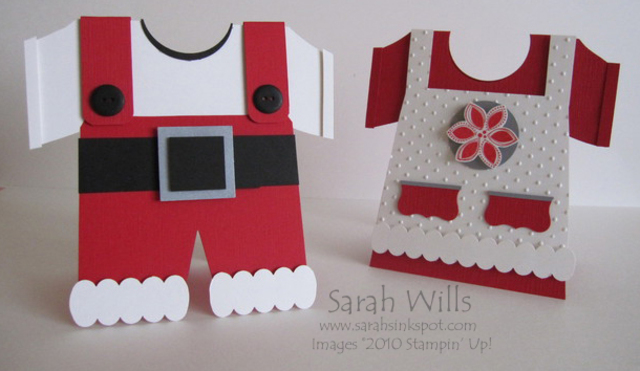
Meet Santa & Mrs Clause…aren’t they cute? I had such fun designing them along with putting together the tutorial and I hope you will enjoy making them too…
They look a little complicated to make but they are actually pretty easy – I have produced a step-by-step tutorial and have broken it down into steps to show you just how easy it is to make these cute cards…
Here is my tutorial so that you can make your own Santa & Mrs Clause – at the end of this tutorial you will find a printable version so that you can print it out and keep it for reference.
Firstly Santa’s Overalls…
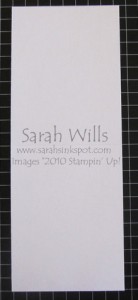
Take a piece of 8 1/2″ x 11″ cardstock and cut it in half lengthways – so that you have a piece measuring 4 1/4″ x 11″…
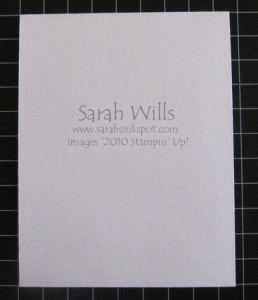
Score in the center at 5 1/2″ and fold in half…
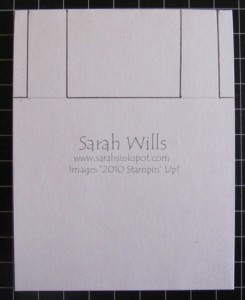
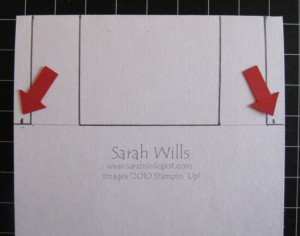
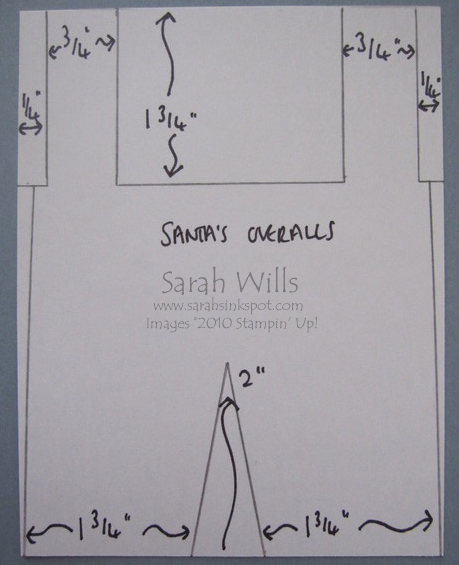
Now to make your shaped card…at the top edge (where your fold is) measure and mark with a pencil at – 1/4″ and 1″ and 3 1/4″ and 4″.
Measure 1 3/4″ down from the top edge and make a light pencil mark horizontally across your card at that point – this line is for guidance. Take your pencil and draw a line down from the mark you made at 1/4″ to this light pencil line and repeat for the 3 other marks on the top edge…then along that light pencil line draw a heavy line in 3 places as follows…you will cut along these heavy lines.
On each side make a pencil mark between the edge and the 1/4″ strap line as follows…
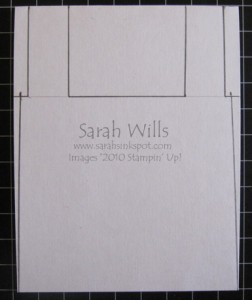
And draw a pencil line down from this to the bottom corner on each side…
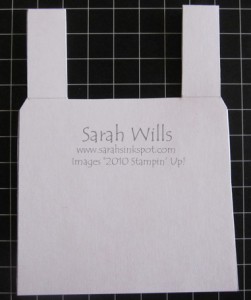
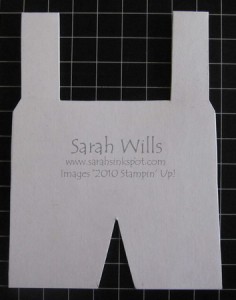
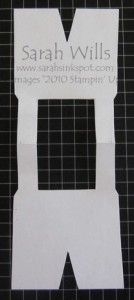
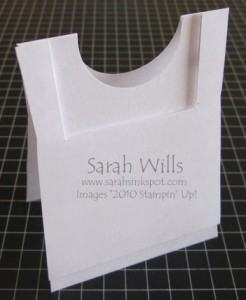
Using sharp Paper Snips cut along all dark pencil lines – I also add a little angled cut where the straps end to the outer edges to make it more fluid…when cutting, be sure to firmly hold your card front and back together to ensure accurate cuts through both pieces of cardstock…and this is what you will have…
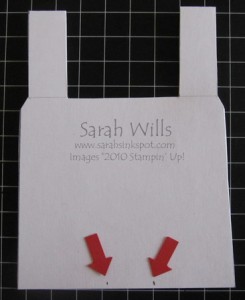
To make the legs, measure 1 3/4″ in from each bottom outer edge and mark with your pencil…
Find the center of your card and measure up 2″ and make a mark…
Taking your Paper Snips cut from the bottom edge marks up to the center mark to create a triangle…
When you fold your card out, this is what you will have…
Now for Santa’s shirt…
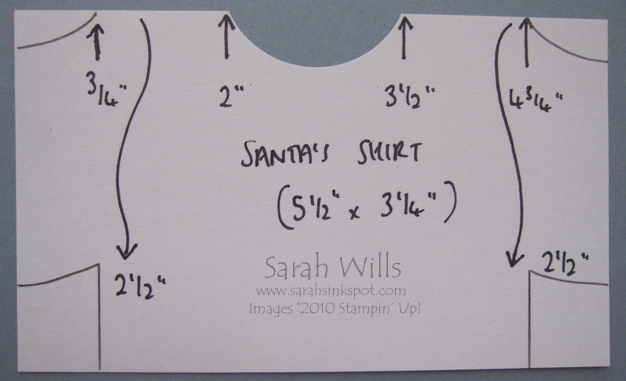
Cut a piece of cardstock to measure 5 1/2″ x 3 1/4″…
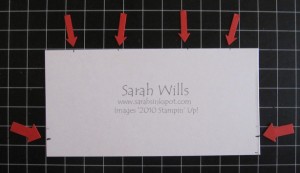
Measure in from the left edge and mark with a pencil at 3/4″ and 2″ and 3 1/2″ and 4 3/4″. Measure down 2 1/2″ from the top edge and make a pencil mark on each side…
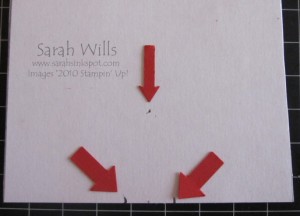
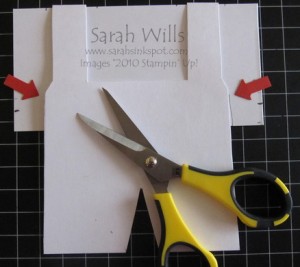
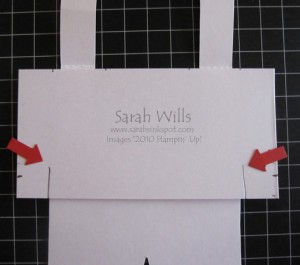
Place this piece inside your overalls and line it up so that your marks along the top edge are each side of the straps…on each side of your overalls (where the red arrows are pointing) trace along the edge of the overalls…
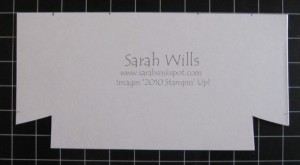
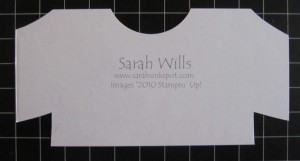
And this is what you will get when you lift the overalls off…
Cut up along this line and out to the pencil mark you made at the edge on each side…
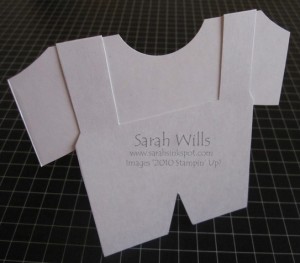
From the 1/4″ mark along the top edge on each side, cut outwards to create the sleeve tops…use those two center pencil marks as a guide and make a neck hole by using a Circle Punch – I used the 1 3/4″ Circle Punch for mine…
Erase any excess pencil marks remaining and use strong tape such as Sticky Strip to adhere your shirt onto the inside edge of you card – be sure you attach it to the front piece as follows…
If you wish, you can create another shirt piece for his back too – I left mine with just a front shirt as I love that look. He is now ready for decorating however you wish – isnt he cute?
And onto Mrs Clause…firstly her dress…
Follow the first 2 steps above to cut your cardstock and score & fold to get your basic card shape.
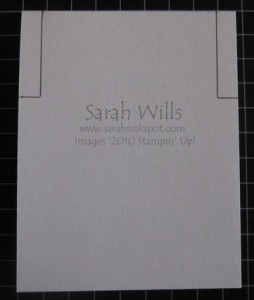
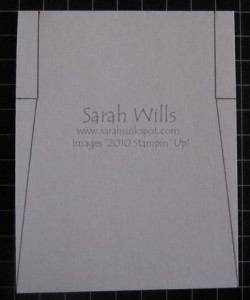
Make a mark 1/4″ in from each outer edge at the top…measure 1 3/4″ down from each side and make a mark – join these lines together like so…
Draw a pencil line from your 1 3/4″ mark down to the bottom corner on each side like so…
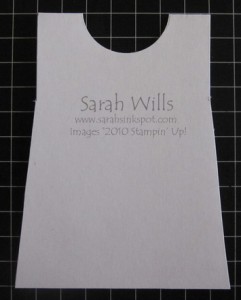
Cut along the lines and make her neck hole – I used my 1 3/4″ Circle Punch to create this…
Now to make her apron…
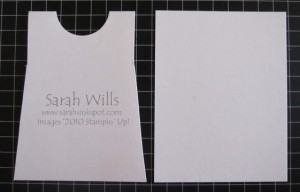
Cut a piece of cardstock to measure 5″ x 4 1/4″…
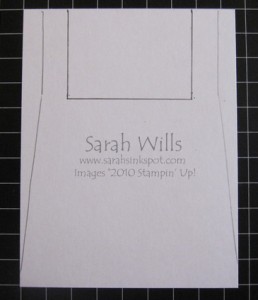
By using the dress as a template, trace around the edges of it onto your cardstock and create the rectangular piece in the center to cut away – I measured in 1/4″ from each side and my straps are 1/2″ wide – for depth, I measured 1 3/4″ down from the top edge…
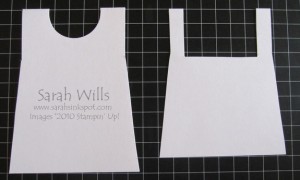
Cut around your pencil lines and this is what you will have – you can leave it full length or you can shorten your straps or the apron length easily by using your Paper Trimmer, which is what I have done below…
If you wish to stamp or texture your apron, do so at this point – I used the Perfect Polka Dots Embossing Folder to texture mine which you can see in the photo below…
Using Dimensionals attach to your dress base and that is it – ready to decorate as wished!
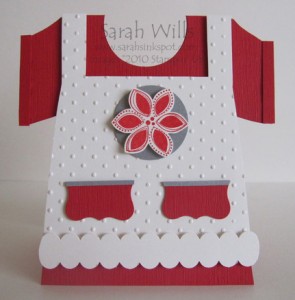
You can add sleeves to her if desired, which is what I did for my Mrs Clause below – simply follow the shirt template for santa and attach it behind the dress front.
You can find more information about what cardstocks and punches I used to create my Santa & Mrs Clause by going to my blog post which you can find by clicking HERE
You could add cotton wool to make the furry trim more realistic or add some bling with Dazzling Diamonds Glitter…decorating them is so much fun!
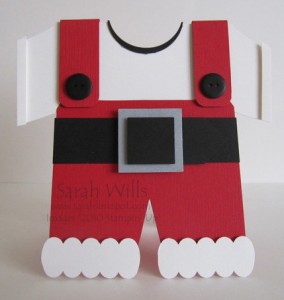
Here is my finished Santa…
And here is my finished Mrs Santa…
WANT TO PRINT OUT THIS TUTORIAL? PLEASE CLICK HERE FOR A PRINTABLE VERSION WHICH WILL OPEN IN A NEW BROWSER WINDOW
Please click HERE to view my other Project Tutorials
Templates with measurements…
Hi Sarah, You are so inventive. I love your ideas. I love making cards and other items for my grand kids especially for them to take in for the Holidays. I am just not good at thinking them up but you have given me some great ideas. Thank you very much.