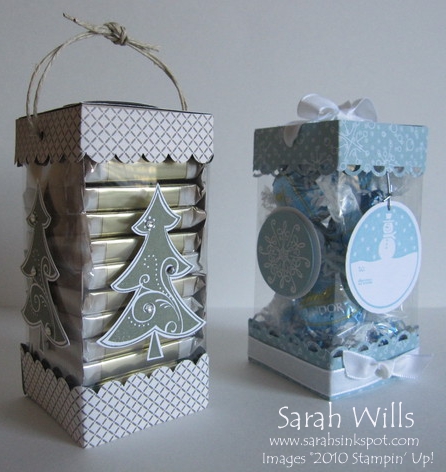
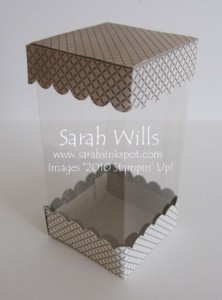
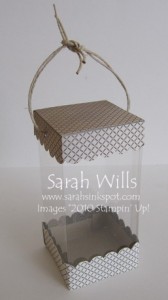
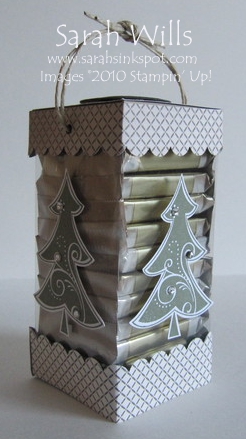
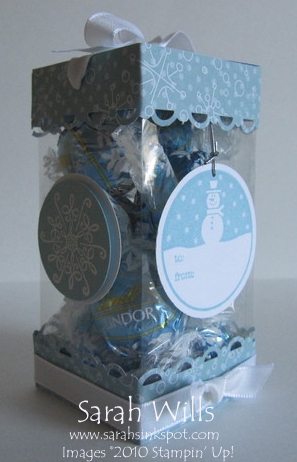
This is a great way to showcase treats especially colorful chocolates that you can find in all sorts of seasonal colors…
The acetate sides allow you to see what is inside and you can co-ordinate your stamps and patterned papers to match your treats for any occasion – Thanksgiving, Christmas, Easter to name a few…plus what a great way to present favors for parties, showers and weddings…
And with the holidays coming, how cute would these be hanging from the christmas tree?
As you can see below, there is lots of room for goodies – you can stack those individually wrapped Ghirardelli squares in there to make a fabulous treat…
They are fun, easy and very economical to make – all you need is an acetate sheet plus some scraps of cardstock and patterned papers and let your imagination get to work!
Here is my tutorial so that you can make your own – at the end of this tutorial you will find a printable version so that you can print it out and keep it for reference.
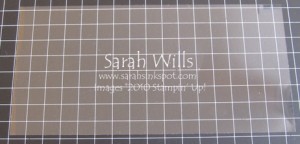
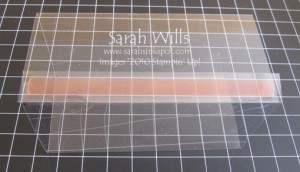
Take a window sheet or piece of acetate and cut it to be sized 8 1/4″ x 4″…
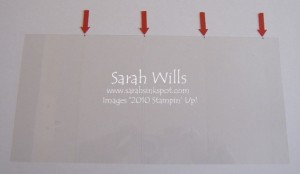
Place your acetate into your score tool or paper trimmer with score blade inserted and score at: 1 15/16″, 3 7/8″, 5 13/16″, 7 3/4″…
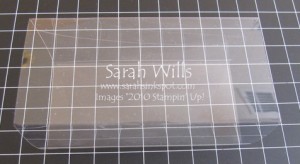
Score well and fold along those lines…
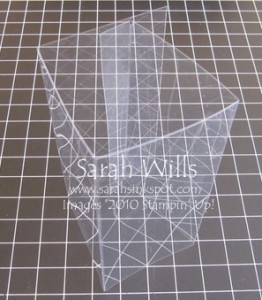
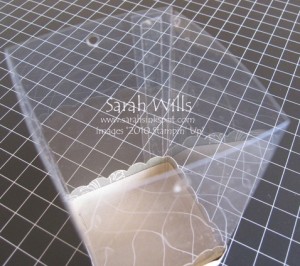
Apply strong adhesive tape such as Sticky Strip to the smallest section on the end…
And adhere to give you a rectangular tube…
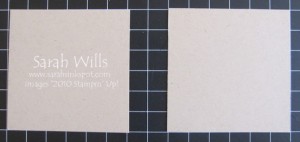
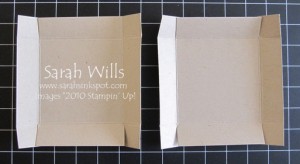
Cut 2 pieces of cardstock to be 3″ x 3″…
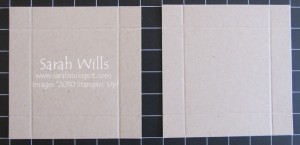
Score at 1/2″ in from all sides so that end up with 4 score lines per piece…
Using sharp scissors, cut 4 slits 1/2″ down on two sides – from the outside edge to the intersection of the score lines and fold…
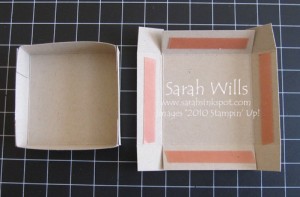
Using Sticky Strip, assemble one of the pieces which will become your top lid – on the other, apply the tape to the long inner sides…this will become your base piece…
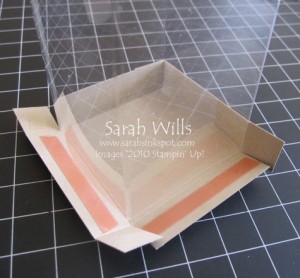
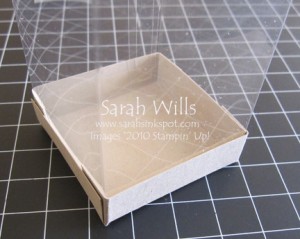
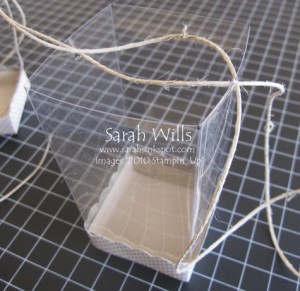
Take your acetate tube and position in place in the center of the cardstock…and attach in place with the Sticky Strip…
Work your way around until all pieces are adhered in place…
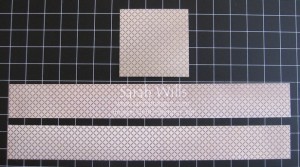
Next to decorate…cut pieces of patterned papers as follows: cut 1 piece 2″ x 2″ and cut 2 strips 8 1/4″ x 1″…
Adhere the top piece in place on the lid and attach your strips to the sides of the top and bottom pieces – you can shape the edges using a border punch if wished – I used the Scallop Edge Border Punch…
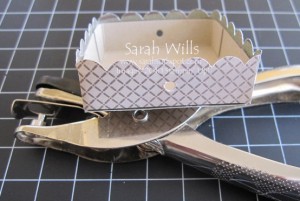
To secure your lid – punch two holes in your lid on opposing sides – I used an 1/8″ Circle Punch to make mine – and punched them 1/4″ down from the top edge…
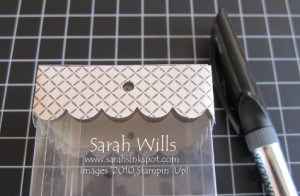
Place your lid onto your acetate tube and using a sharpie or other marker, make a mark through your hole – this will make it easy to punch a hole in your container thus the holes on the base and lid will line up perfectly…
Remove your lid and punch those holes using the marks you made as a guide…
Take a length of ribbon, twine or yarn and feed it through the holes in your base container…
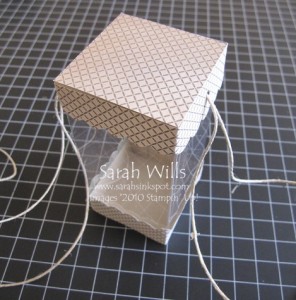
Thread each end through the corresponding holes on your lid and place your lid onto your acetate tube…
Take both ends above the lid and tie in a knot or bow to finish and trim to size – this provides a cute carrying handle and it also keeps the two pieces of your treat holder securely together…
Fill with whatever yummy treats you wish to add and there you have one sweet treat!
Here are mine – please click on each photo for a larger view…
The tree one uses Crumb Cake for the base with Designer Series Papers from Deck the Halls – I used my Scallop Edge Border Punch and stamps from the set Season of Joy plus some Rhinestones and Hemp Twine to finish it…I filled it with Ghirardelli squares which stack very nicely in it – I came across some that matched in perfectly with my color scheme – they are Caramel Latte flavored…yum!
My snowman one uses Baha Breeze for the base and is decorated with papers from Candy Cane Christmas – I added some Whisper White Tafetta Ribbon and used stamps from Tags til Christmas and Serene Snowflakes…the tag stamp allows me to write ‘to and from’ on it for a personal touch…
WANT TO PRINT OUT THIS TUTORIAL? PLEASE CLICK HERE FOR A PRINTABLE VERSION WHICH WILL OPEN IN A NEW BROWSER WINDOW!
Please click HERE to view my other Project Tutorials
