This is a very cool and easy way to add a real metal look to your projects.
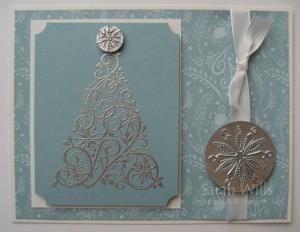
I love using my punches to punch out images that I make using this technique…you can see an example of this in my card below – I used the Faux Metal technique to create both my snowflake and star – click on the photo for a larger image…
You can find all the supplies you need on pgs 195-196 of the Catalog.
To get started you will need:
100005 Heat Tool – $29.95
102283 Versamark Ink – $7.50
Metallic Embossing Powders – $4.75 each
And there are some very useful add-ons too:
103083 Embossing Buddy – $5.95
102197 Powder Pals – $19.95
A bundle of these Embossing products would make a fabulous Holiday gift for that special papercrafter in your life – you can order them by clicking HERE
Gather your basic supplies together…
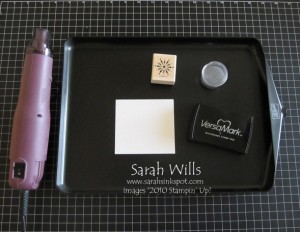
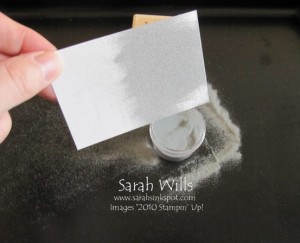
Here I have my Heat Tool, Versamark Ink, Embossing Powder and cardstock plus stamp of choice – you can also see that I am using the large Powder Pals tray – this keeps all my powder from scattering over my table.
Also have your Heat Tool plugged in, to hand and ready to go – you will need to use it pretty quickly in this technique.
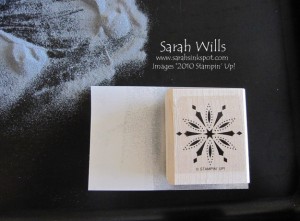
To create a faux metal look, you need to build up 3 or 4 layers of melted embossing powder and then stamp your stamp into the soft molten powders – you have to work fairly quickly to do this so I advise you to have everything at arms reach and readily accessible so that this is possible.
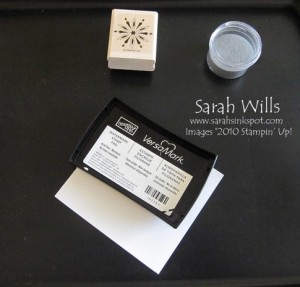
Take your Versamark Ink Pad and use it to apply ink directly all over a piece of cardstock – your cardstock needs to be larger than your stamped image plus more room on the edge to hold it with your fingers whilst you heat it using your heat tool
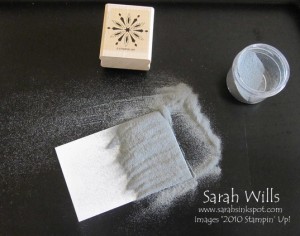
Sprinkle your Embossing Powder all over the Versamarked area…
Shake it off…
And then use your Heat Tool to move across your powdered area to melt it.
And then repeat – add more Embossing Powdered to the layer you just melted, shake it off and heat to melt…
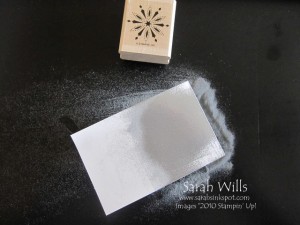 Repeat two or three more times until you get a very thick layer.
As soon as you have finished heating the final layer, quickly push your stamp into the molten layers and leave for a moment…
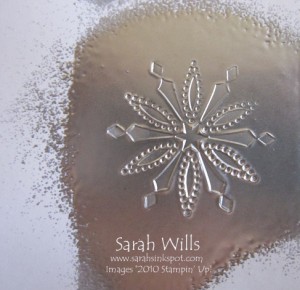
Pull your stamp off and this is what you will see…
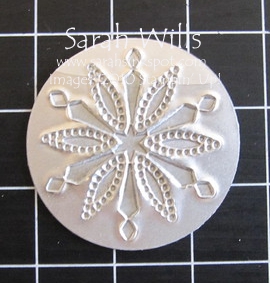
You can cut or punch it out however you wish – it looks super cool and is a great way to create your own embellishments…
WANT TO PRINT OUT THIS TUTORIAL? PLEASE CLICK HERE FOR A PRINTABLE VERSION WHICH WILL OPEN IN A NEW BROWSER WINDOW!
Please click HERE to view my other Tutorials
Want more ideas on using Embossing Powders? I have some that you can find in my Embossing Gallery by clicking HERE
Want to find out how to use Embossing Powders? Find my tutorial HERE
Want to know how to apply Iridescent Ice to your stamped images? Find my tutorial HERE
