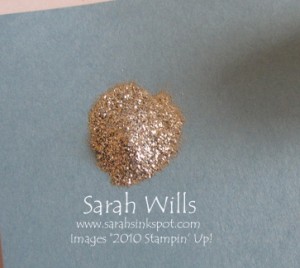
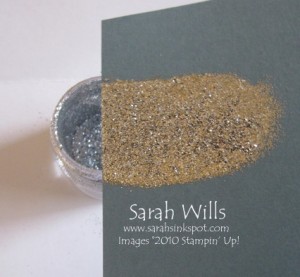
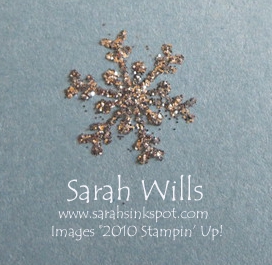
This is how you can use Heat & Stick Powder to add Glitter to your stamped images – it’s easy and fun and gives alot of bling!
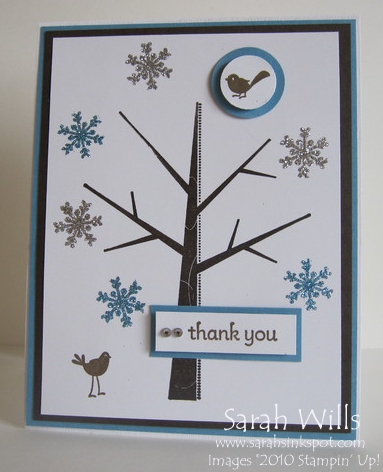
I used this technique on my card below – my snowflakes have silver and blue fine Glitter on them and in real life they really sparkle…
To get the glitter to stick to your stamped images you will need Heat & Stick Powder – this magical stuff can be found on pg 196 of the Catalog and one little pot will last you for years.
Please read on for my step-by-step tutorial – at the very bottom you will find a link to a printable version for you to print out and keep too!
You can find all the supplies you need on pgs 195-196 of the Catalog.
To get started you will need:
100005 Heat Tool – $29.95
102283 Versamark Ink – $7.50
100625 Heat & Stick Powder – $4.50
Fine Glitters – $4.50+
And there are some very useful add-ons too:
103083 Embossing Buddy – $5.95
102197 Powder Pals – $19.95
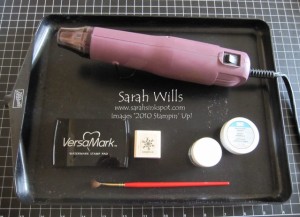
Gather your basic supplies together…
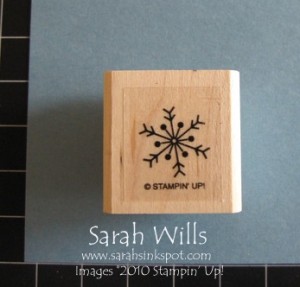
Here I have my Heat Tool, Versamark Ink, Heat & Stick Powder, Glitter, a brush, cardstock plus stamp of choice – you can also see that I am using the large Powder Pals tray – this keeps all my powder & glitter from scattering over my table.
Also have your Heat Tool plugged in, to hand and ready to go – you will need to use it pretty quickly in this technique.
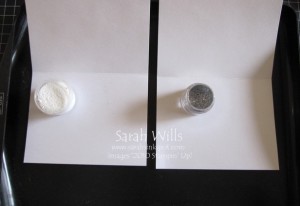
Next set up your powder station – on my Powder Pals tray you will see that I have 2 folded pieces of scrap paper and have opened my Heat & Stick Powder and my Silver Glitter so they are ready to use…
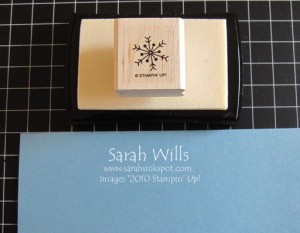
Next set up your stamping station – here I have my cardstock, ink and stamp ready to go…
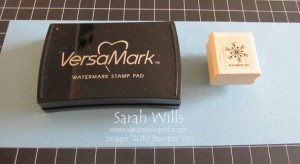 First ink up your stamp using Versamark Ink …
And stamp down onto your cardstock…
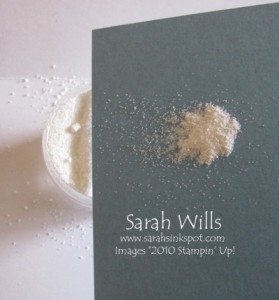
Remove your stamp and go to your Heat & Stick station – sprinkle on some powder and gently tap and shake the excess back into the pot…you can see that I am doing this over my piece of folded white scrap paper…this makes it very easy to return to the jar…
And you will have your image covered in the powder…
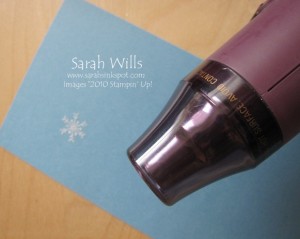
Next use your Heat Tool to melt this powder – it goes clear when melted…
And then QUICKLY take it to your Glitter station – sprinkle on your glitter…
And shake the excess back into your pot…use the brush to gently brush away and glitter around the image…
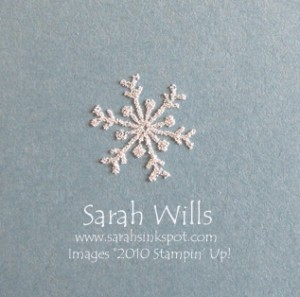
And go back to your Heat Tool – give your image a quick blast of heat to set that glitter in place and there you have one sparkly stamped image!
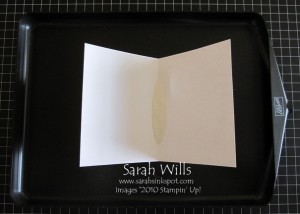
So why do I use scrap paper underneath my Powder & Glitter pots? To make clean-up super easy and quick!
Pick up each side of your folded scrap paper so that all the powder is in the center – and simply use it to funnel your excess embossing powder back into the jar…
WANT TO PRINT OUT THIS TUTORIAL? PLEASE CLICK HERE FOR A PRINTABLE VERSION WHICH WILL OPEN IN A NEW BROWSER WINDOW!
Please click HERE to view my other Tutorials
Want to find out how to use Embossing Powders? Find my tutorial HERE
Want to know how to apply Iridescent Ice to your stamped images? Find my tutorial HERE
