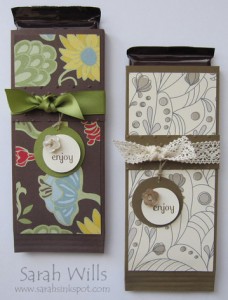
This is a very cute way to turn an ordinary bar of chocolate into a little something special – this would be a perfect party or shower favor and for fellow demonstrators, would make a great hostess or customer gift.
Just by changing the colors and papers you can use this idea for any occasion – I love the simplicity and the fact that it uses only small pieces of cardstock, ribbon and Designer Series Paper – it’s a great way to brighten someone’s day…
The chocolate bar simply slides out of the little pocket and you can size your pocket to fit any chocolate bars that you wish to use – here are two that I created using floral themed papers to give to teachers to make their week start on a happy note…
Here is my tutorial so that you can make your own – at the end of this tutorial you will find a printable version along with the template of measurements so that you can print it out and keep it for reference.
The chocolate bar I used is a Hershey’s Milk Chocolate bar – it’s weight is 1.55 oz and it measures 6 1/4″ x 2 1/4″ – I designed my pocket to fit this sized bar – if you are using a different sized bar, simply adjust the measurements accordingly.
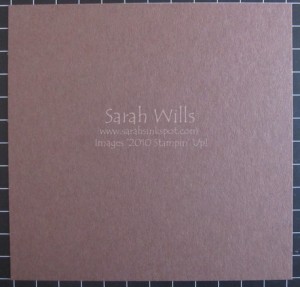
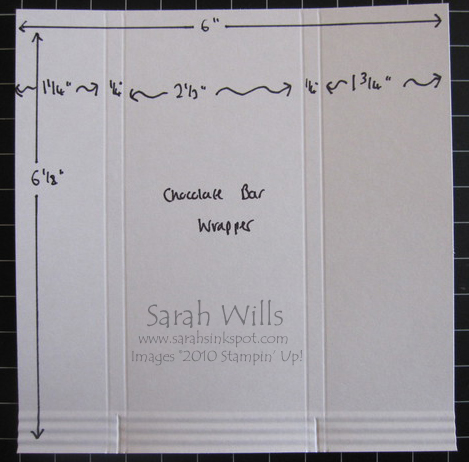
Firstly cut a piece of cardstock to make your pocket – I cut mine to be 6 1/8″ x 6″…
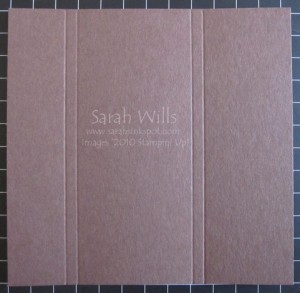
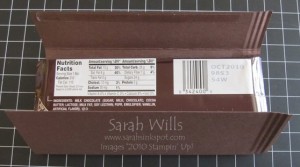
Place your cardstock into your score tool or paper trimmer with score blade inserted with the 6″ edge along the top – score at 1 1/4″, 1 1/2″, 4″ and 4 1/4″…
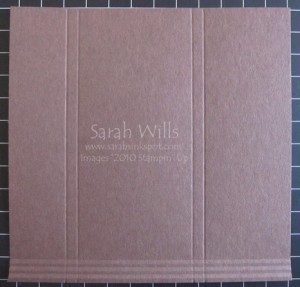
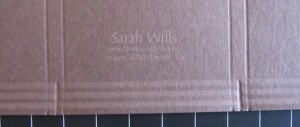
Take your Crimping Tool (pg 198) and crimp the bottom edge of your cardstock – I wound my cardstock through 3 ‘clicks’ and reversed it back out..
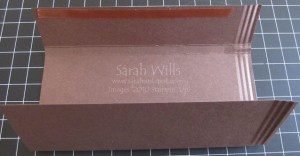
Then score in two parts along this crimped area – in the center of each 1/4″ area as follows…this will allow you to make a neat fold inwards in the crimped part when you assemble your pocket…
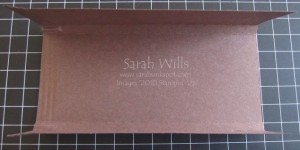
Fold along all score lines…
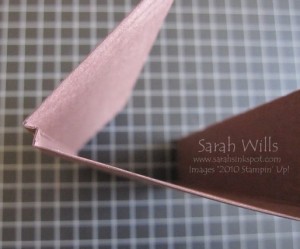
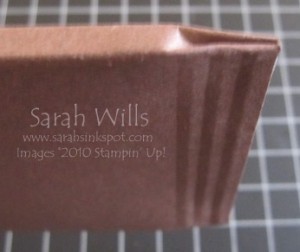
And use your thumb nail to push in those little scored bits in the crimped area like so…
Apply a strong adhesive such as Sticky Strip to one long edge…
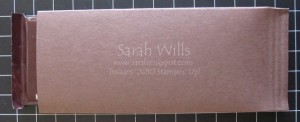
And adhere to the other cardstock edge – here is a tip – if you insert your chocolate bar it makes it easier to do this as the bar gives you a surface to press down onto…
Apply a piece of Sticky Strip to the bottom crimped edge and push firmly together, making sure the bits you pushed in with your thumbnail are in fact pushed in to give a neat look as follows…
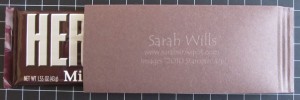
And then insert your chocolate bar and decorate as wished…
You bar will simply slide in and out…cute, eh?
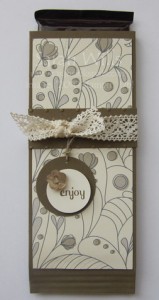
Here is one of mine – I used Soft Suede as my base and decorated it using Elegant Soiree DSP and that gorgeous Crochet Trim…
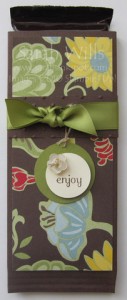
And here is another that I made using Chocolate Chip cardstock and Greenhouse Gala DSP…
WANT TO PRINT OUT THIS TUTORIAL? PLEASE CLICK HERE FOR A PRINTABLE VERSION WHICH WILL OPEN IN A NEW BROWSER WINDOW
Please click HERE to view my other Project Tutorials
Chocolate Bar Wrapper template with measurements…
