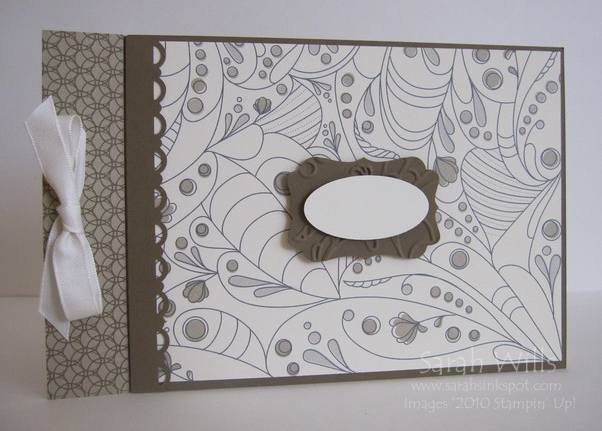
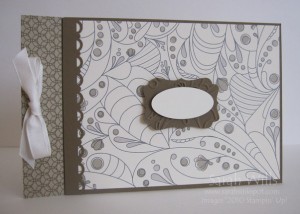
This is a sweet little scrapbook that is very quick and easy to make – it makes a great little photo gift to make to give to family at gatherings during Thanksgiving or over the Holidays…
To make it you need just 2 sheets of cardstock, some clear envelopes and ribbon or brads making it a very affordable little gift – it is quick and easy to make so you can easily make a bunch of them and you can choose to decorate it with patterned papers or stamps and embellishments and they are lightweight too so a great treat to pop into the mail to loved ones…
Think about making some themed for Christmas – right now you can get 20% off of bundles of products featuring Designer Series Papers, Punches and Stamps with a Holiday theme..check those bargain bundles out by clicking HERE
I love the simplicity of this mini album and how amazingly professional it looks once complete – the clear envelopes act as page protectors for your photos and it is sure to wow the recipient.
Here is my tutorial so that you can make your own mini scrapbook – at the end of this tutorial you will find a printable version so that you can print it out and keep it for reference.
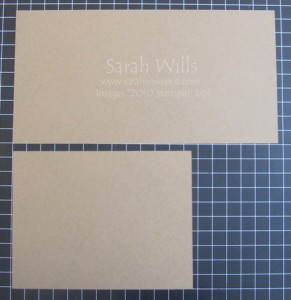
Take 2 sheets of cardstock – they can be the same color or different colors – one piece will be for the back and spine and the other for your front cover. Cut them to be:
4 3/4″ x 9 1/4″
4 3/4″ x 6 1/4″
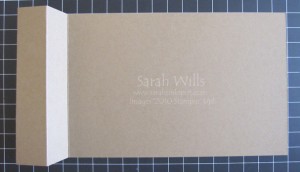
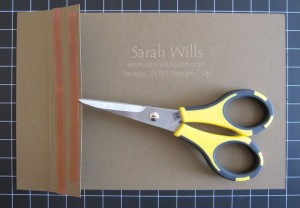
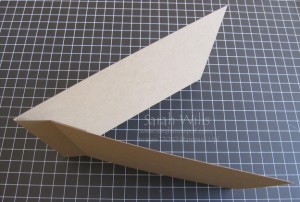
Take the larger piece which will be the back & spine of your album – place into your Scoring Tool or Paper Trimmer with the score blade inserted with the longest edge along the top – score at 1″ and 2″ and fold as follows…
Place very strong adhesive tape such as Sticky Strip on the back of the small end panel…
And adhere your front piece onto it…here you can see the back, spine and front cover…
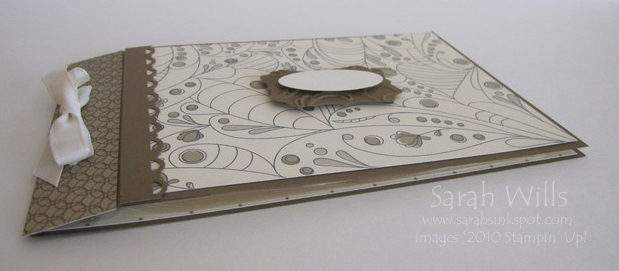
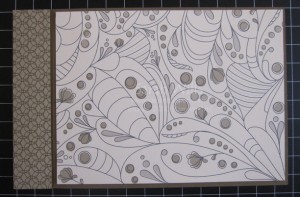
You can decorate with patterned papers or stamps…I decided on a brown theme for Thanksgiving and used Soft Suede for my base and covered it with papers from Elegant Soiree DSP…
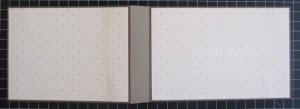
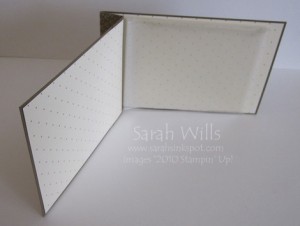
When you open your album this is what you will see…I decided to cover the inside of mine too…
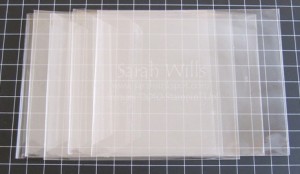
Next take some Clear Envelopes – you can choose how many to use – for mine, I decided to use 6…
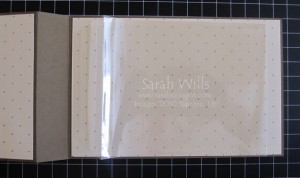
Peel off the adhesive strip from the flap and stick it down onto the back cover of your album – you can also stick it to the spine – have a play around and find what works best for you – you need to be able to access the opening so that you can slide photos in there at a later point…
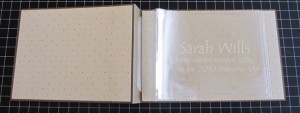
Repeat with the other envelopes, lining them up and stacking one on top of the other as you go and this is what you will have…
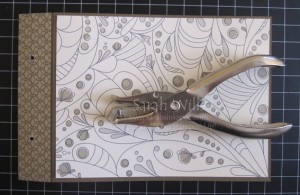
Next you are going to secure that spine area so that the sticky strips of your envelopes are neatly covered…take a hole punch – I used a 1/16th hole punch – and punch two holes into your closed spine…
You can either thread through some ribbon and tie in a pretty bow or you can put brads here to hold the spine closed…I used Very Vanilla Taffeta ribbon to compliment my papers and to give a little touch of luxury…
You can embellish as wished – I added a little Scallop Trimmed Border to mine plus added a tag onto which I can write the year or our family name before I give my gift away – I made my tag by embossing some cardstock using the Elegant Lines Embossing Folder and then punched it out using the Decorative Label Punch – I added my vanilla Oval and it is ready to go…
And this is inside my album…you can see my 6 page protectors awaiting their photos…you could write a note or sentiment on the inside cover to personalise your album…
I know you want to know, so here are the details of the clear envelopes that I used for my page protectors…you can find them on pg 171 of the Catalog and they come in a pack of 50 – they are very high quality and strong and here is the ordering info:
102619 Clear Translucent Envelopes $4.95 for 50
WANT TO PRINT OUT THIS TUTORIAL? PLEASE CLICK HERE FOR A PRINTABLE VERSION WHICH WILL OPEN IN A NEW BROWSER WINDOW
Please click HERE to view my other Project Tutorials
