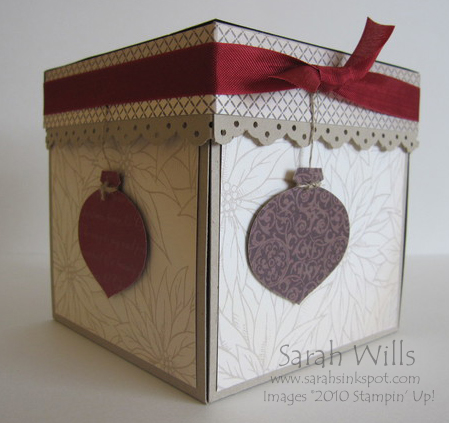
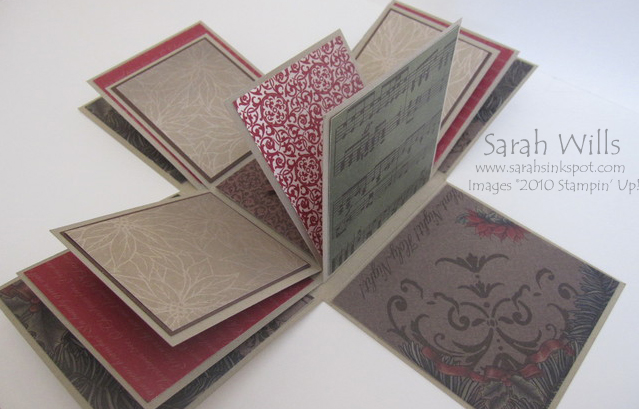
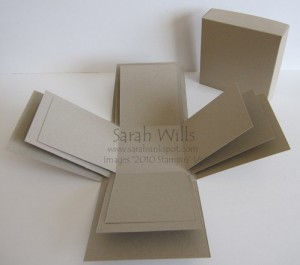
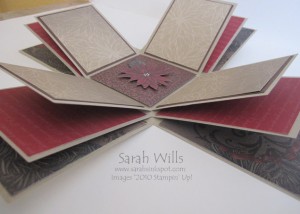
This is an amazing project to make and your recipient will truely be wowed – once the lid is removed the sides of the box fall away revealing a stunning interior!
This is a fun project to make since you have the lid, the outer four walls and the inner five surfaces to decorate – you can also use the center square to house a 3-d embellishment which is very fun…
You can keep it simple and have just a box that opens out once the lid is removed which makes a very cool card…or you can add another layer or two for real drama – you can even add photos and patterned papers to make a cool and unusual scrapbook gift for a special someone…perfect for the Holidays! Look what unfolds when the lid is removed…within my box here there are 20 mini pages to add photos & embellies to – what a great little gift…
Here is my tutorial so that you can make your own box – at the end of this tutorial you will find a printable version so that you can print it out and keep it for reference.
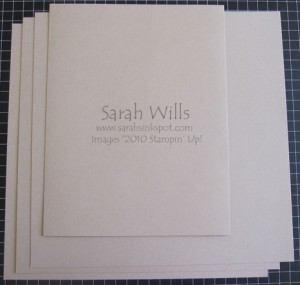
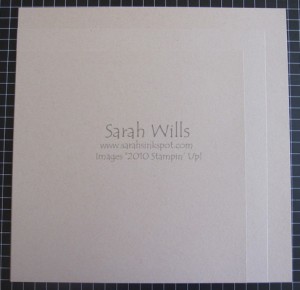
This box is so simple to make – you need just 3 pieces of 12×12 cardstock and another smaller piece approx 8×8 for the lid…if you just wish to make a simple box without inside layers, simply take 1 piece of 12×12 cardstock and a smaller piece for the lid…
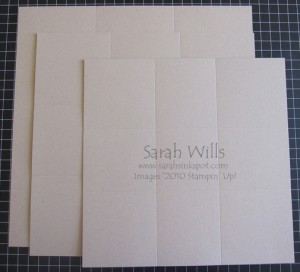
Cut the 12×12 sheets as follows: leave 1 at 12″ x 12″, 1 at 11″ x 11″ and 1 at 10″ x 10″…
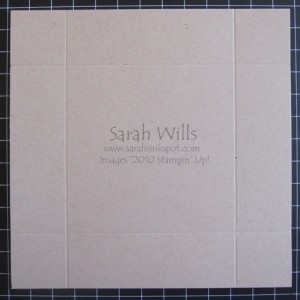
Take your 12×12 sized piece and score it at 4″ in on all 4 sides – your score lines will resemble a tic tac toe grid. Take your 11×11 piece and score it at 3 3/4″ in on all 4 sides. Finally take your 10×10 piece and score it at 3 1/2″ in on all 4 sides…
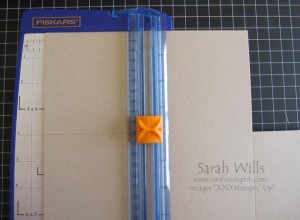
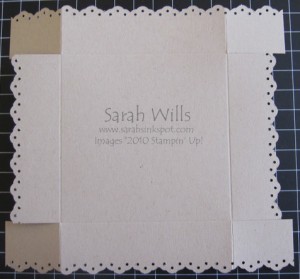
Place your first sheet into your paper trimmer and trim down the score line until it intersects with another score line – and then trim along the other line to remove that corner piece – do this for all corners on all your sheets of cardstock…
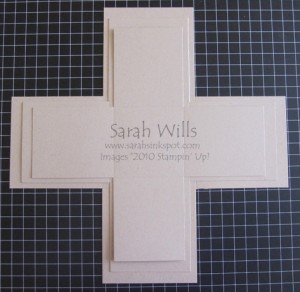
And this is what they will look like…
Fold along all score lines and take your 12×12 piece and place it on your work surface…take the 11×11 piece and turn it over – apply a strong adhesive such as Sticky Strip to the center square, turn it back over and adhere to the center square of your base piece.
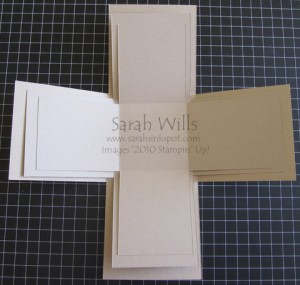
Repeat for your 10×10 piece and this is what you will have…at this point if you wish to do so, you can round the corners using a Corner Rounding Punch.
Now to make the lid…cut a piece of cardstock to be 6 5/8″ x 6 5/8″…score this piece of cardstock at 1 1/4″ in on all four sides…
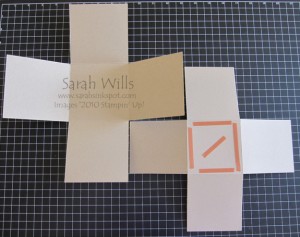
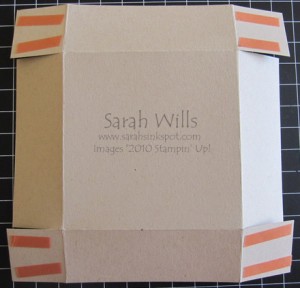
Cut on 4 of the score lines down to the intersecting lines to make flaps and apply Sticky Strip…
Adhere in place and there you have your lid and box just ready for decorating and embellishing…
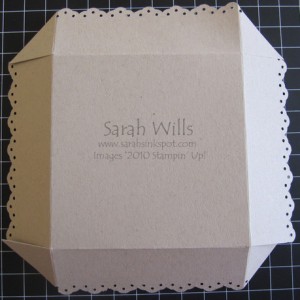
If you want to use a border punch on your lid like I did with my box, this is how to do that…cut your lid cardstock to be sized 7 1/8″ x 7 1/8″ and score at 1 1/2″ in on all 4 sides…fold and cut along your score lines as we did above and then punch your edging…
To make neat corners you need to trim a triangle out of each ‘flap’ as follows…
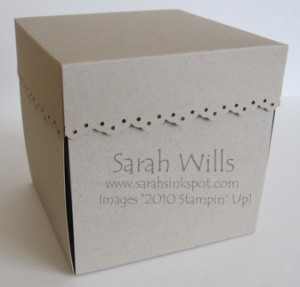
Adhere the flaps in place using Sticky Strip and place your lid on top of your box…
Isn’t it dramatic? But sooo easy, fun and affordable to make! And if you can get your papers and cardstocks in the Clearance Rack these work out to be an amazing bargain.
I used Crumb Cake for my box base and papers from the Deck the Halls pack that you can find on pg 18 of the Holiday Mini Catalog – these papers all co-ordinate beautifully making it so easy to create a project like this…
WANT TO PRINT OUT THIS TUTORIAL? PLEASE CLICK HERE FOR A PRINTABLE VERSION WHICH WILL OPEN IN A NEW BROWSER WINDOW
Please click HERE to view my other Project Tutorials
