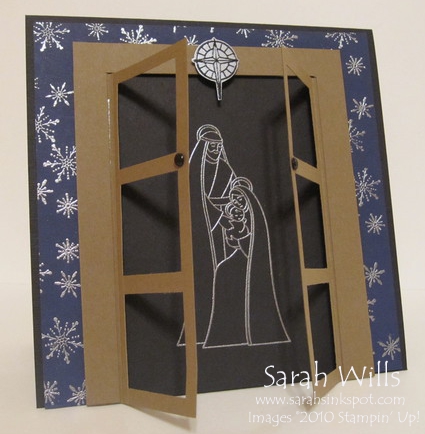
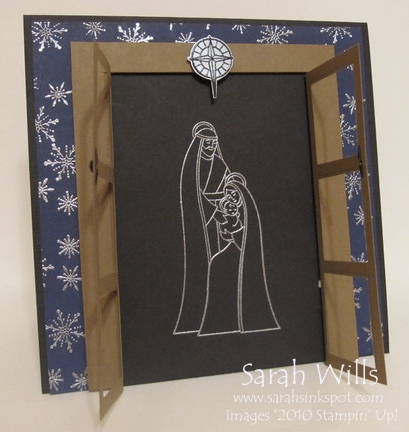
These doors add a very cute touch to cards – you can cut little windows into them or leave them as solid doors.
I decided to cut windows into mine below so that the nativity scene shows through easily…but one idea if you want to make them solid doors is to use the background stamp Woodgrain on pg 142 which is perfectly sized to add texture to them…
Here is my tutorial so that you can make your own – at the end of this tutorial you will find a printable version so that you can print them out and keep for reference.
Frame:
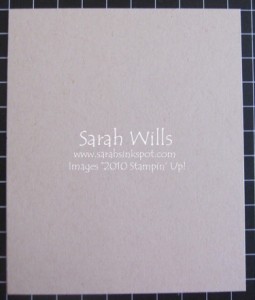
Cut a piece of cardstock to be sized 4 1/2″ x 5 1/2″…
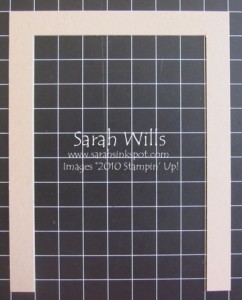
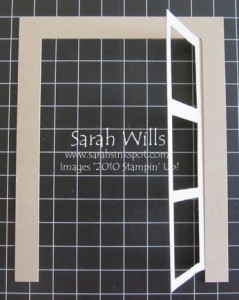
Make a pencil mark at 1/2″ in from 3 of the edges and trim with your paper trimmer – you will have a three sided frame that looks like this…
Doors:
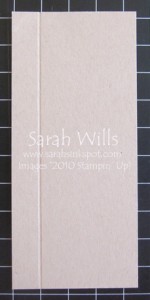
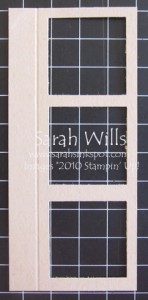
Cut 2 pieces of cardstock to be sized 2 1/4″ x 5″ – score 1/2″ in from one side on both doors…if you wish to leave your doors solid, then skip past the next few steps showing you how to make windows…
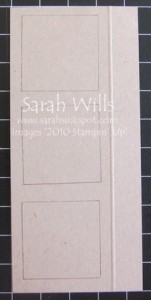
Take your 1 3/8″ Square Punch and punch 3 squares out of scrap paper to use as a template – lay them on your first door and get them positioned where you’d like them to be…
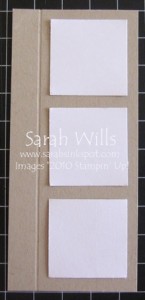 Using a pencil draw around your squares…
And using these squares as your guide, use your Square Punch to punch out the holes…
Repeat for your other door…
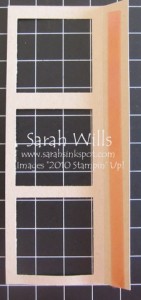
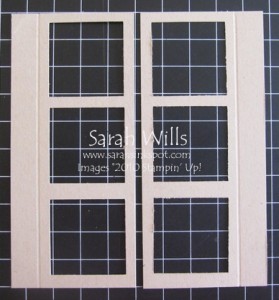 And fold along the score lines…
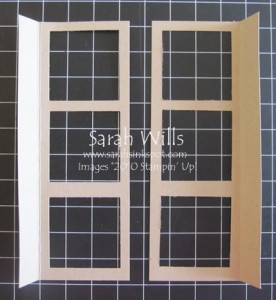 Use very strong adhesive such as Sticky Strip and place it onto the flap…
Take your frame and adhere the flap to the inside edge and press down to secure…
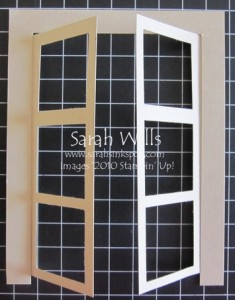
Repeat for your second door…
And your doors are ready for attaching to your card base…you can add brads for door knobs and acetate sheets to give a glass effect if desired…enjoy!
WANT TO PRINT OUT THIS TUTORIAL? PLEASE CLICK HERE FOR A PRINTABLE VERSION WHICH WILL OPEN IN A NEW BROWSER WINDOW
Please click HERE to view my other Project Tutorials
So creative! Thank you for sharing and for the printable!
Thank you for an easier way to make cards this way. Much appreciated.