Did you come here because you you received this FREE Card Make & Take from me in the mail? Then this is where you will find out how to put it together!
You will have received two make & takes – this one and another featuring an owl – click HERE to find out how to put your owl card together.
Would you like to receive my two FREE Make & Takes in the mail?
ANYONE who places any order with me during August will receive these two FREE Card Make & Takes PLUS samples from the Holiday Catalog AND a free copy of that catalog should you not already have one!
Place your order by clicking HERE – I will automatically be notified of your order and will get your free goodies out in the mail to you super fast!!!
Who can order with me? EVERYBODY – existing customers and new customers…everyone!
You have the pre-cut cardstocks and stamped image in your kit – all you need to add are adhesives, time, maybe an extra embellishment or two, as wished and the card base.
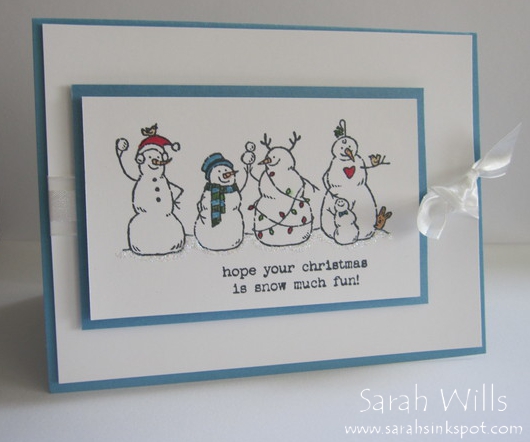
This Snowmen Card features a beautiful brand new stamp that you can find on pg 9 of the Holiday Mini Catalog – it is a single stamp and is called Frosty Friends – and it is just perfect for make quick & easy Holiday cards.
Snowmen Card
Take out all the components of your Snowmen Card Kit -you have all supplies that you need to make it – you will see that I added a couple of extras to my card below – I wanted to show you that you can either make your card simple as it came to you, or you can add little details to it to jazz it up…
Let’s assemble your card:
Take your stamped image and color in bits of the snowmen as wished – you can use Markers, Crayons, Pastels – I colored mine using Markers.
Then adhere your snowmen layer to the blue layer – that blue layer will either be Baja Breeze or Marina Mist – you can use adhesive tape or Dimensionals to give it a lift, like I did…
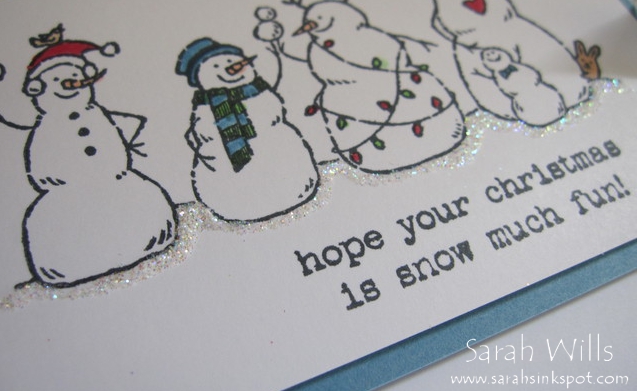
SARAH’S EXTRA – I decided to add some bling to my card and added a line of glitter along the bottom of the snowmen to resemble glistening snow:
- you can put a line of glue along there and sprinkle on some Dazzling Diamonds Glitter (pg 158) like I did
- OR the easiest way to do this is to use Stampin’ Up!’s fabulous glitter glue called Dazzling Details (pg 158) – its fast and easy!
Here is what that line of glitter looks like close up – click on the photo for a closer view…
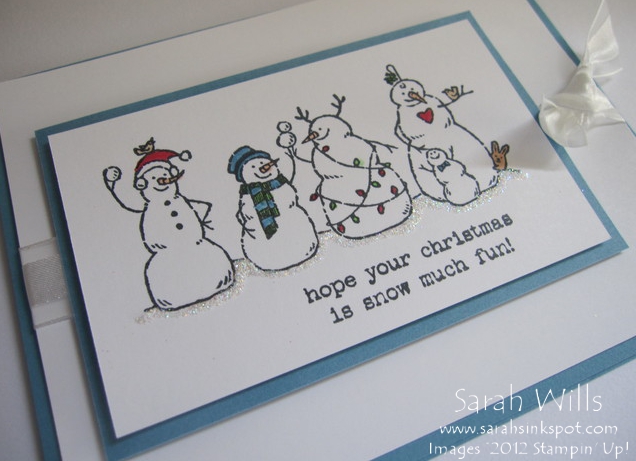
Then simply take your large White layer and attach your snowmen to it – again, I used Dimensionals to adhere mine.
- the ribbon I used is 5/8″ Organza Ribbon (pg 173) and it is sleek and chic
- it’s a great price at just $5.95 for 15 yards
Got questions? Email them to me by clicking HERE
Credit for the inspiration for this card goes to the fabulous Diana Gibbs – thank you Diana!


