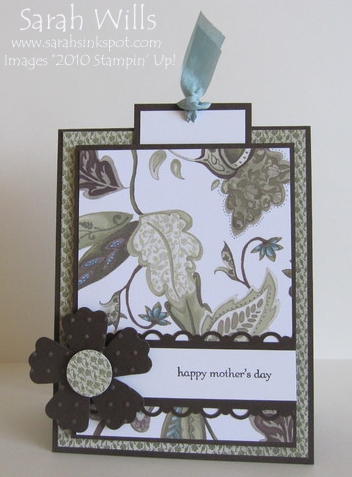
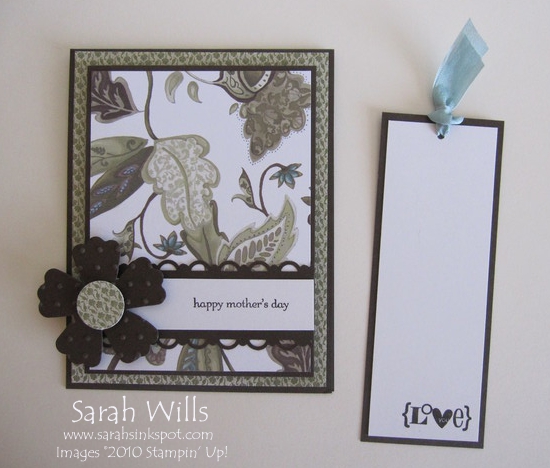
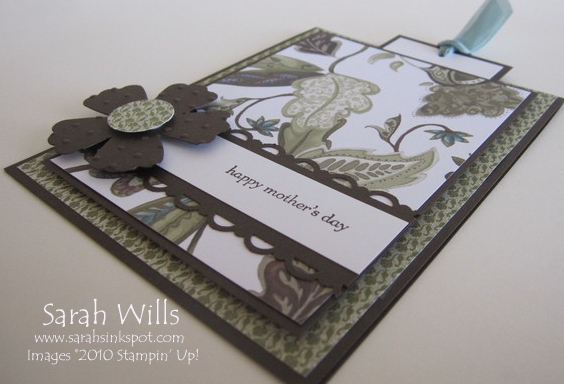
This is a card that contains a useable keepsake for Mom or Grandma to keep – it holds a slide out bookmark that you can write something on for Mom to keep and read every time she uses it.
I decided to decorate mine using patterned papers and kept my bookmark simple…
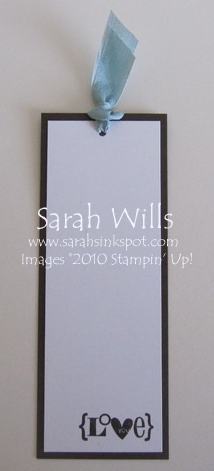
It simply slides out from a pouch and has a piece of beautiful ribbon on top…I left the bookmark blank to give me lots of room to write my note on…
Here is my tutorial so that you can make your very own Bookmark Card – at the end of this tutorial you will find a printable version too so that you can print it out and keep it for reference.
To get a closer view of the photos below, click on them – this will enlarge each for easier viewing.
To make the card:
Firstly cut your basic card base – take a piece of cardstock that measures 8 1/2″ x 11″ and slice in half so that you have a piece measuring 4 1/4″ x 11″…
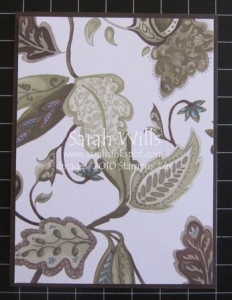
Score in the center at 5 1/2″ and add a layer of patterned paper or cardstock – my layer measures 4″ x 5 1/4″…
Then separately, put together the top layers which will become your pouch…
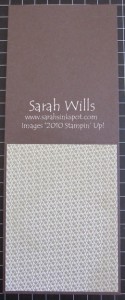
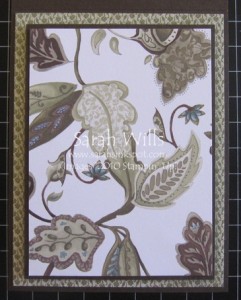
I cut a piece of cardstock to be 3 5/8″ x 4 7/8″ and onto it layered a piece of patterned paper measuring 3 1/2″ x 4 6/8″ – and adhere these layers together…
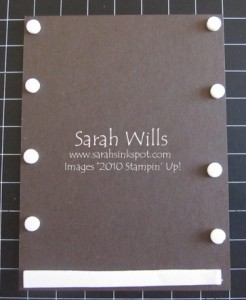
Turn this panel over and apply a line of Dimensionals to each side – and apply a strip of foam mounting tape along the bottom edge.
If you don’t have any of this tape to hand, you can use a line of Dimensionals but be sure to get them close up together so that the bookmark doesn’t fall out the bottom.
Peel the backing strip off of the dimensionals and tape and adhere to the front of the card…
Add decorations and embellishments as wished!
On my card I used papers from Paisley Petals DSP to decorate my card and used the cardstock colors Early Espresso and Whisper White.
My sentiment is from the set Teeny Tiny Wishes and I die cut that beautiful flower using my Big Shot and Fun Flowers Die – I added texture to it using my Perfect Polka Dots Embossing Folder.
For a feminine touch I added a border that I edged using the Scallop Trim Border Punch and LOVE how it turned out…
To make the bookmark:
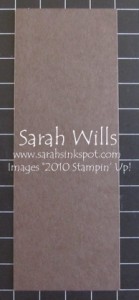
Cut a piece of cardstock to measure 5 1/4″ x 2″…
And add layers of cardstock, patterned papers & embellishments as wished – you can round or cut diagonals on the corners to give shape and make a pull tag or add some ribbon as wished.
I kept mine simple and added a piece of Baja Breeze Seam Binding to the top and a simple ‘love you’ stamp at the bottom from Valentine Defined.
The rest I decided to leave blank to write a note…but if you prefer you can decorate with papers and embellishments…
WANT TO PRINT OUT THIS TUTORIAL? PLEASE CLICK HERE FOR A PRINTABLE VERSION WHICH WILL OPEN IN A NEW BROWSER WINDOW
Please click HERE to view my other Project Tutorials
