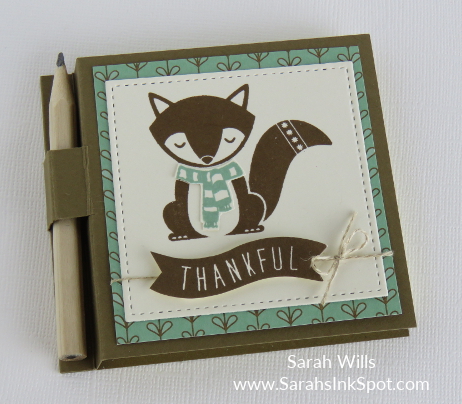
This is a very cute gift perfect for Teachers or coworkers, which is quick & easy to make with very limited supplies and very budget friendly…it’s a decorated Post It or Sticky Notes Holder complete with a slot for a pen or pencil on the side…
This base of this takes literally minutes to make and you do not need any special tools to make it – you can easily make a batch of them in very little time – perfect when time is short but you want to give a little something or you realize at the last minute the deadline is tomorrow!
Click HERE to find my blog post that details how I decorated the front and what supplies I used on the item above.
Here is my tutorial so that you can make your own Post it Note Holder – at the end of this tutorial you will find a printable version too so that you can print it out and keep it for reference – look for the red text & you’ll find it!
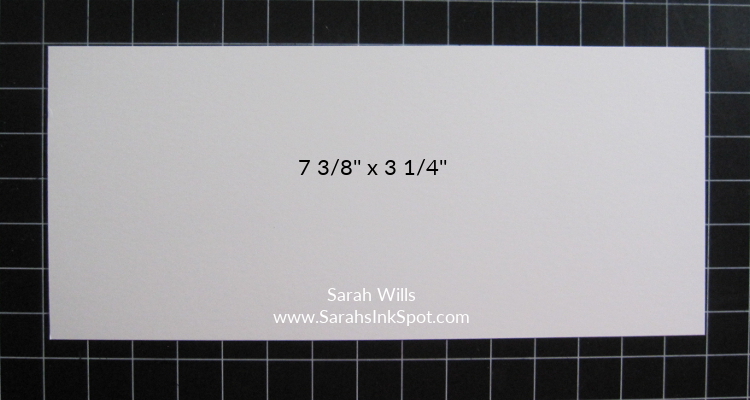
Cut a piece of cardstock to measure 7 3/8″ x 3 1/4″…
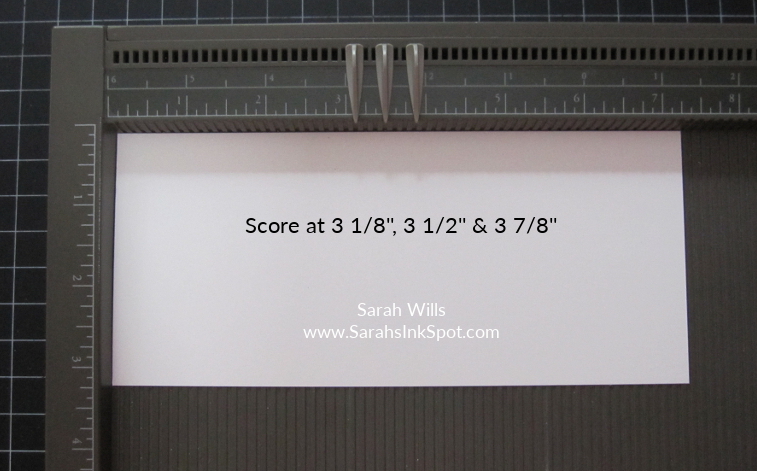
And use your Paper Scoring tool to score it at 3 1/8″, 3 1/2″ & 3 7/8″ – I used Stampin’ Up!’s Simply Scored tool to do this – as you can see, it has handy markers to mark your score lines – these are extremely useful if you are making multiples of the same item – you don’t have to remember your measurements!
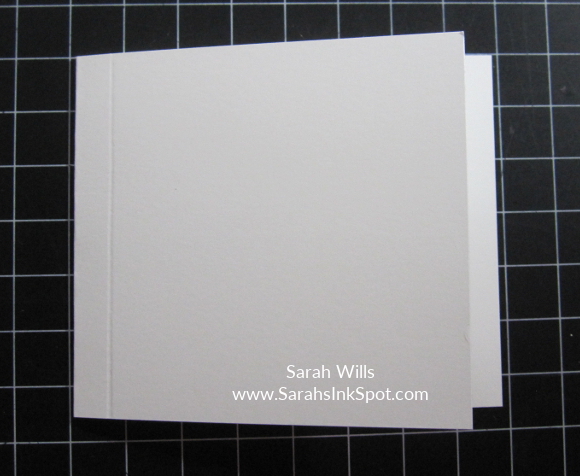
When done, place on a flat surface…

And fold along the center line…
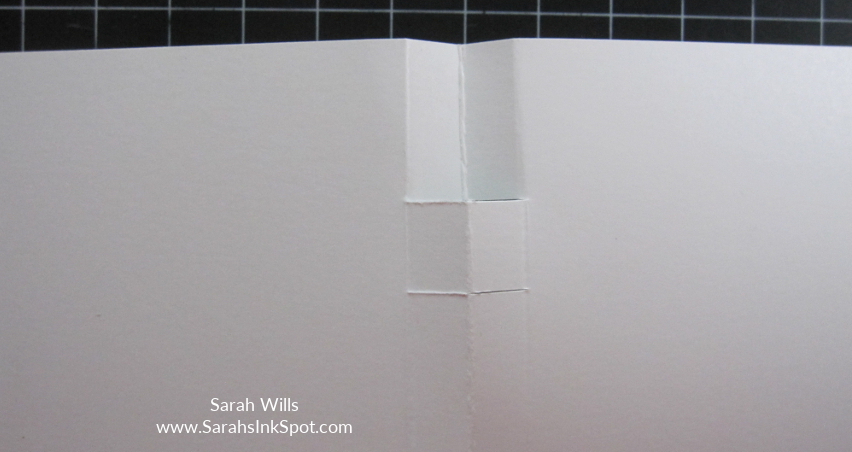
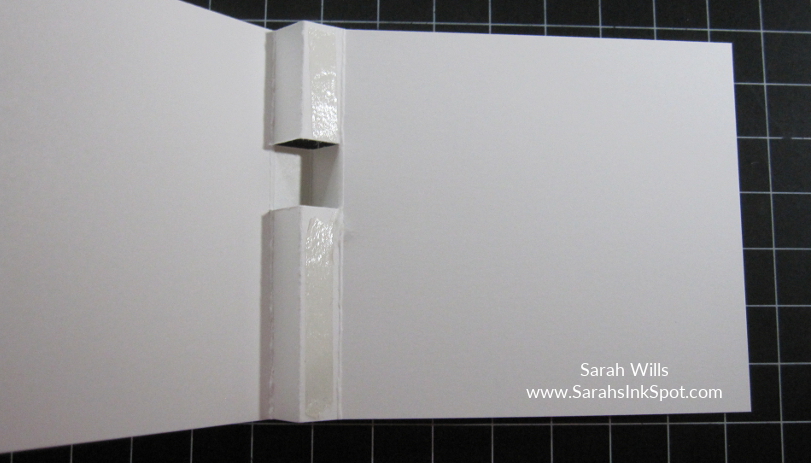
Next you are going to cut slits to make your pen holder – you can do this by using your Paper Trimmer and cut at 1″ down from the top and then another 3/4″ below that – cut from the edge of the fold down to the score line…
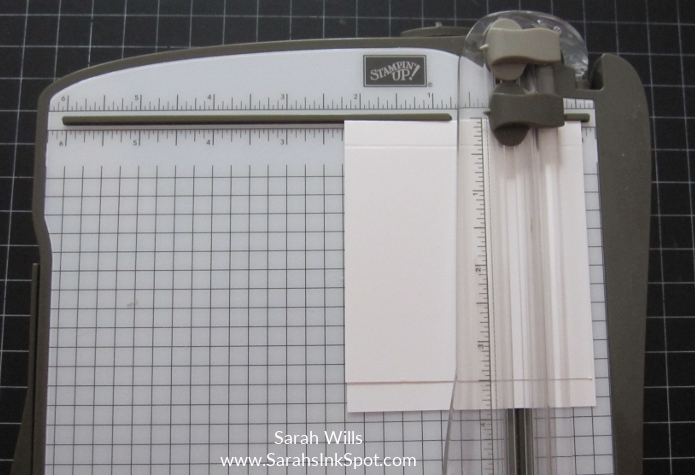
Or you can use scissors to do the same thing…
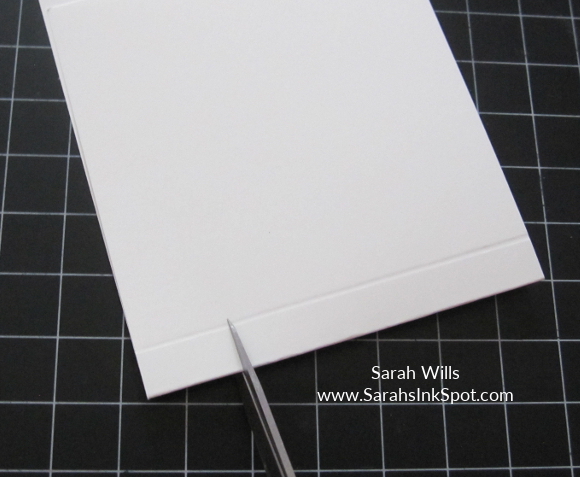
When done, this is what you will have…
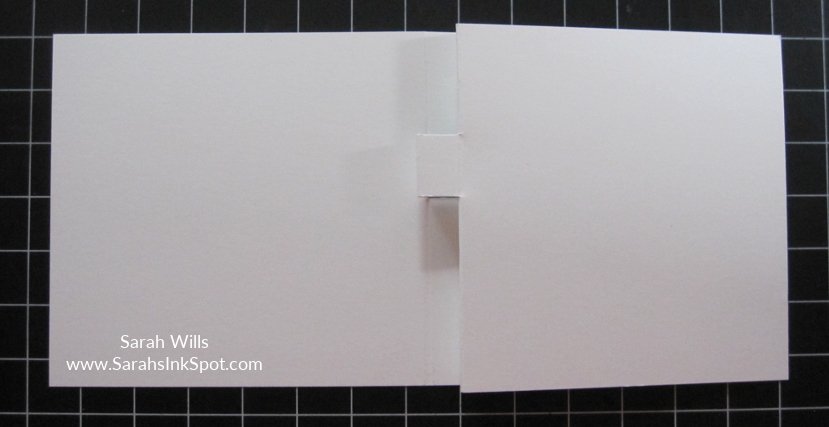
Lay your cardstock flat…
Fold along the other two score lines and then use your fingers to gently push the top fold backwards – and repeat for the lower part…
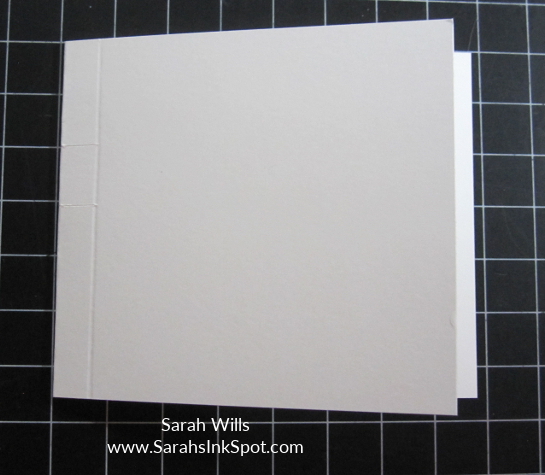
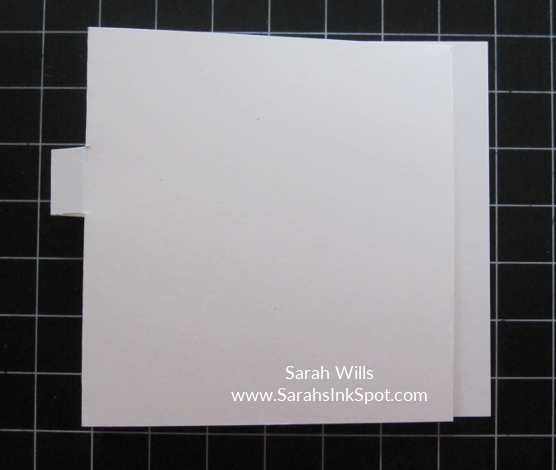
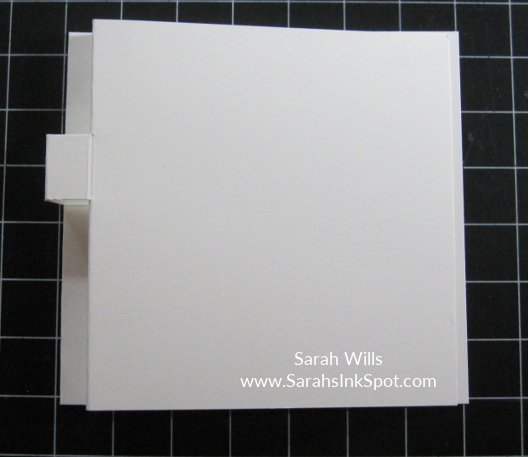
Then fold your top piece along it’s score line to create the front panel…
And repeat for the back panel. Your post it note holder will now look like this – you will see that the back panel is a bit longer than the front panel…
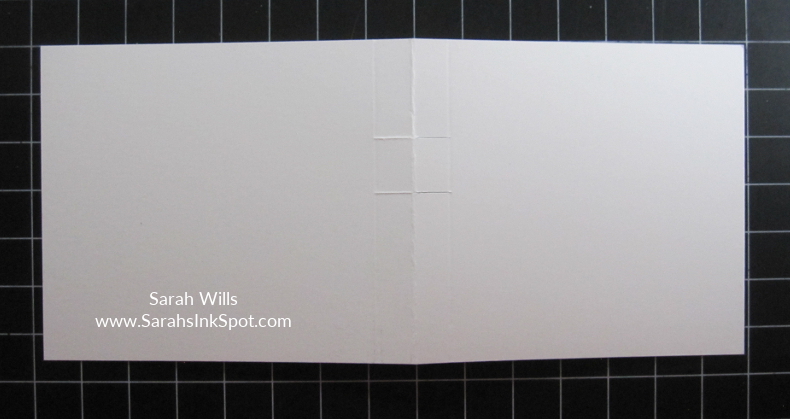
Open up your cardstock…
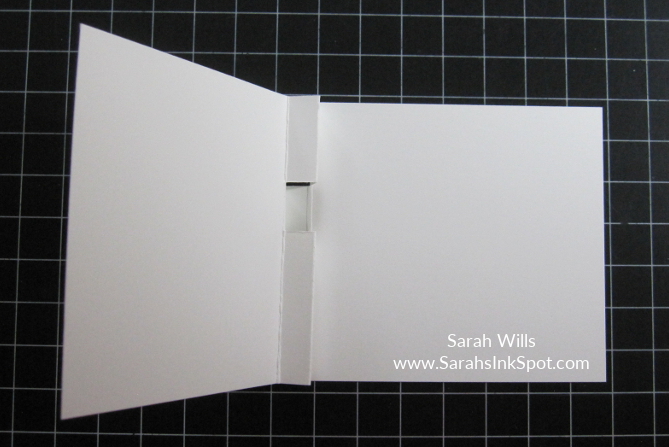
And run a line of strong adhesive tape along that back scored section…
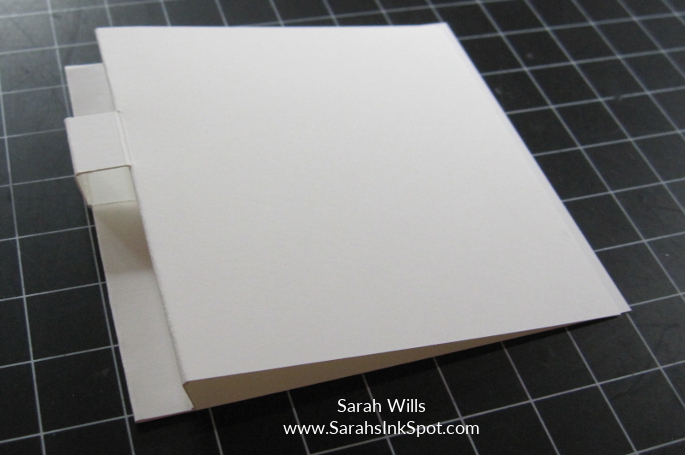
And then push down to firmly adhere in place – this creates the pen rest…
When done, this is what you will have – now both back & front panels are the same size…
And then you adhere your pad of Post It notes inside & decorate the inside flap if you want to…
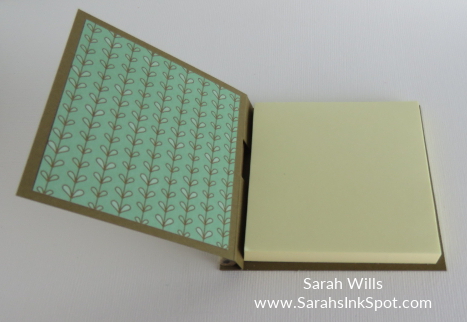
And then of course you can decorate the outside using any supplies that you want – you can literally theme it for any occasion – this one has a thankful at Thanksgiving theme going on…
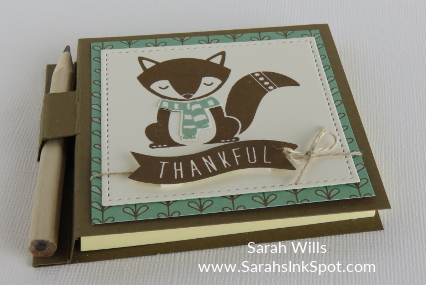
And then you pop your pen or pencil in the side – you can attach it with a Mini Glue Dot to keep it in place for gifting – and there you have one cute little gift ready for giving!
WANT TO PRINT OUT THIS TUTORIAL? PLEASE CLICK HERE FOR A DOWNLOADABLE/PRINTABLE VERSION WHICH WILL OPEN IN A NEW BROWSER WINDOW
Please click HERE to view my other Project Tutorials