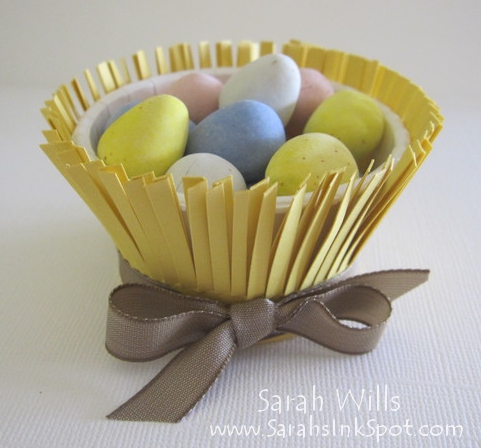
This is a super simple Easter Nest treat that you can make in minutes – perfect for gifting or for treats at your Easter table place settings – they are bound to be a BIG hit!
Isn’t it cute? Fun, fast, very cost effective & easy to make with just a few supplies – and of course some chocolate eggs to fill it…
Here is my tutorial so that you can make your own Easter Basket Treat – at the end of this tutorial you will find a printable version too so that you can print it out and keep it for reference.
Supplies used to make this:
- Yellow cardstock – I used the color Daffodil Delight
- Ribbon – I used Soft Suede Taffeta
- Sticky Strip
- Food safe cup – I used Wilton Party Cups
The cup base:
For my base I used a food safe cup that I found in Walmart – made by Wilton, they come in a pack of 24 and are called Party Cups – they are a perfect size for treats…

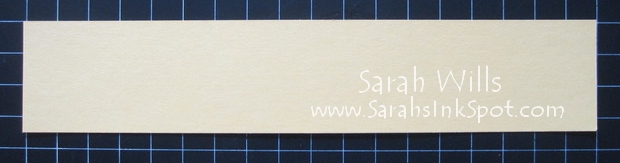
The straw fringe:
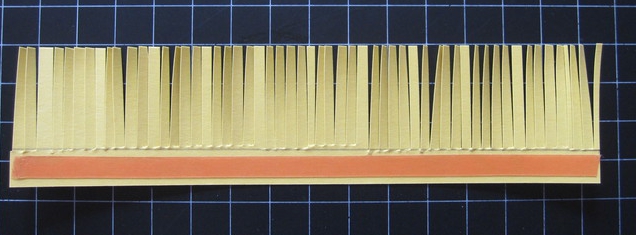
Cut a piece of yellow cardstock to measure 7 1/2″ x 1 3/4″…
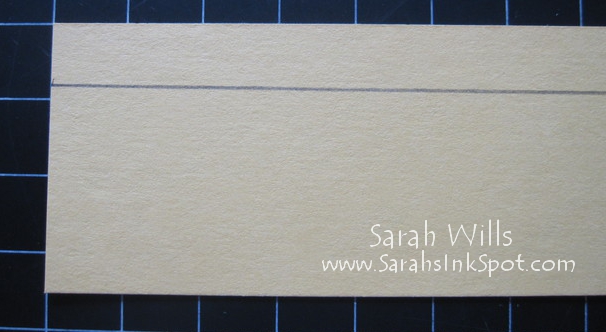
And then draw a line 1/4″ in from one long edge to act as your cutting guide line…
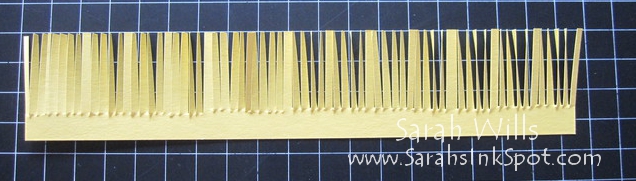
Cut along the wider section right up to that line using Fringe Scissors – once you have gone all along the strip, this is what you will have…
And then add a line of very strong adhesive tape such as Sticky Strip to that bottom solid section…
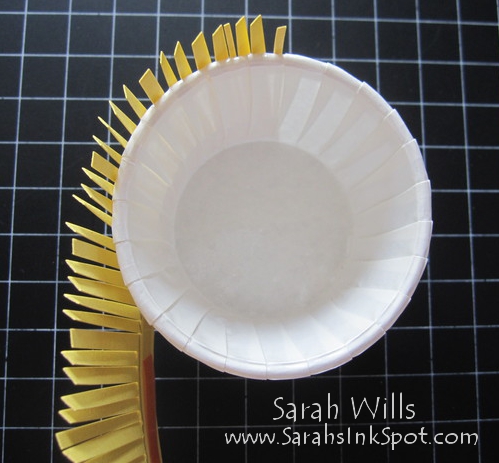
Take your cup and place on a flat surface – peel away the backing tape, line up your fringe with your cup on that flat surface and carefully push that adhesive strip firmly around the bottom of your cup…

Keep working it all the way around…
Until your ends meet – you might want to add a bit of extra Sticky Strip to secure those ends in place…

You can leave it at that if you would like to, but I prefer to add another layer to give greater depth and texture for that ‘straw nest’ material.
To this simply repeat what you did above – cut another strip & fringe it & adhere it on top of the fringed piece you just did…
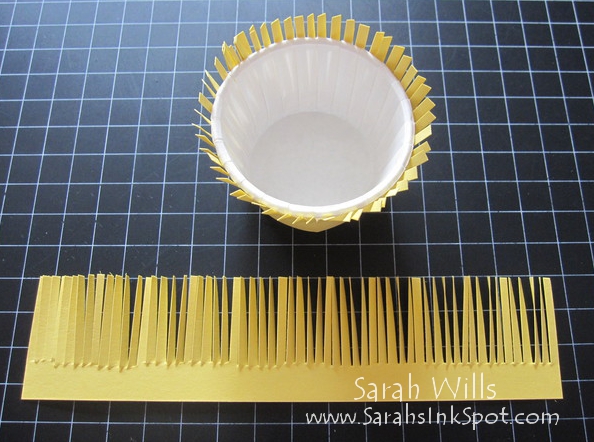
And this is the look you will get…a much deeper effect…
The ribbon:
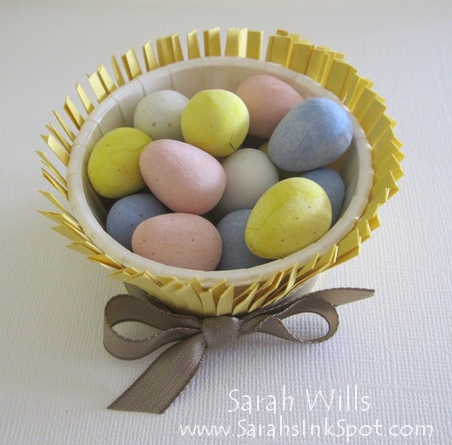
Cut a piece of ribbon long enough to wrap around your base and tie either a knot or bow – I went with a bow for the cutesy factor – and secure with a Mini Glue Dot so that it does not slip off…
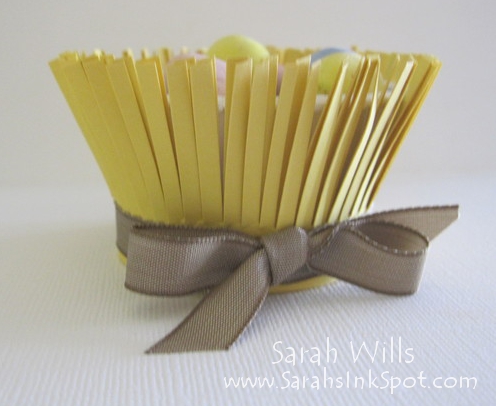
And then fill with eggs! I used Cadbury’s Mini Eggs but you can use any egg shaped candy you would like…
And check out this cute one that I think little kids will love – I only half filled the nest and added a Peeps Chick onto the top…
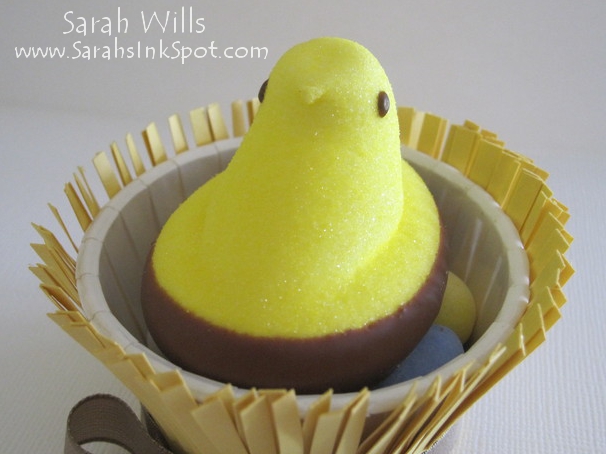
Isn’t he CUTE?! I think that grown-ups and kids alike will love these treats!
WANT TO PRINT OUT THIS TUTORIAL? PLEASE CLICK HERE FOR A PRINTABLE VERSION WHICH WILL OPEN IN A NEW BROWSER WINDOW
Please click HERE to view my other Project Tutorials