How to use the Stamp-a-majig…
I LOVE this tool – when I started out stamping I came across it and wasn’t sure if I would really use it…but a friend persuaded me that once you have used it, then you realise that it is something you just cannot stamp without – and she was sooo right – I reach for mine almost every time I stamp!
It allows you to perfectly position your wood mounted stamps and be completely accurate – it is perfect for two-step stamping, using alphabet sets, adding a sentiment exactly where you want it and where you need to align components of a set to form an image such as All in the Family (pg 28) and Good Neighbors which is in the Sale-a-bration Catalog…
You can find the Stamp-a-majig in the main Catalog on pg 198 – it is item no. 101049 and is priced at just $11.95 – and is suitable for both left and right handed users.
I am asked many times how to use this tool and so I decided to make a tutorial to show you just how easy it really is and you can see exactly how it will help you in your stamping…
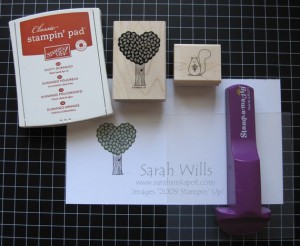 I am using stamps from the cute set Love Bandit that you can find in the Occasions Mini on pg 16…
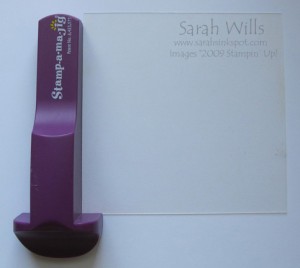
Step 1 – place your Stamp-a-majg (also known as SAMJ) onto your desktop and slide the imaging sheet up into the corner of it:
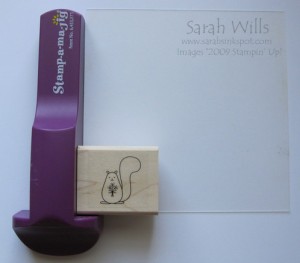
Step 2 – Ink up your stamp and whilst holding the SAMJ, push your stamp down to stamp your image onto the imaging sheet – align it so that it butts up to the corner of the SAMJ:
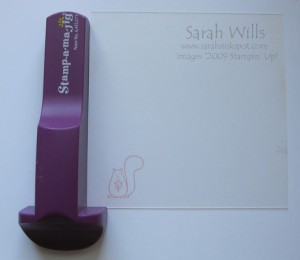
Step 3 – carefully lift up your stamp and this is what you will see on the imaging sheet:
Step 4 – take the piece of cardstock that you want to use your stamp on and position your imaging sheet so that the image is where you want it to be – in this case I want the cute squirrel sitting at the base of the tree that I stamped earlier:
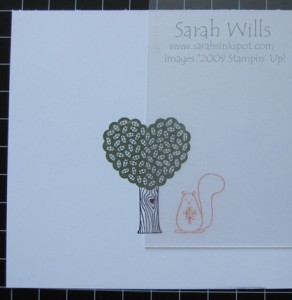
Step 5 – take your SAMJ and reposition it to the corner of the imaging sheet taking care not to move your image whilst you do this:
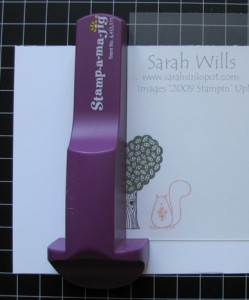
Step 6 – hold the SAMJ in place and carefully remove the imaging sheet – ink up your stamp (in my case I inked my squirrel with Dusty Durango Ink) and push your stamp down firmly, being sure to butt it up to the SAMJ
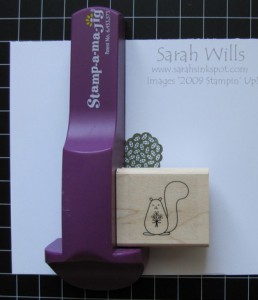
Step 7 – remove your stamp and the SAMJ and admire your perfectly placed image…
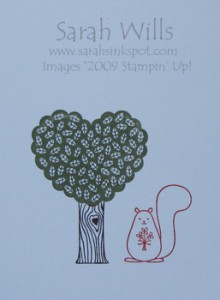
Clean-up – if you have used dye based ink then you can simply use a baby wipe or paper towel and water to wipe the image off. If you use Stazon then simply use Stazon Cleaner to wipe the sheet clean.
Great Tip – you can make permanent imaging sheets for your stamp sets – I have done this for all my sets to allow me to stamp fast and get perfect placement every time – you can use translucent papers such as vellum – cut an 8 1/2″ x 11″ piece into 4 – use the pieces as you would an imaging sheet and stamp 4 images using dark ink onto each piece – 1 image in each corner -I use dark ink so that it shows up well when I am placing my image – keep your permanent imaging sheet with it’s stamp set and you are good to do!
WANT TO PRINT OUT THIS TUTORIAL? PLEASE CLICK HERE FOR A PRINTABLE VERSION WHICH WILL OPEN IN A NEW BROWSER WINDOW
Pingback: Welcome to the Summer Mini Blog Tour… « Sarahs Ink Spot