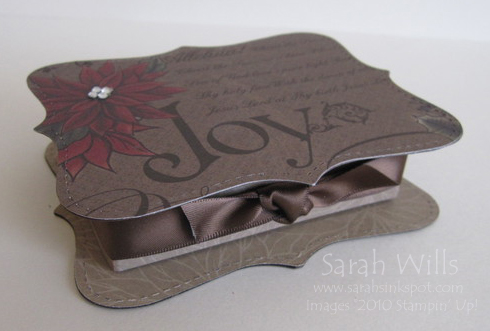
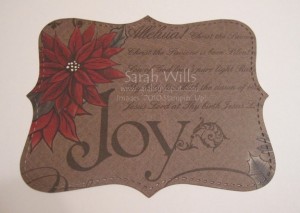
This is a cute flip top box that can be made for any occasion to hold gift cards, treats and little gifts…it simply uses a sheet of cardstock, some strong adhesive and the Top Note Bigz Die that is exclusive to Stampin’ Up!
You can find the Top Note Bigz Die on pg 207 and it is incredibly versatile – as well as this cool shape, you can also use the outer part of the die cut image as a frame which is perfect for creating holiday photo cards – click here to see one that I created using this outer part and you can use my search box on the left – type in Top Note and it will bring up lots of ideas for you to see.
How to make this box? Read on for details plus at the end of this tutorial you will find a link to print it out and keep for future reference along with the template for your reference.
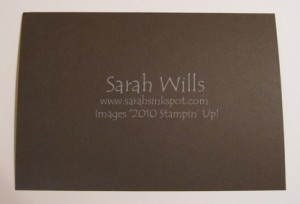
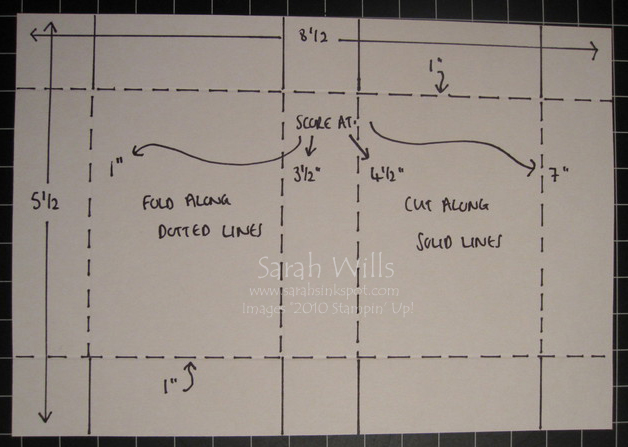
Firstly cut a piece of cardstock to be 8 1/2″ x 5 1/2″…
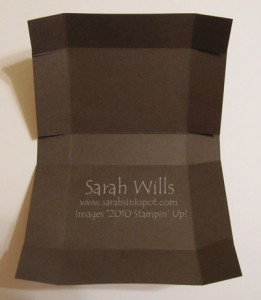
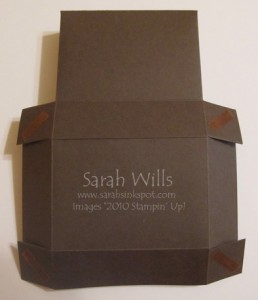
Next you need to make some score lines by using your paper trimmer with the score blade installed or using a scoring tool. Place the longer edge at the top of your tool and score at 1″, 3 1/2″, 4 1/2″ and 7″.
Turn your cardstock around and score at 1″ and again at 7″ – fold along the score lines and along the long edges cut down the score lines by 1″ to the intersecting line to give you this…
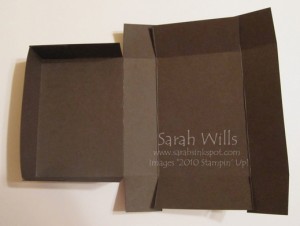
Apply a strong adhesive such as Sticky Strip to the little flaps created and fold them in and adhere the larger ones on top of them to give you your flip top box shape…
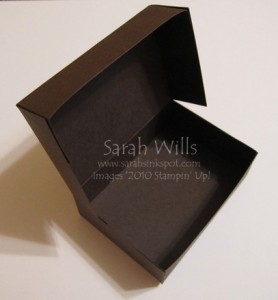
And when you have done that to all the flaps you will have your box…
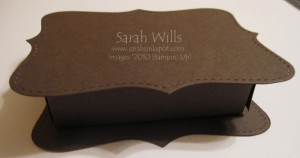
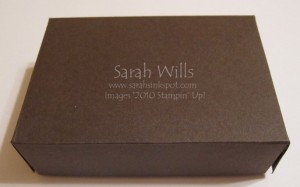
This is what it looks like with the lid closed…
Next you need to add your Top Note Die cuts – simply cut two pieces of cardstock to 5 1/2″ x 4 1/4″ and run through the Big Shot using your Top Note Die – using strong adhesive attach them to the top and bottom of your box…if you want to cover the base with Designer Series Papers like I did in my box at the very top of this tutorial, do it now before you adhere it to your box…
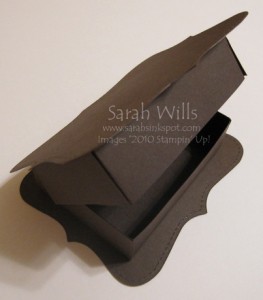 And now your box is ready to decorate…
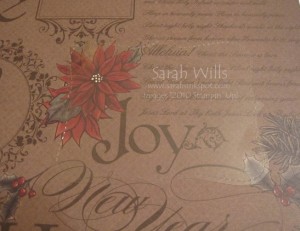
I decided to decorate mine using a piece of holiday themed Designer Series Paper from the Deck the Halls pack in the Holiday Mini – to get my die cut exactly where I wanted it on that patterned paper I did this…
Firstly I made a Top Note Die cut out of a piece of acrylic sheet…I positioned it over the part of the paper I wanted to die cut and I drew around it with pencil…
I used my paper trimmer to cut out the image to make it small enough to run through the Big Shot – I then carefully lined up my image onto my die and ran it through the Big Shot – it came out just as planned…
I rubbed away my pencil marks with an eraser and adhered my DSP to the top of my box and then got to decorating it…
I would love to see your creations using this fabulous die cut – if you email them to me, I will feature them on my blog…happy creating!
WANT TO PRINT OUT THIS TUTORIAL? PLEASE CLICK HERE FOR A PRINTABLE VERSION WHICH WILL OPEN IN A NEW BROWSER WINDOW
Please click HERE to view my other Project Tutorials
