Stampin Up offers Two-Step stamp sets such as Gently Falling (pg 86) and Stippled Blossoms (pg 78)…what are Two-Step stamp sets?
They feature images that have pairs – you have the ‘solid’ stamps to stamp a back image with color and then another perfectly sized ‘outline’ stamp to stamp a front image on the top – this creates a beautiful watercolor look without having to watercolor.
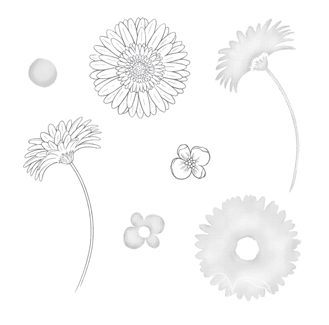
Here is an example of a Two-Step stamp set so you can see what I mean:
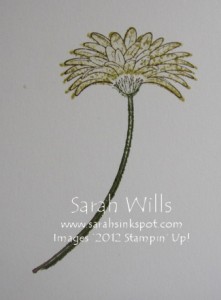
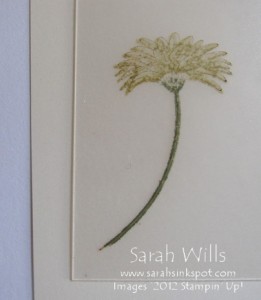
In the above set Reason to Smile you will see that there are 3 pairs of stamps – 3 ‘solids’ and 3 ‘outlines’ that perfectly align – here is an example of using two of those stamps to create a Two-Step stamped image:
A Two-Step stamp set allows you to add color to your lined images using ink pads, without the need to use coloring tools such as markers & crayons…which is FABULOUS news if, like me, your watercoloring skills are in need of much practice!!!
And Two-Step stamp sets are GREAT value for money – you can use the two-step technique but of course you can also use each stamp on it’s own – with a two-step set you get lots of value for money because you can use the stamps in so many way!!!
Here is my tutorial showing you how to Two-Step stamp – at the end of this tutorial you will find a printable version too so that you can print it out and keep it for reference.
To get a closer view of the photos below, click on them – this will enlarge each for easier viewing.
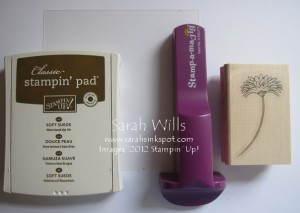
Firstly you need to gather a few supplies – you will need:
- Stamps from a two-step set
- Markers to color the solid bottom layer stamp
- Ink Pad to color the top outline stamp
- Cardstock
- the Stamp-a-ma-jig tool*
* The Stamp-a-ma-jig allows you to perfectly position your stamps and be completely accurate – necessary for Two-Step stamping – find this amazing tool of pg 7 of the Catalog – priced at just $11.95 I guarantee you will love the precision it gives you!
You can also find the Stamp-a-ma-jig in my online store by clicking HERE
How to Two-Step stamp:
The Bottom image:
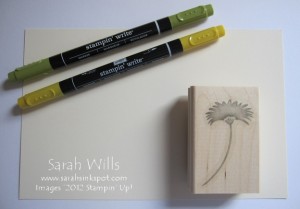
Take your sheet of Cardstock, Markers and ‘solid’ Stamp that will be your lower image…
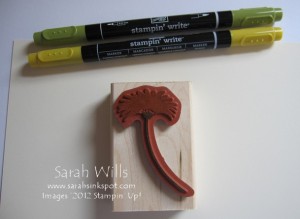
Use your Markers to color onto the rubber of your stamp – I used Summer Starfruit for my flower and Old Olive for the stem…
Stamp your image onto the cardstock and lift off your stamp and there you will have your stamped solid image – put this to one side.
The Top image:
IF YOU HAVE NOT USED A STAMP-A-MA-JIG BEFORE I HAVE FREE TUTORIALS SHOWING YOU HOW TO USE THIS FABULOUS TOOL to add embossing powders and glitters to your stamped images – click HERE to find them!
And don’t be afraid to try this – it appears complicated at first but it really isn’t – just follow this step by step while you try it, and you will get it and have fun!
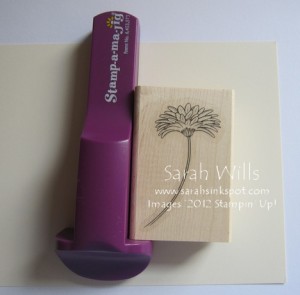
Take your Stamp-a-ma-jig, ink pad and ‘outline’ stamp for the top image…
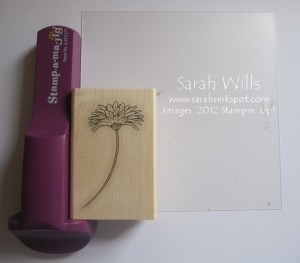
Take your Stamp-a-ma-jig tool and place the transparent sheet that it comes with into the corner of it – be sure there is a nice snug fit.
Ink up your stamp with the stamp pad and line up your stamp with that corner of the tool and push down to stamp an image onto the transparent sheet…
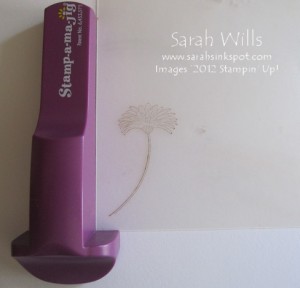
Take away your stamp and here is your image on the transparent sheet…
Bring back your solid stamp image and place the transparent sheet over it – carefully line up the outline of the image over the stamped solid image…
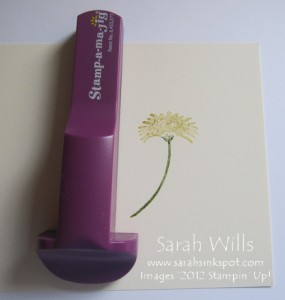
And then, being careful not to move the transparent sheet, place your tool so that the lower corner is nestled snuggly into that transparent sheet…
Remove the transparent sheet carefully so as not to disturb your tool…
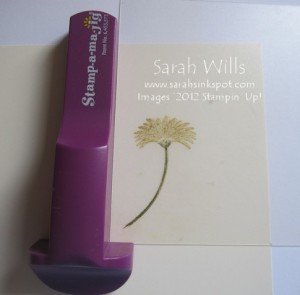
Ink up your ‘outline’ stamp using the ink pad and line it up with that corner of your tool – and push down firmly…
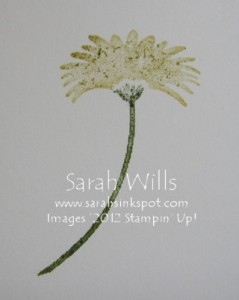
Remove the stamp and you will have your finished Two-Step image…
And now you can incorporate this into your card or project.
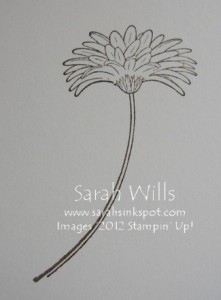
Just for you to see, here are those two images that I used above ‘apart’:
The ‘outline’ top image:
The Bottom ‘solid’ image:
WANT TO PRINT OUT THIS TUTORIAL? PLEASE CLICK HERE FOR A PRINTABLE VERSION WHICH WILL OPEN IN A NEW BROWSER WINDOW
Please click HERE to view my other free Technique Tutorials
And click HERE to view my free Project Tutorials that will give you lots of great ideas to use in your paper crafting
