How to make Squares and Rectangles using Stampin’ Up!’s Scallop Trim Border and Corner Punches…
You can make very cute scallop edged mats for your cards and scrapbook pages using Stampin’ Up!’s Scallop Trim Border and Corner Punches that you can find on pg 200 of the Catalog.
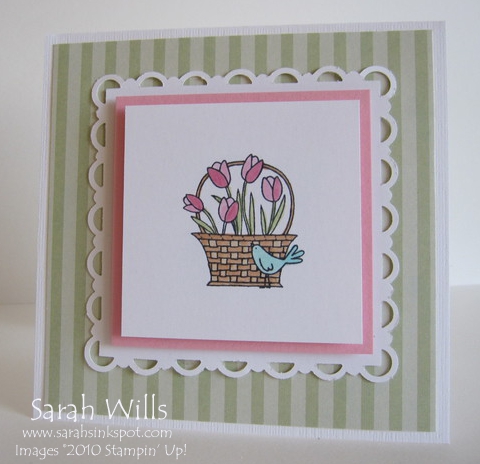
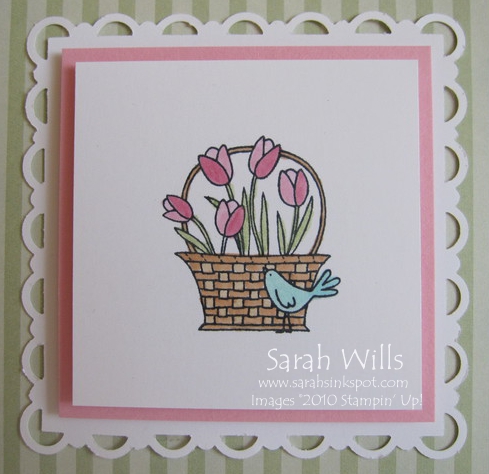
Here is a card that features the mat that you can make using these 2 punches…
Instead of purchasing ready made mats for a premium price in a scrapbook store, with these punches you are able to make them using whatever color card stocks you like – once you have purchased the punches they will last you a very long time!
Here is my tutorial showing you how easy and fun it is to make these mats – at the end of this tutorial you will find a printable version too so that you can print it out and keep it for your reference.
Key Points:
SIZE MATTERS!!! You MUST use cardstocks cut using the following list of measurements – this is ABSOLUTELY ESSENTIAL!
To make a square – cut your cardstock using two of the same measurements from the list below such as 3 1/4″ x 3 1/4″
To make a Rectangle – use a combination of any two of the measurements from the list below such as 4 1/4″ x 2 7/8″
List of Measurements:
1 15/16″
2 3/8″
2 7/8″
3 1/4″
3 13/16″
4 1/4″
4 3/4″
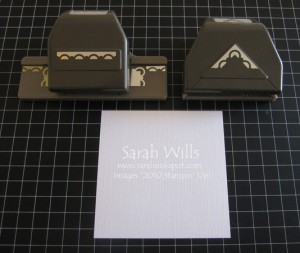
Cut your piece of cardstock to size using the measurements above – for this tutorial I wanted to make a square and have cut mine to be 4 1/4″ x 4 1/4″ – and gather together your two punches…
First you are going to shape the corners…
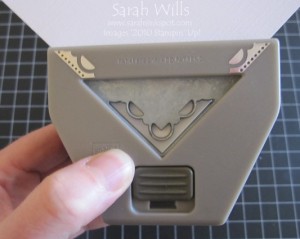
Take your Scallop Trim Corner Punch and turn it over to position it so that you can see the cardstock – this helps you line it up by using the guideline as well as your eyesight…
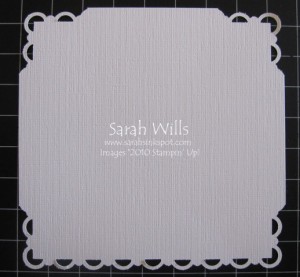
Gently push your cardstock so that it is just in the corner of your punch – and then push down to punch out the shape…
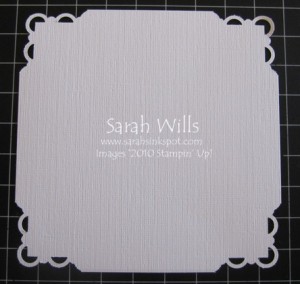
Repeat this for the other 3 corners and this is what you will have…
Now to shape the sides…
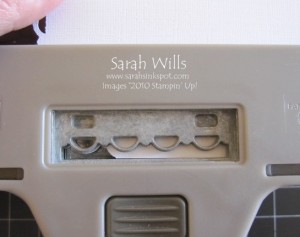
Take your Scallop Trim Border Punch and hold your cardstock, again with the punch upside down to help you position it.
Position the border punch so that the left edge of it is near to the left corner – you need to position your first cardstock scallop out from the corner beneath the first metal scallop shape of the punch.
Make sure that your cardstock is in line with the rail along the punch bottom edge to ensure a straight cut…and gently push down to punch out your first shape…
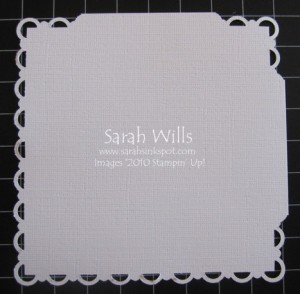
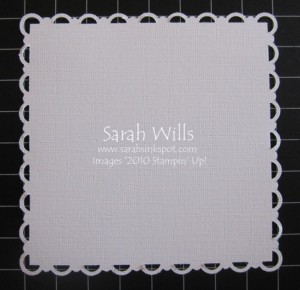
Remove and this is what you have…of course for a longer edge you will need to repeat this punching process so that there is a line of scallops from corner to corner…
Repeat for the second edge…
And the third edge…
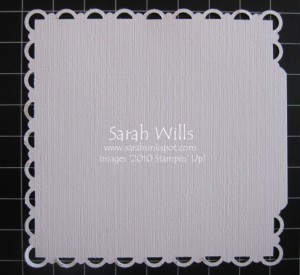
And finally the last edge…and there you will have one cute scalloped mat, customised to your choice of size and color!
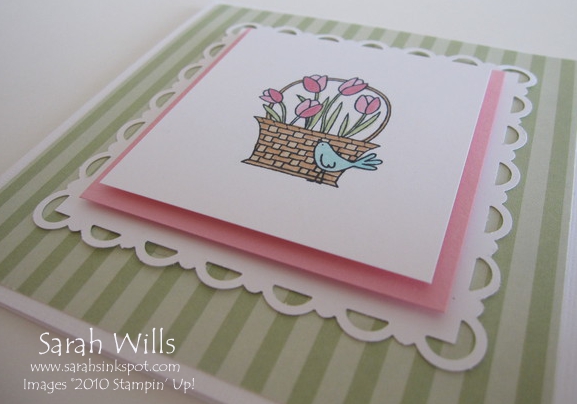
Here is a close-up of my mat featured on my card – you can click on the photo for a larger view…
I used the set A Flower for All Seasons to stamp my image and colored it with Markers…doesn’t the frame just set it off beautifully?
And I used Dimensionals to make two of my layers pop off of the card – using these adds a real ‘wow’ factor to your cards & projects…
I would advise that you practice a few times using scrap pieces of cardstock to get the technique – here are a few more tips:
- be sure to cut your cardstock square or rectangle accurately to ensure perfect line up of the scallops – remember measure twice and cut once!
- when your cardstock is in the punch take extra care to make sure that those scallops are lined up and the bottom edge of your cardstock is in line with the punch to ensure accurate punching
- if little bits of paper get caught in the scallops of your punch simply tap the punch onto your desk and they should fall out
I hope you enjoy making your mats -if you have any questions please email me and I will be very happy to help.
WANT TO PRINT OUT THIS TUTORIAL? PLEASE CLICK HERE FOR A PRINTABLE VERSION WHICH WILL OPEN IN A NEW BROWSER WINDOW!
Please click HERE to view my other Tutorials
