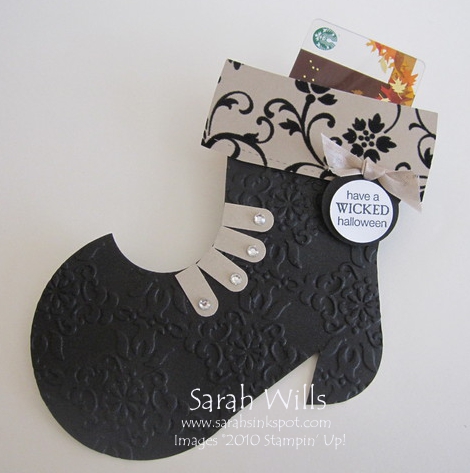
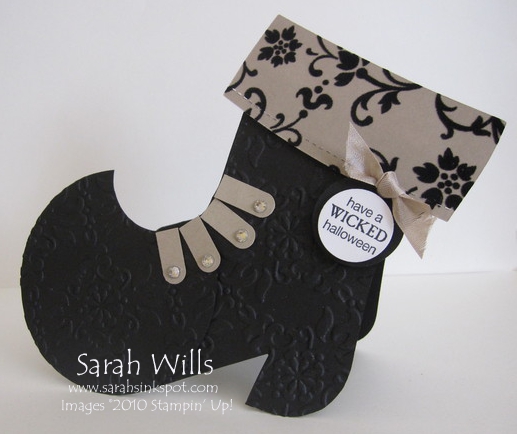
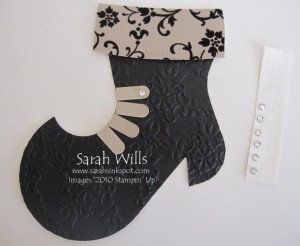
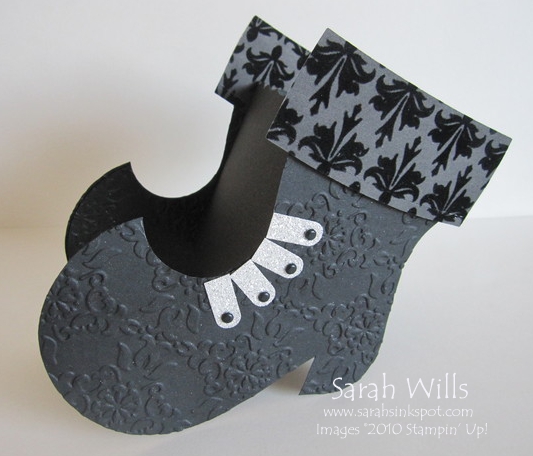
This is just an adorable idea and perfect for Halloween…it is a Witches Boot that you can attach to any box, turn into a gift card holder or attach to a card base…
You make it using the fabulous Holiday Stocking Die that you can find on pg 24 of the Holiday Mini Catalog – this just shows you that this die is not just for Christmas!
This idea was designed by the very talented Susan Adams – she invited a group of ladies over to her house during Founders Circle and when I saw these boots I knew I just had to make some and show you too!
Want to view that Holiday Stocking Die online? Click HERE to go to it!
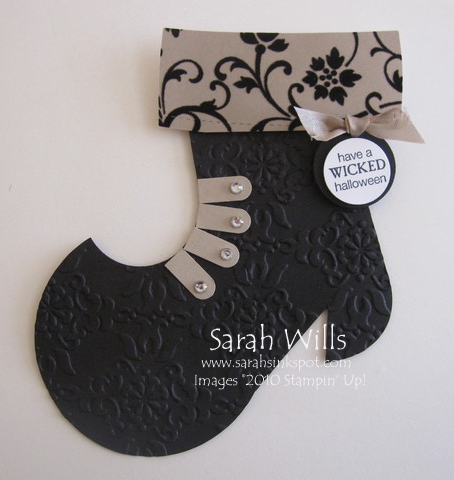
Here are 3 photos showing you ideas of how you can use it this Halloween…
AT THE END OF THIS TUTORIAL YOU WILL FIND LINKS TO 3 MORE TUTORIALS SHOWING YOU HOW TO TURN YOUR WITCHES BOOT INTO THE 3 ITEMS I MADE BELOW…
Here I turned it into a Gift Card Holder…simply by adding a shaped pocket behind the top trim & into it I popped in a Starbucks Gift Card – I thought that this would make a cute teacher, friend or co-worker Halloween candy-free treat!
Here is one that I turned into a Treat Holder…in between two boots is a box made using the Fancy Favor Bigz Die to hold some goodies…
And here is a Card…I created a card base using the Stocking Die to adhere to the back of my Witches Boot…
Here is my tutorial so that you can make your very own Witches Boot – at the end of this tutorial you will find a printable version too so that you can print it out and keep it for reference.
To get a closer view of the photos below, click on them – this will enlarge each for easier viewing.
To cut & texture the Boot:
Supplies that I used:
- Holiday Stocking Bigz Die – pg 24 of the Holiday Mini Catalog
- 3 1/2″ Circle Die – pg 220
- Big Shot Die Cut Machine – pg 215
- Vintage Wallpaper Textured Embossing Folder – pg 219
- Basic Black Cardstock
- Morning Mocha Specialty DSP – pg 183
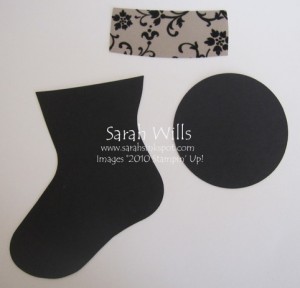
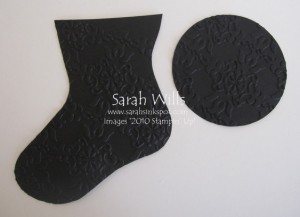
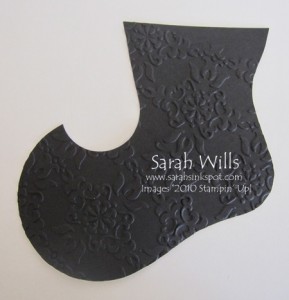
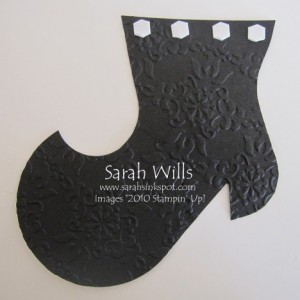
Use your Big Shot to die cut the following shapes from Black cardstock – 1 Holiday Stocking, 1 3 1/2″ Circle – and then cut the top trim from a piece of patterned Designer Series Paper…
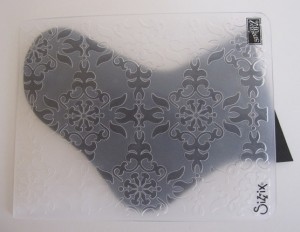
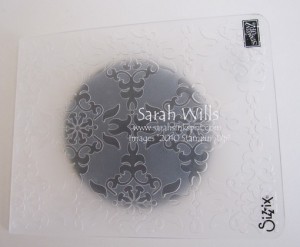
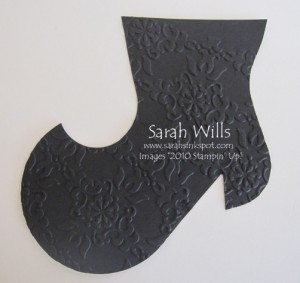
Next you are going to give your boot some texture – place the boot part into an Embossing Folder – I used Vintage Wallpaper – and run it through your Big Shot…
And do the same for your Circle…
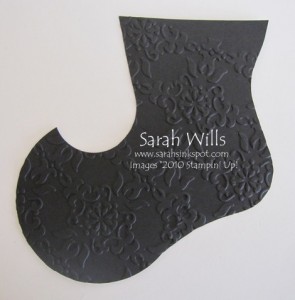
And this is what you will have…
To assemble the Boot:
Supplies needed:
- 1 3/4″ Circle Punch – pg 212
- Sticky Strip Adhesive Tape – pg 206
- Pencil & Sharp Scissors
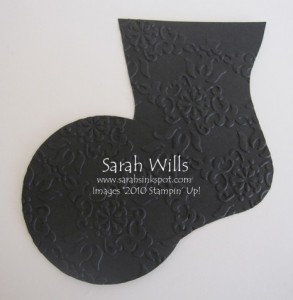
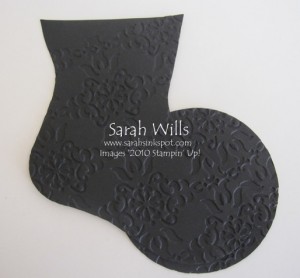
Take your boot and then lay the circle on to of the end part of it…to the position that I have mine below…
Holding them in place with your fingers, turn over…
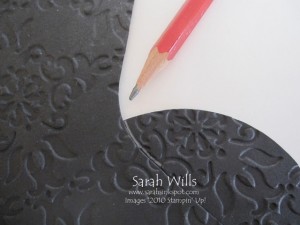
Take a pencil and at the top of where the circle meets the boot, draw a line about 1″ long onto the back of the circle…this will be your guide for your punch…
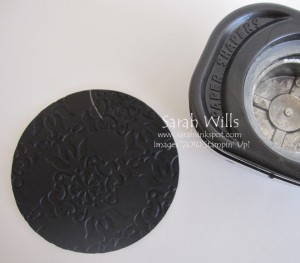
Take the boot away and this is what you will have…take your 1 3/4″ Circle Punch…
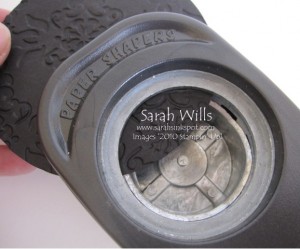
And position it so that you can just see the curve of that pencil line on one side…
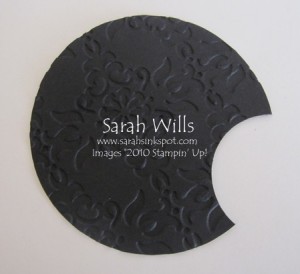
And punch – and you will be left with this shape…
Bring back your boot and line up your circle onto it – line up that curve with the curved edge at the top of your boot…
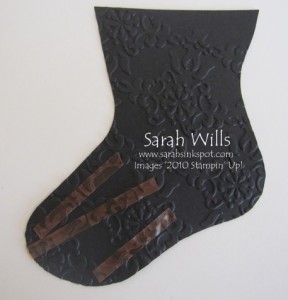
Take it off and apply very strong adhesive tape such as Sticky Strip to your boot…
Remove the tape covering and adhere your circle firmly in place…
To make the heel on your Boot:
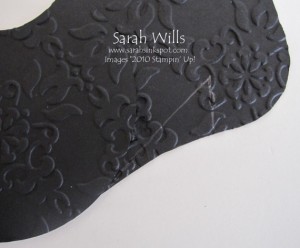
Take your pencil and draw a line up diagonally from the bottom of the circle towards the side of the heel…and then draw a line straight down to the bottom edge, like so…
Cut along those two lines with sharp paper scissors and this is what you will have…isn’t that a great witchy shape?
To add some spray on sparkle:
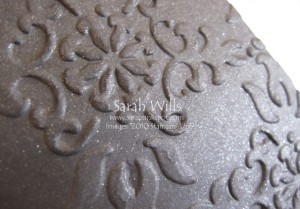
This is so easy and so much fun to do using the Shimmer Paints that you can find on pg 203 – they come in 3 colors and I love to use the color Champagne Mist on black cardstock – and they are great value for money since one pot will last you a very long time!
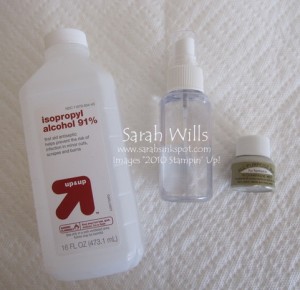
You will need to gather your pot of Shimmer Paint, a paper towel, a small spray bottle (I found mine in the travel sized toiletries section of Target for just $1) and a bottle of Isopropyl Alcohol – I like to use the 91% version.
Put about 1 oz of alcohol into your spray bottle and add approximately 10 drops of Shimmer Paint to it – close the lid of your spray bottle and shake to mix it.
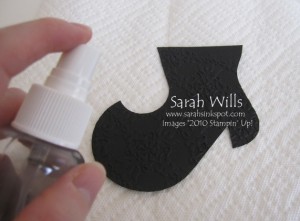
Place your Boot onto your paper towel and spray all over – you might want to do this one more time – and then see how sparkly your boot looks…
Isn’t it pretty? And because of the alcohol, it is going to dry fast…
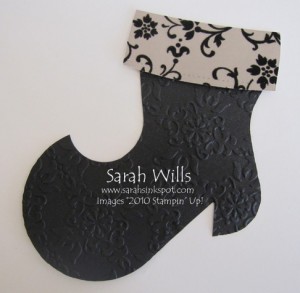
To add the top trim:
Add a line of Dimensionals to the top edge…
And then press on your die cut patterned paper…isn’t that cute?
To add the Boot laces:
Supplies needed:
- Word Window Punch – pg 209
- Crumb Cake cardstock
- Rhinestone Jewels – pg 198
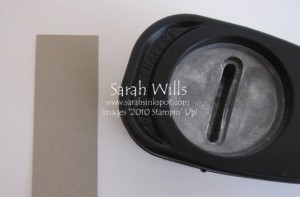
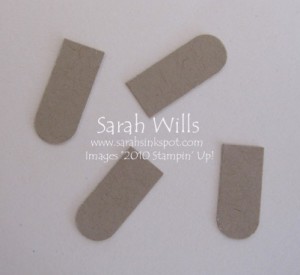
Take your Word Window Punch and punch two shapes out of a piece of Crumb Cake cardstock…
And then cut those two pieces in half…
Line them up on your Boot and when happy with their placement, adhere them in place.
Add a large Rhinestone Jewel to each…
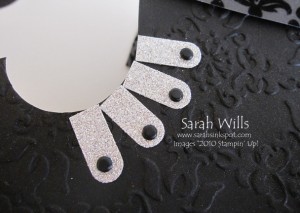
You can also make your laces using different papers & embellishments – on this one here I used Silver Glimmer Paper for the laces and Black Brads…
And then if wished add a stamped sentiment:
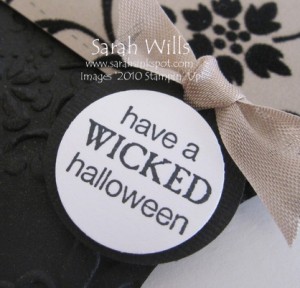
I used a stamp from Wicked Cool (pg 24) and punched it out & layered it using Circle Punches – I then tied on a piece of beautiful Crumb Cake Seam Binding (pg 195) to tie it into my Boot colors…
And here is my finished Boot…isn’t it cute?
WANT TO PRINT OUT THIS TUTORIAL? PLEASE CLICK HERE FOR A PRINTABLE VERSION WHICH WILL OPEN IN A NEW BROWSER WINDOW
WANT MY OTHER WITCHES BOOT TUTORIALS?
Click HERE for the Witches Boot Gift Card Tutorial
Click HERE for the Witches Boot Treat Holder
Click HERE for the Witches Boot Card
Please click HERE to view my other Project Tutorials
