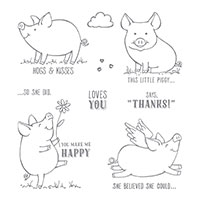
Today’s card is a cute one! Have you seen that utterly adorable set ‘This Little Piggy’? Oh my – the images in are so cute that it’s hard to resist!
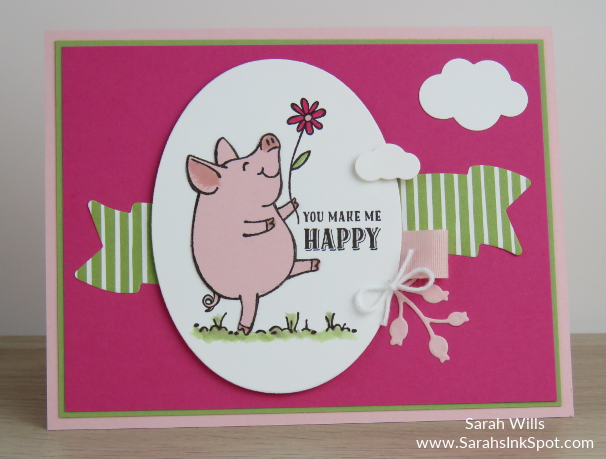
I used that set to make a clean & simple fun card today and here it is…what a sweet stamp that is…every time I look at it, it makes me smile!
I have a Project Sheet for you below detailing all measurements, the colors I used & full instructions on how to make this card below – look for the red words to find it.
Isn’t that pig just adorable? You get four cute pig stamps in the set including one that has wings – my girls have gone gaga over it! The image I used in my card today is actually just one stamp – so no need to separately stamp a sentiment – making it quick & easy to get a bunch of cute cards made to have on hand in your stash for when you need them…
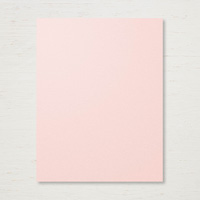
Here is a close up of my piggy…to get a solid color for him, I decided to paper piece him – that means I stamped the image onto a piece of White cardstock for the background and cut it out with an oval die and then stamped the same image onto a scrap of Powder Pink cardstock – I then used my sharp Paper Snips to cut out that pig shape and used Snail to attach it to the image on the White cardstock – no need for coloring and you get a nice, perfectly colored pig!
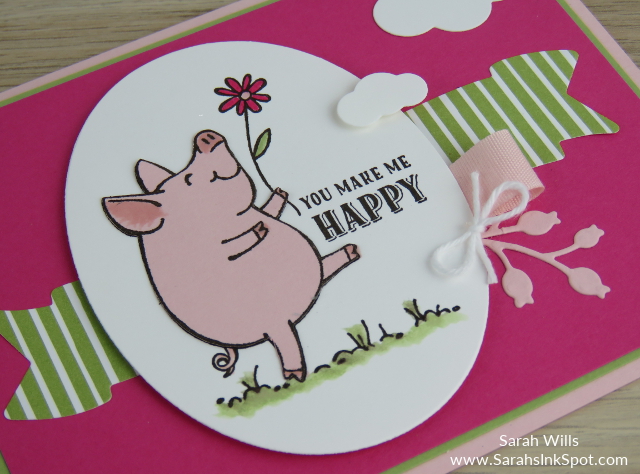
I colored in his ear, snout, tail and feet using some Powder Pink ink and used Pear Pizzazz and Melon Mambo for the flower and then die cut the image out using a die from Layering Ovals Framelits.
Unusually for me I decided to keep a clean background – no patterned paper, no texture, no stamping – just a plain bright pink background and I love how doing that makes the key features on this card pop – I rarely leave a background blank (and find it difficult to do so!) but really love how it worked on this card.
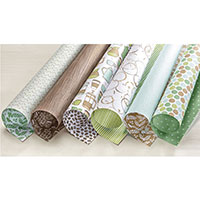
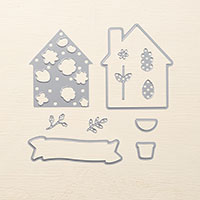
The stripey banner is a piece of paper from Coffee Break DSP that I die cut using a die from Welcome Home Framelits – the banner shape wasn’t long enough, so I cut it in half and hid the break under the piggy image = one longer banner!
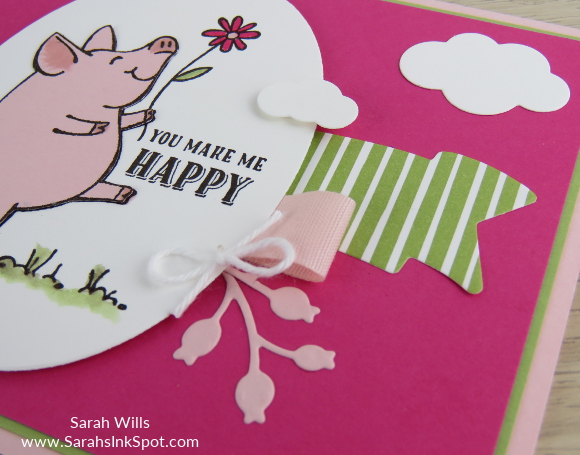
AND see that cute little flower stem peeking out? I cut that using another die from Welcome Home Framelits – it always amazes me how many dies are in each set and how versatile they can be!
WANT MY PROJECT SHEET FOR THIS CARD? Click HERE to find it – then you can download it or print it out to keep for easy reference!
The photo below shows the key products I used to make this card – if you’d like, you can save it for reference or hover over it to pin it to one of your boards on Pinterest…
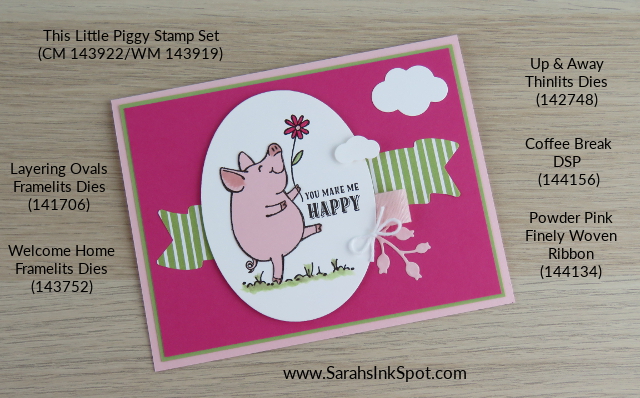
Here are the supplies I used to make these cards – click on any of the products below to find them in my Stampin’ Up! online store:


Thanks so much for visiting – wishing you a wonderful week!

Current Specials:
The BRAND NEW ANNUAL CATALOG is here – click HERE to find our new & fabulous products!
Use my June Host Code to get yourself a FREE brand new Embellishment item of your choice – click HERE to find out more!


Just adorable!!!
BEAUTIFUL job on this card! It’s absolutely adorable. ..and you couldn’t have picked a better color combination. I seriously think it should be in the Piggy Card Hall Of Fame! THANK YOU SO MUCH for sharing your creation with everyone. I can’t wait to try making one for myself ;)