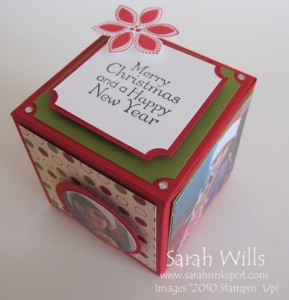
You make this cube from one sheet of 12×12 cardstock and can theme it for any occasion – you can cover the sides with patterned papers, photos and embellishments to make one cute and original gift…
You can also easily mail it – you put it together placing Sticky Strip on the tabs but don’t remove the film covering that tape – you mail it flat and the recipient can assemble the cube very easily by simply removing that film from the tape and adhering in place.
Here is my tutorial so that you can make your own Cube – at the end of this tutorial you will find a printable version too so that you can print it out and keep it for reference.
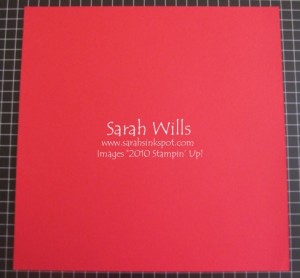
Firstly take a piece of 12×12 cardstock in the color of your choice – I am using Real Red. I recommend that you use sturdy cardstock for this…
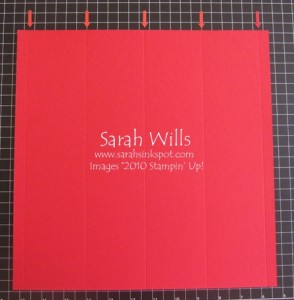
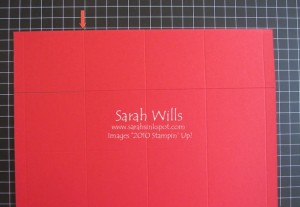
Using a score tool or your Paper Trimmer with the Score Blade inserted, score the cardstock at – 1/2″, 3 1/4″, 6″, 8 3/4″ and 11 1/2″…
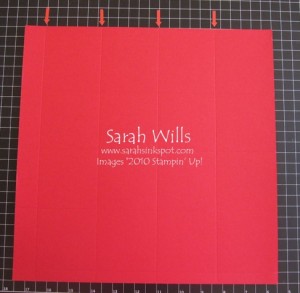
Turn the cardstock around 90 degrees and place back into your paper trimmer – score at: 2 3/4″, 5 1/2″, 8 1/4″ and 11″…
Which will leave you with a grid of score lines.
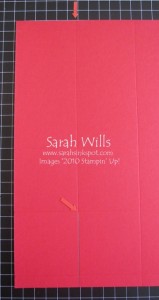
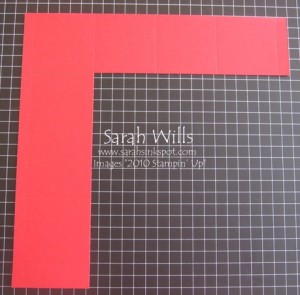
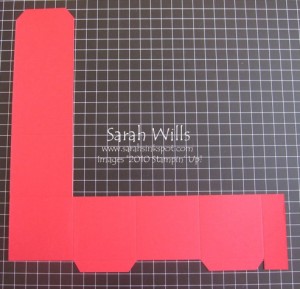
Find your score line that is 2 3/4″ in – cut down this line stopping at 3 1/4″ from the end – shown by my pencil mark below…
Turn your cardstock around 90 degrees and cut down from your pencil mark to the end…
And this is what you will have…
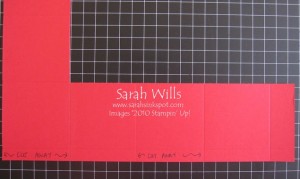
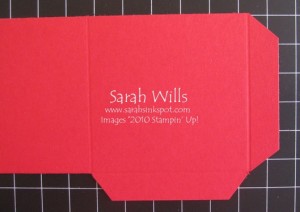
Find the edge that has the 1/2″ score line – you will make your tabs using this line – you need to cut two of the little sections away as shown below (click on the photo to enlarge it)…
Once trimmed away, your cardstock will look like this…
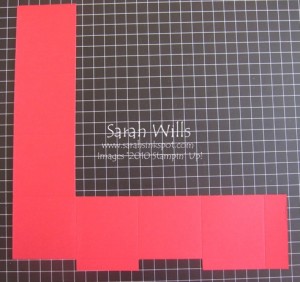
Trim the corners on your tabs…
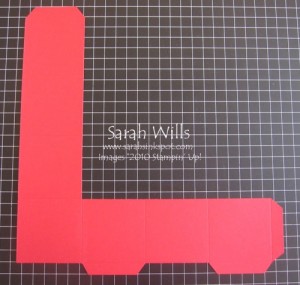
To make your end tab, trim it down to 1/2″ and shape your corners like you did for the others…
And this is what your cardstock will look like…
And now to assemble…
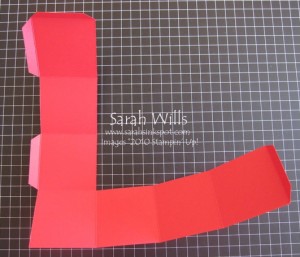
Fold along all score lines…
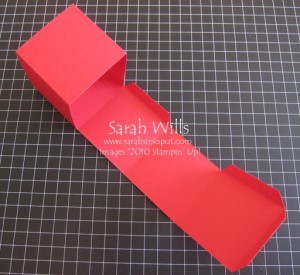
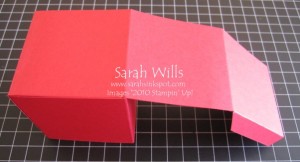
And start assembling – add a very strong adhesive such as Sticky Strip to the tabs and adhere the first part…
If you wish to leave your box flat for mailing do not remove the film from any more pieces of Sticky Strip – you can assemble your box in the following steps and decorate it with photos and papers etc but do not adhere those tabs. Once finished, simply slide the tabs out and mail it flat along with directions so that your recipient can assemble it themselves.
Continue to fold over your cube and insert all tabs – if you are not mailing it, go ahead and adhere the strips in place, inside the cube…
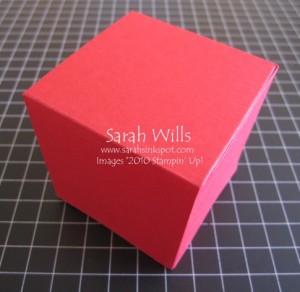
And here is the finished cube, ready for decorating…
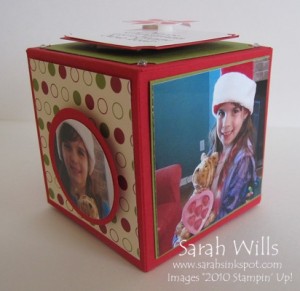
I used Designer Series Papers from the Jolly Holly pack to decorate mine along with Real Red and Old Olive cardstocks…cut the pieces to decorate your panels at 2 1/2″ square…
I used a stamp from the hostess set Occasional Quotes for my sentiment and the poinsettia is stamped using Real Red ink and a stamp from the set Season of Joy…I shaped the corners using my Ticket Corner Punch and attached beautiful Rhinestones to the corners…
And there you have one cute Cube that will bring smiles to the face of the person lucky enough to receive one…
WANT TO PRINT OUT THIS TUTORIAL? PLEASE CLICK HERE FOR A PRINTABLE VERSION WHICH WILL OPEN IN A NEW BROWSER WINDOW!
Please click HERE to view my other Project Tutorials

