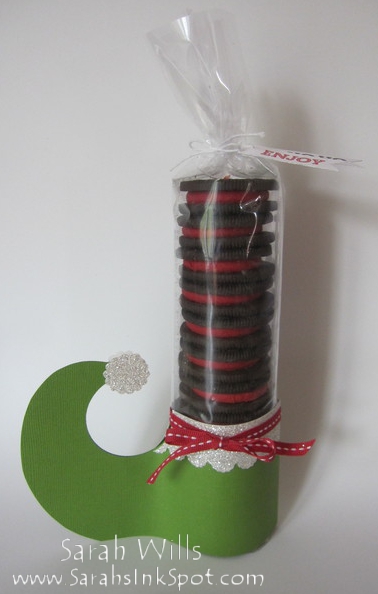
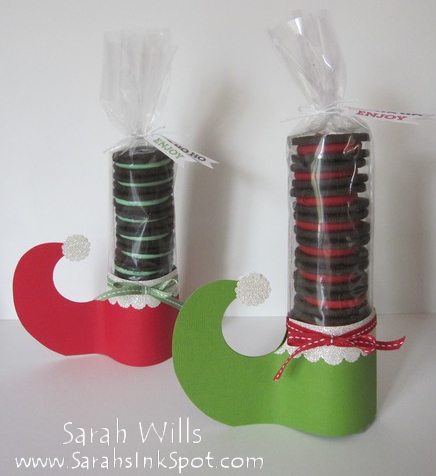
This is a super cute Holiday treat for kids and grown-ups alike – a cello bag filled with sandwich cookies that look like stockings and then wrapped with a cute elf shoe at the bottom…
Fun, easy and cost effective, they are sure to be a big hit with kids, teachers, friends, family – who wouldn’t love to receive one of these?!
Here is my tutorial so that you can make your own Elf Shoe treats– at the end of this tutorial you will find a printable version too so that you can print it out and keep it for reference.
Supplies needed:
- 12×12 sheet of Cardstock in a festive color
- White or glitter paper for the trim
- Ribbon
- Small Scallop Punch or Pom Pom
- Cello bag or wrap & twine
- Sandwich cookies
- Sticky Strip, Glue Dots & Dimensionals
AND my free Elf Shoe Template that you can find by clicking HERE – you can print it and download it to your computer for future use!
Elf Shoe:
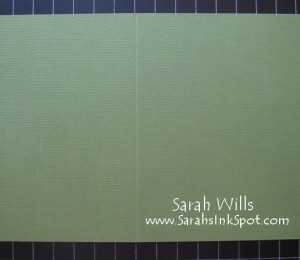
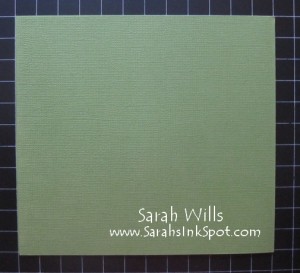
Cut a piece of cardstock to measure 5″ X 12″ – I am using the color Gumball Green…
Score halfway – at 6″…
And fold in half…
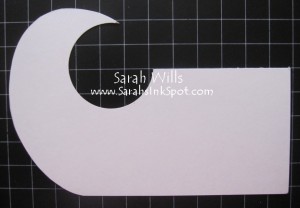
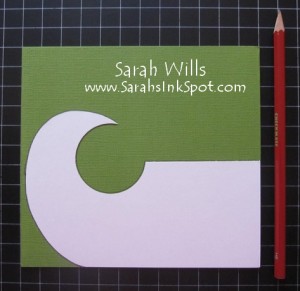
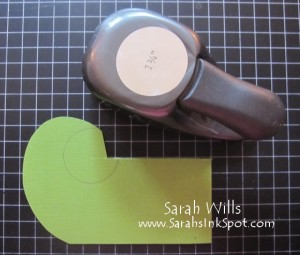
Print out the template onto a piece of cardstock and then cut it out – you only have to do this once and you can use it over & over again, so be sure to cut it out accurately – you can either cut out that circular part free-hand or use the 1 3/4″ Circle Punch for a very neat look…
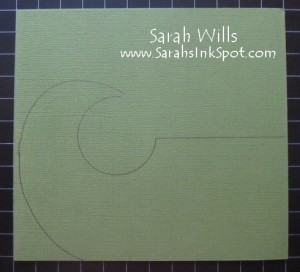
Next lay this template on top of your folded cardstock – be sure that the straight edge of the template is along your scored edge…and then draw around it with a pencil…
Remove your template and this is what you will have…
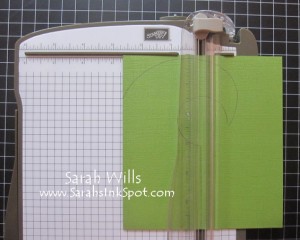
And now you cut it out…
Because I am precise, I use my paper trimmer to cut along the straight edge, but you can use scissors…
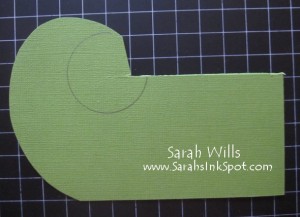
Cut all around that curved piece and then you can either cut out that circular section with scissors or…
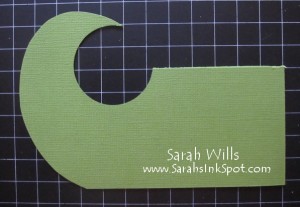
Do this with a 1 3/4″ Circle Punch – I like to do this because I am a bit of a neat freak when it comes to cutting LOL – and it does punch through a double layer of cardstock nicely…
And this is what you will have…
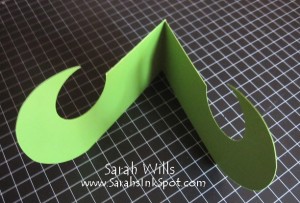
And here it is opened up – showing you how important it is to be sure that your straight edge of the template is along the score line…
Trim:
You can use Silver Glimmer Paper, Whisper White cardstock or anything else you wish to make the trim for the shoe…
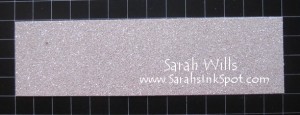
I am using Silver Glimmer Paper and cut a 2″ x 7″ strip…
Which I shaped using my Adorning Accents Edgelit Die (125595) – you can use that or any border punch or zig zag pattern you wish…
Now you will notice a color change LOL – after working on one way to attach the trim, I came up with a second easier way when making a red shoe – and so this is why the shoe has temporarily changed color in this tutorial!!!
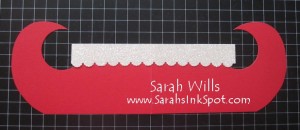
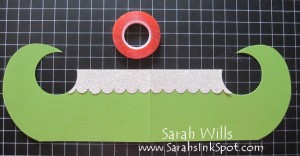
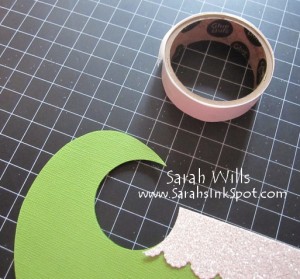
Take your trim and place it on the front of the shoes and get it to where you want it to be – use Sticky Strip to adhere it in place…
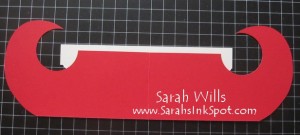
Then flip the cardstock over to see where you need to trim…
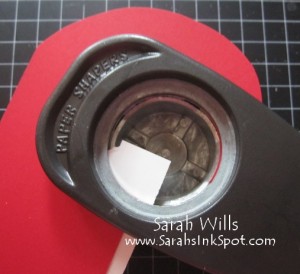
Again, you can do this with scissors or you can use that 1 3/4″ Circle Punch to make it easy…
And there is the trim in place – isn’t it cute?!
Now fold your shoe in half and adhere the tips together – I used Mini Glue Dots for this – BUT just adhere the tips together – you want to keep the body of the shoe free so that you can pop a tube of cookies into it.
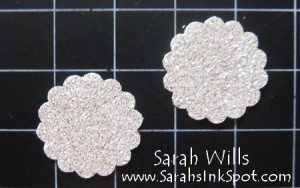
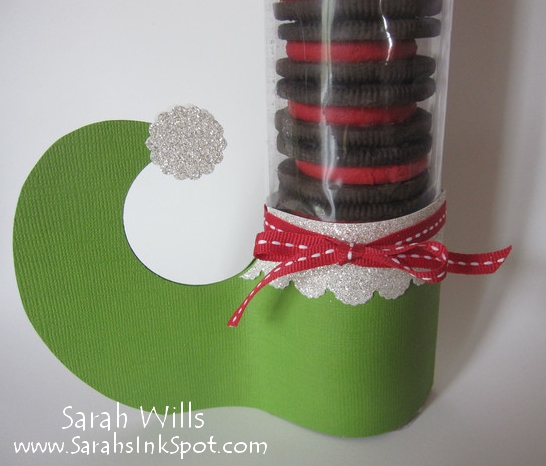
And then make little pom poms for the tips – I used Silver Glimmer Paper that I cut out with my 7/8″ Scallop Circle Punch…
I cut out two pieces and used a Dimensional to attach the first to the front of the shoe – and then used a glue dot to adhere the other to the other side – be sure to line them up carefully.
Alternatively, you could adhere a pom pom to the tip instead.
Cookies:
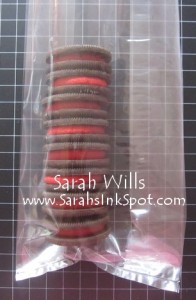
I like to use seasonal colors of Oreos – pop 8-12 of them into a cello bag – I used gusseted Cellophane Bags (133770) – Click HERE to find them
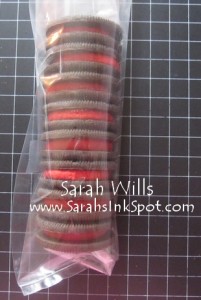
And then simply fold the bag over onto itself and secure with tape – tie the top with Twine and you have your tube!
Simply pop the cookie tube into your shoe and tie a piece of ribbon around to hold it in place…and there you have one CUTE treat!
You can switch around your colors – I love the look of alternate color cookies & shoes as below with my grenn & red combos…but they also look super cute with a same color cookie/shoe combo…
And you can add tags if you wish – I made tags using the set Oh, Goodie (131889) and tied them on using White Bakers Twine.
Have fun making them – I’d love to see how they turn out!
WANT TO PRINT OUT THIS TUTORIAL? PLEASE CLICK HERE FOR A PRINTABLE VERSION WHICH WILL OPEN IN A NEW BROWSER WINDOW
AND CLICK HERE FOR THAT ELF SHOE TEMPLATE!
Please click HERE to view my other Project Tutorials


Pingback: 8 DIY Holiday Gifts for Teachers | RoomMomSpot
So adorable. TY for sharing your time and talents!