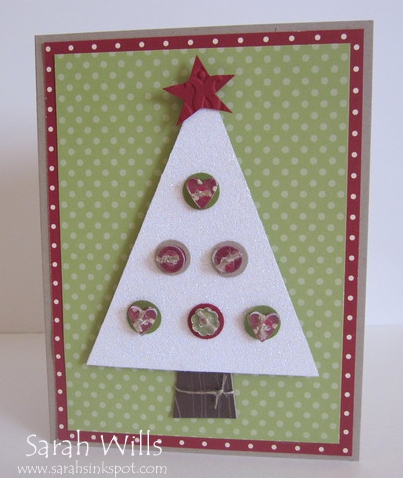
One of my favorite glitters of all time is Dazzling Diamonds – it just gives amazing results and one little pot of it will last you for a very long time making it fab value for money.
I decided to get out that glitter today and use it to make a card featuring a holiday tree. At school drop off this week I saw one little girl wearing a very cute shirt featuring a white tree decorated with hearts, flowers and circles – I was inspired to use that design on my card today…
You can find Dazzling Diamonds Glitter on pg 196 of the Catalog and it costs just $4.95 making it a great deal!
Also featured on my card are those cute Bitty Buttons that you can find on pg 186 – want a pack of these buttons for free? Come back on Friday for details on how to get them!

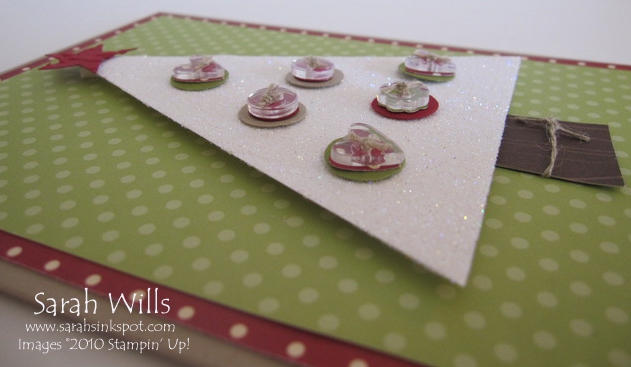
Its hard to see in my photo, but that white tree is completely covered with Dazzling Diamonds Glitter – I tried very hard to capture the amazing sparkle of it but alas the lighting wasnt quite right – I’ll try again tonite after dark!
How did I apply the glitter to the whole tree? Very easily – I simply took a piece of white cardstock, cut out the shape of my tree and ran it through my Xyron machine – not sure what one of those is? It is a simple machine that you can find at any large craft store – Walmart carries them too – it basically turns anything into a sticker by applying a thin layer of adhesive to it. Then you simply peel off the backing to expose your adhesive.
I removed the backing and sprinkled my Dazzling Diamonds Glitter onto the adhesive, shook off the excess and voila – one very sparkly tree!
If you would like step by step directions on how to use a Xyron to apply glitter you can find my tutorial by clicking HERE – it is in Technique Tutorials
I used a piece of patterned paper from my In Color Patterns DSP Stack as my background and attached my tree using Dimensionals – my tree trunk was cut from a piece of woodgrain DSP from Woodland Walk.
For my tree decorations, I used DSP from Jolly Holiday plus Cherry Cobbler, Crumb Cake and Old Olive cardstocks – I punched out the shapes using my Itty Bitty Shapes Punch Pack plus my Heart to Heart Punch and attached them to 1/2″ Circle bases using Mini Glue Dots – you can click on the photo below for a close-up image…
I then tied a piece of Linen Thread through each Bitty Button finishing with a knot, and adhered them in place again using a Mini Glue Dot. I made my star by simply cutting it out using sharp Paper Snips.
I matted my finished tree ensemble onto a piece of DSP from Jolly Holiday and then finally onto my Crumb Cake base – and there is one very sparkly dazzling tree!
TO ORDER YOUR STAMPIN’ UP! SUPPLIES ONLINE CLICK HERE!

Stunning card! I have done the same except using Iridescent embossing powder. I love the idea of the buttons on the tress.