This a very cute way to package treats to surprise someone – this little container is sized to hang on a door knob and is perfect for Halloween Boo’s or Secret Sneeky Santa treats for friends, neighbors & co-workers. They are a very affordable treat to make and fill and are so much fun to make.
In fact I am going to make some to hang on my girls’ bedroom doors so that they will have special ‘boo’ treats to wake up to on halloween morning…it is made from one sheet of 12 x 12 cardstock and it is super cute!
Here is my tutorial so that you can make your own – at the end of this tutorial you will find a printable version along with the template of measurements so that you can print it out and keep it for reference.
I have sized this treat holder so that it will hang on a door knob and even if the door opens inwards, it will stay hanging and not fall off – my circle is sized at 2 1/2″ to fit over a round door knob but you can make this smaller or larger depending on what you need.
If you want to make a door hanging treat holder that is deeper, please see my Milk Carton Caddy tutorial – you can find it by clicking HERE and you can make half of the caddy which will hang on a door nicely…ok on to this tutorial…
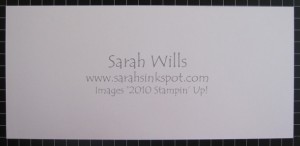
Cut a piece of cardstock to be sized 12″ x 5 1/2″…
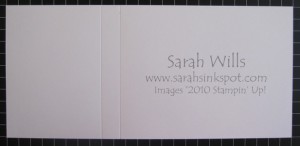
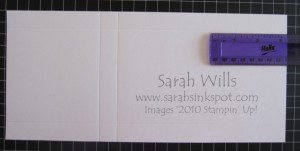
Using your paper trimmer with score blade inserted or a scoring tool, position your cardstock so that the longest side is at the top – then score at 4″ from one end…and then score 3/4″ on from that score line and this is what you will have…
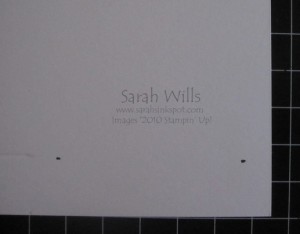
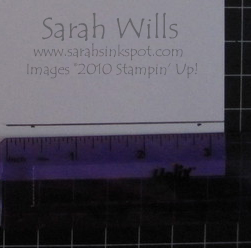
At the other end measure 3/4″ up from the bottom edge and make pencil marks – repeat for the other side – measure 3/4″ down from the top edge and make more pencil marks…
Using your pencil marks as a guide, take a ruler and measure 3 2/8″ from the end…
And draw a line using your pencil marks that you made to ensure your line is 3/4″ in from the bottom edge…repeat for the top edge…
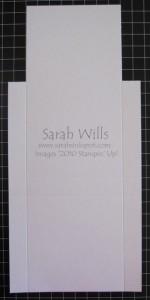
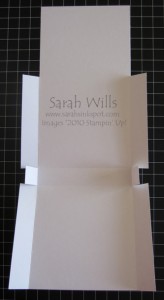
Using your paper trimmer with the cutting blade inserted, cut down the pencil line on each side and at the end of the 3 2/8″ line, cut inwards so that you cut that section of cardstock away…and from that point downwards on each side use your score tool or score blade to score all the way to the bottom, 3/4″ in from the edge…
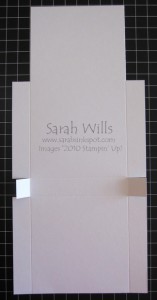
Where your score lines cross, use Paper Snips to cut in each side, as follows…
And then fold along all score lines…
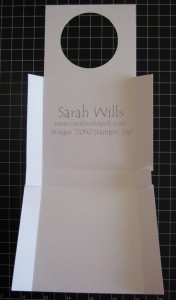
Next made your hole so that you can hang your treats holder – I used my round door knobs at home as my guide, and chose to make my hole 2 1/2″ in diameter – this should fit on most doors easily but you can make yours smaller or larger based on personal choice. I used my Circle Scissors Plus & Glass Mat to make my hole…
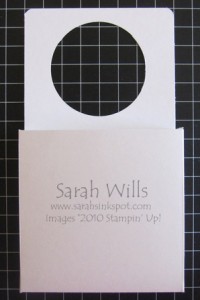
Apply a very strong adhesive such as Sticky Strip to the inside flaps of one half and fold & adhere the flaps together – I also decided to round my top corners using my Corner Rounding Punch for a neat finish…
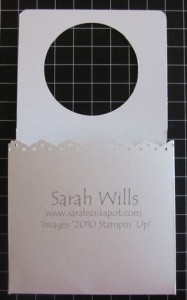
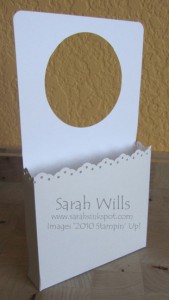
You can also choose to use a border punch on your treat holder if wished – I used the Eyelet Border Punch to trim mine which you can see below – if you decide to use a border punch on yours, do so before you fold & adhere your box together…
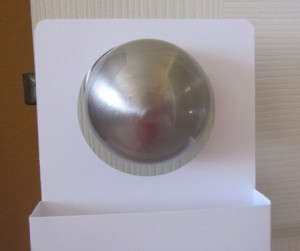
This is what it looks like hanging on a door knob…
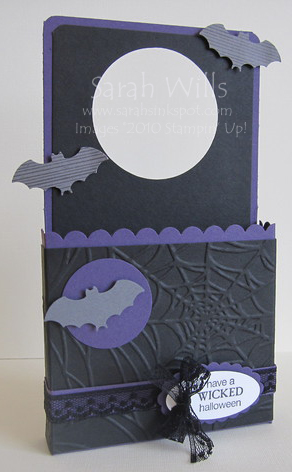
And this is the finished Door Knob Hanger, ready to decorate & embellish and fill with goodies – they are fun to make and are sure to be very well received…
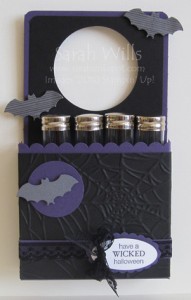
This is mine filled with Test Tubes – I am planning to fill these with jelly beans or M&Ms and these test tubes are perfect especially for kids as they as plastic, have flat bottoms and screw-tops – you can find them by clicking HERE – 4 Small Test Tubes fit in there perfectly…
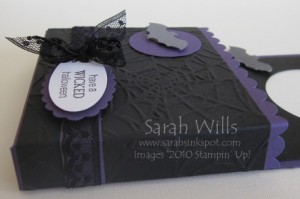
And here is a close-up of mine – my base is Elegant Eggplant onto which I layered Basic Black – I used the fabulous Spider Web Embossing Folder that you can find on pg 6 of the Holiday Mini Catalog to texture the black cardstock on the very front and used some of the gorgeous Raven Lace Trim to wrap around and tie my bow – this is also in the Holiday Mini on pg 8. My stamp is from the set Wicked Cool and the bats are made using DSP from Wicked Fun (pg 172) and the new Bitty Bat punch on pg 200…cool, eh?
I also used other punches from the catalog – the Scallop Edge, Oval & Scallop Oval Punches…LOVE those punches…
WANT TO PRINT OUT THIS TUTORIAL? PLEASE CLICK HERE FOR A PRINTABLE VERSION WHICH WILL OPEN IN A NEW BROWSER WINDOW
Please click HERE to view my other Project Tutorials
Here is the template with measurements – score & fold along all broken lines and cut along the solid lines…
