Paper Piecing is a great way to fill in those stamped images – especially if, like me, your coloring skills are in need of improvement!
To make this easy you need to have some very sharp little scissors – Stampin’ Up!’s Paper Snips that you can find on pg 199 of the Catalog are just perfect for this technique – they are small with a very sharp sculpted tip meaning that you can easily get into the little corners – trust me, you need these scissors for easy Paper Piecing cutting!
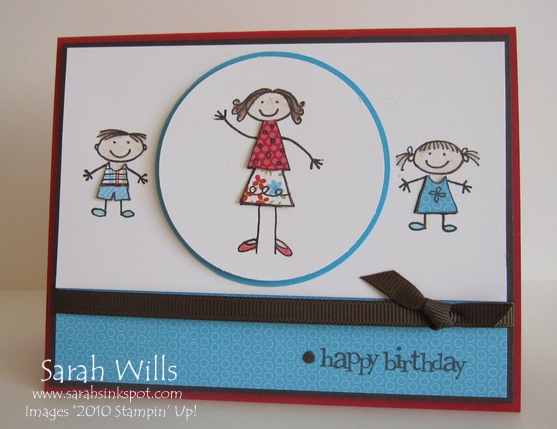
This card was made by Paper Piecing – instead of coloring in those images using crayons, pencils or pastels, I used patterned papers…
Sooo…how do you Paper Piece? Here are step by step directions…
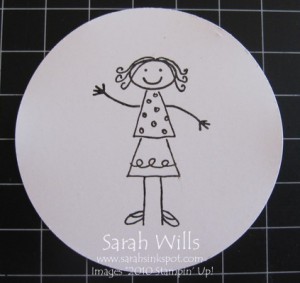
Firstly stamp your image onto your base cardstock…I used stamps from All in the Family (pg 91) and used my Stamp-a-majig to perfectly position all the body & clothing pieces…
Not sure what a Stamp-a-majig is or how to use one? You can find my free tutorial showing you how to use one in easy steps by clicking HERE
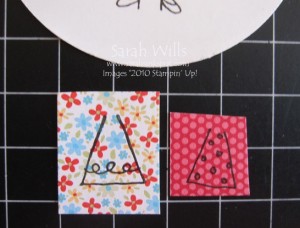
Then you stamp the pieces that you want to use to fill in your image onto patterned papers or colored cardstocks…in my case, I stamped my dress images onto patterned papers…
Cut these pieces out using your Paper Snips – I like to cut around just outside the lines…
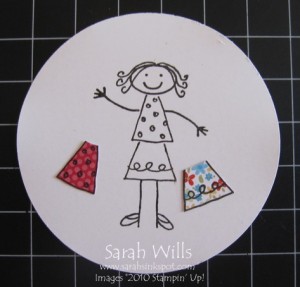
And then adhere your pieces in place – I find that Mini Glue Dots (pg 197) are great for this as they are small and manageable…
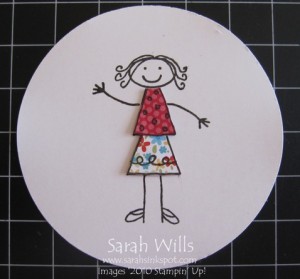
You will notice that I stuck down my bottom piece first and then my top piece above it to get that nice realistic look of a shirt over the skirt.
And it really is that simple to get fabulous results without coloring!
My card above?
I used the colors Real Red, Early Espresso and Tempting Turquoise – the patterned papers are from Build a Bear Workshop DSP (pg 175) – this pack of papers features designs sized perfectly for making clothing for these types of stamps…including those cute Build a Bears…
I colored in the faces and feet using my Blender Pen and Watercolor Wonder Crayons…I made my circle using my Circle Scissors Plus & Glass Mat and added a piece of ribbon to finish it off…cute!
WANT TO PRINT OUT THIS TUTORIAL? PLEASE CLICK HERE FOR A PRINTABLE VERSION WHICH WILL OPEN IN A NEW BROWSER WINDOW!
Please click HERE to view my other Tutorials
