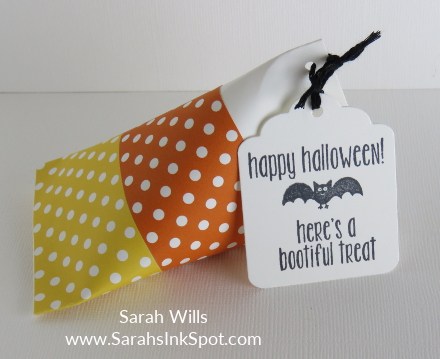
Here is a cute Halloween treat holder that is fun, quick & easy to make – it’s not big so you can use up some of your paper scraps to decorate it – and it takes very little time – it’s a win win!
Here is my tutorial so that you can make your own Candy Corn Sour Cream Treat Container – at the end of this tutorial you will find a printable version too so that you can print it out and keep it for reference – look for the red text & you’ll find it!
Supplies I used to make this project:
- Whisper White Cardstock (100730)
- Brights DSP Stack (138434)
- VERY strong adhesive tape such as Fast Fuse (129026) or Tear & Tape (138995)
- Tag shaped die from Tags & Labels Framelits (138282) & 1/16″ Hole Punch (134365)
- Halloween stamps from Spooky Fun (142236) and Cookie Cutter Halloween (CM 142255/WM 142252)
- Black Bakers Twine (141682)
The container:
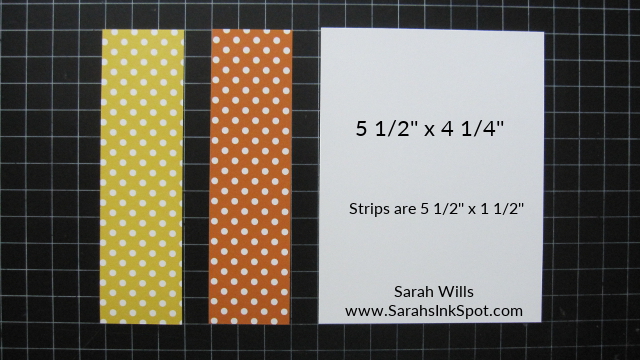
Cut a piece of Whisper White Cardstock to be 5 1/2″ x 4 1/4″ – be sure to use regular thickness cardstock and not thicker ones – thick cardstocks make the box harder to roll & shape without creases!
And cut two strips of patterned paper to measure 5 1/2″ x 1 1/2″ – the colors I used are Daffodil Delight and Pumpkin Pie – perfect for the candy corn theme…
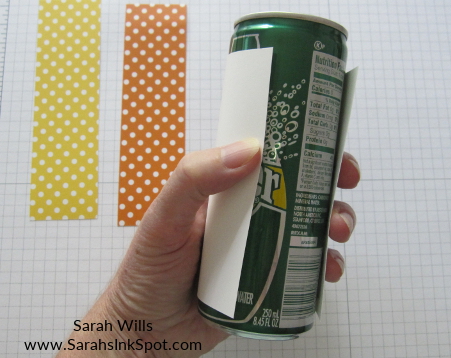
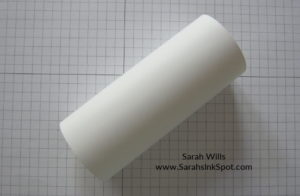
Next roll up your white cardstock – I like to use a thin can or jar to wrap it around – this helps to avoid creases!
Add a strip of SUPER sticky adhesive to one of the long sides…
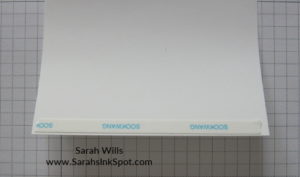
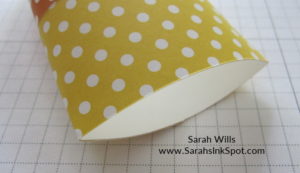
Roll up and press firmly to seal – you should have a toilet roll tube looking shape…
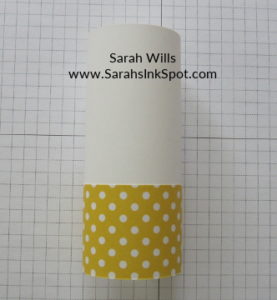
Take your yellow strip and cover the reverse side with adhesive tape then wrap around your tube – a tip for this is to stand the tube upright and position your strip at the bottom and work your way around, using your table top to guide you – this helps to keep the strip straight and not go wonky!
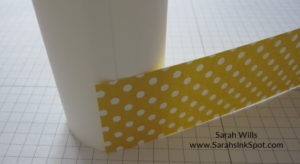
Press firmly in place…
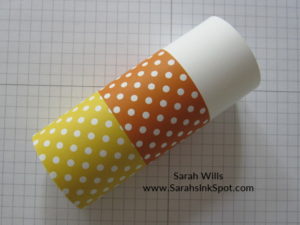
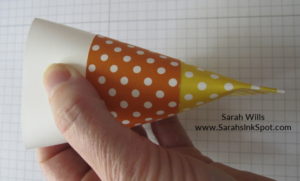
Add the orange strip and press firmly in place…
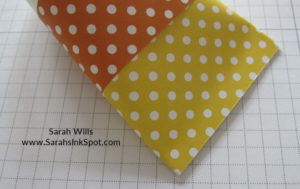
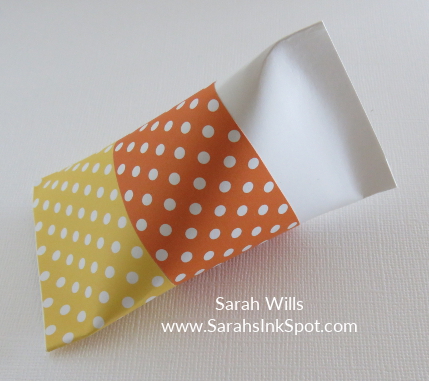
Take one end of the tube and use your fingers to firmly press the two edges together…
Add a line of very strong adhesive & push together firmly to close – you might also want to crimp this edge to strengthen the seal – it also looks pretty!
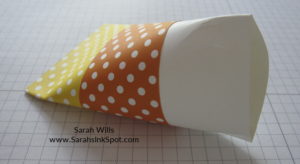
Take your container into your hands and turn 90 degrees…
And press the other two edges firmly together…
Fill with candies – mini candy corns for me!
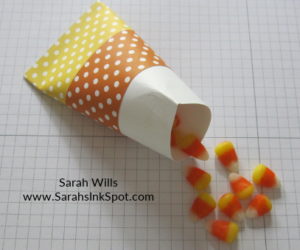
Then add strong adhesive tape to seal, crimp if you would like, and you are done – isn’t it cute?
If you have any problems with one of the ends popping open, simply tack it closed with a mini staple – which in itself is a cute touch!
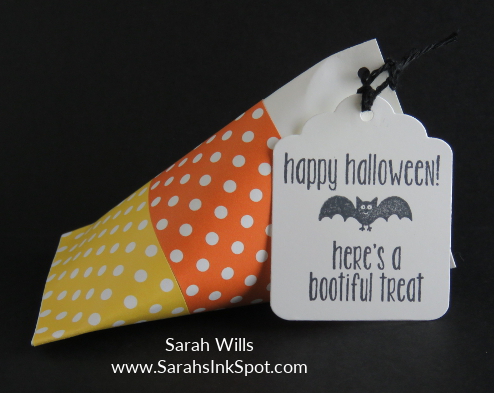
The tag:
I used word stamps from Spooky Fun & the bat from Cookie Cutter Halloween – I shaped my tag using a die from Tags & Labels Framelits – and tied it to my container using Black Bakers Twine…cute!
WANT TO PRINT OUT THIS TUTORIAL? PLEASE CLICK HERE FOR A PRINTABLE VERSION WHICH WILL OPEN IN A NEW BROWSER WINDOW
Please click HERE to view my other Project Tutorials