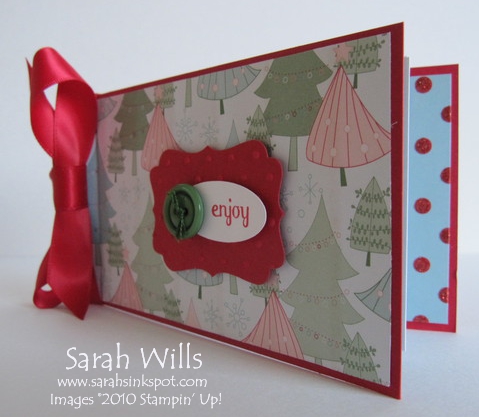
This is a very cute gift idea for any occasion – it is a book filled with coupons that the recipient can redeem…this is not a new idea but it is a fun one!
I have made two for my girls for little Christmas gifts – instead of purchasing gifts the recipient redeems the coupons for whatever you decide to put in there which is wonderful especially if you are on a budget this holiday season…
For my girls I have put coupons in there for such things as ‘snuggle with Mom and watch a movie’ or ‘a trip to the coffee shop’ – they LOVE little treats like this…
Here is my tutorial so that you can make your own Coupon Book – at the end of this tutorial you will find a printable version too so that you can print it out and keep it for reference.
Firstly take a piece of cardstock in the color of your choice – I choose Real Red – and cut to be 11″ x 3″…
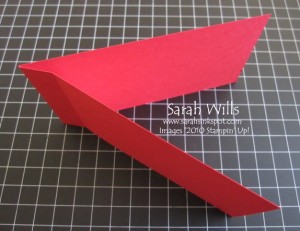
Place into your Scoring Tool or Paper Trimmer with the score blade inserted – the longest edge along the top – and score down at 4 3/4″ and 5 1/2″…
Fold along the score lines…the longest un-scored part will be the back of your book…the two score lines have made a small area that will cover the ‘spine’ of your coupons…
Next to make your coupons to fill your book…
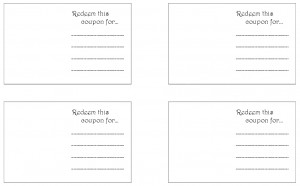
I have a sheet of printable coupons that you can find by clicking HERE – you can print them out straight onto cardstock…
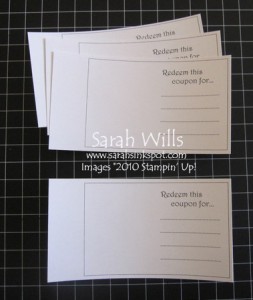
And then you need to trim them to size in your paper trimmer.
Cut each coupon to be 5″ x 2 3/4″…
Next you need to make perforation lines so that the coupons can be torn out of the book to be redeemed…if you have a perforating tool you can use this, but if you don’t you can do this using a Paper Piercing Tool and ruler…
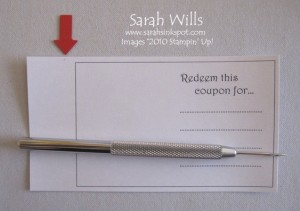
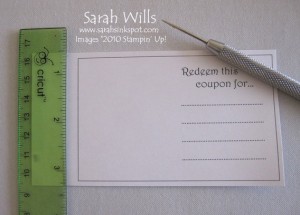
Measure in from the left side and make a light pencil mark at 3/4″ in…
Take your ruler and hold firmly down from this line…
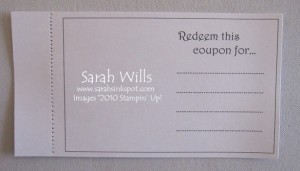
Use your Paper Piercing Tool to make a line of holes approx every 1/16th of an inch all the way to the bottom. To protect your surface be sure to use a self-healing mat or an old mouse mat underneath so that you dont make holes in your furniture…
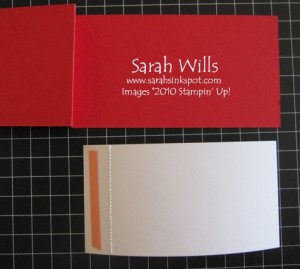
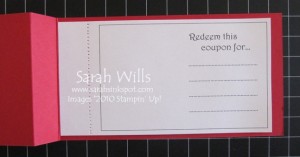
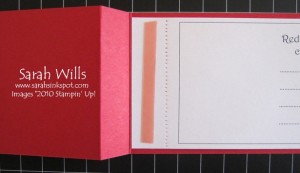
Bring back your base to your work area and take the first coupon – apply a strong adhesive such as Sticky Strip and apply to the back of it along the small strip next to the perforations…
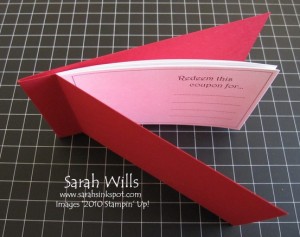
And then stick down onto the back of the base – this is the part that has no score lines on it – when positioning your coupon, make sure when you close the front cover that the perforated line is showing outside of the spine area so that the coupon can easily be torn away…
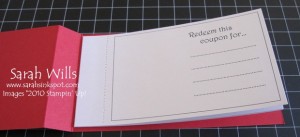
Place a piece of Sticky Strip on the spine area of the first coupon and then adhere your second coupon in place…repeat until all coupons are adhered…
And this is what you will have…
Add one more piece of Sticky Strip to the top coupon…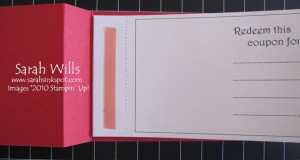
And fold over your front cover, securing the small scored part of that cover to the adhesive – this covers the spine area…
Here is another view…
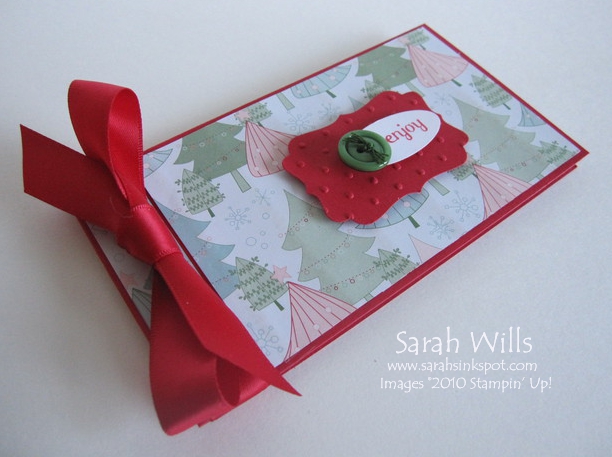
And then decorate as wished…I used a piece of Real Red Satin Ribbon to trim the spine of my book and papers from Candy Cane Christmas DSP…I textured a piece of cardstock using my Big Shot and the Perfect Polka Dots Embossing Folder and punched it out using the Decorative Label Punch.
The ‘enjoy’ stamp is from the set Fabulous Phrases and the button is from the Designer Buttons Collection…
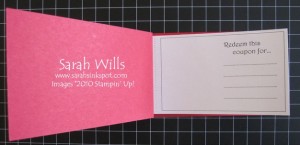
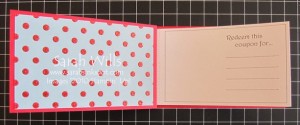
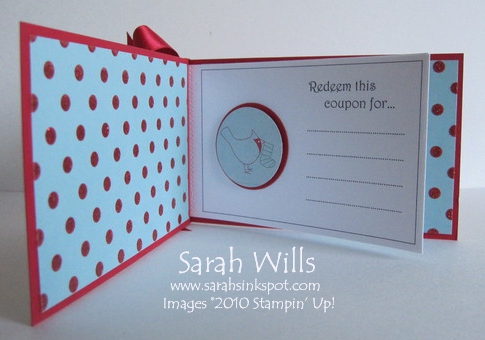
I covered the inside of my front and back covers again using Designer Series Papers…
And used images that I punched out of my DSP to decorate my coupons…you simply embellish or stamp each coupon as wished…
WANT TO PRINT OUT THIS TUTORIAL? PLEASE CLICK HERE FOR A PRINTABLE VERSION WHICH WILL OPEN IN A NEW BROWSER WINDOW!
Please click HERE to view my other Project Tutorials
Template:
Sheet of Coupons to save to your PC and/or print out – click HERE
