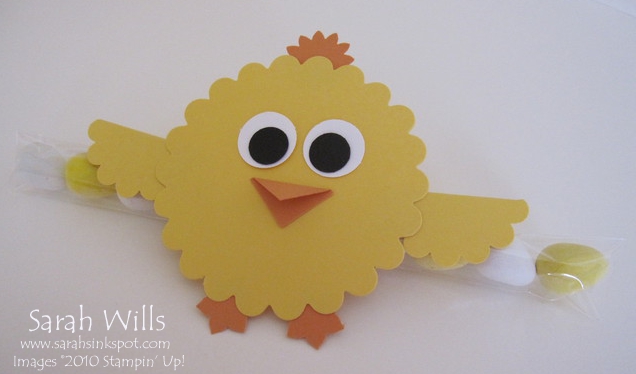
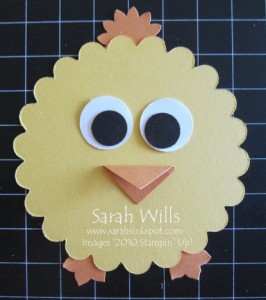
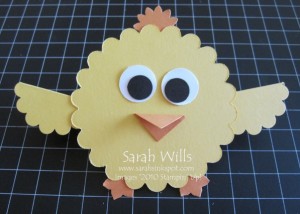
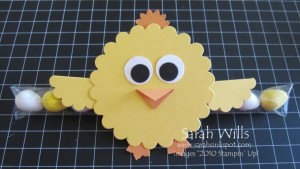
This project is just adorable – perfect for Easter and also baby shower favors – the Chick holds a cello tube that you can fill with small candies such as Jelly Beans, Mini Eggs and M&Ms or anything else you can think of…
Isn’t he cute? And SO fun to make! And what a great little treat to give to kids – they will LOVE them!
And those Cello Tubes? They have a clear seal at one end that works beautifully since it keeps your goodies in the tube and is almost invisible thus keeping the cute look of your gift.
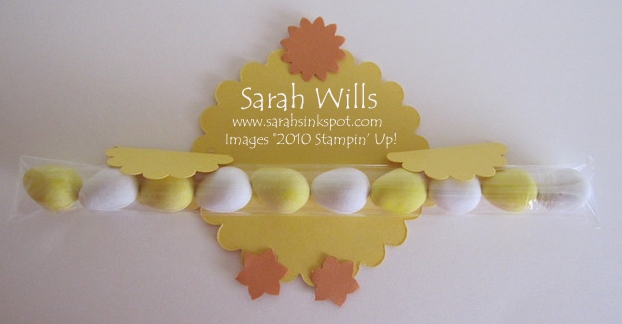
The Tube of candy is held in place under his wings using Mini Glue Dots – this is what he looks like from behind…
Where can you get those Cello Tubes? They come in packages of 20 or 50 and I have them available – find out more at the bottom of this page!
Here is my tutorial so that you can make your very own cute Chick – at the end of this tutorial you will find a printable version too so that you can print it out and keep it for reference.
Firstly you need to gather supplies – you will need cardstocks in various colors and a Cello Tube.
Next you need to punch and die cut shapes from cardstock – I used the colors Daffodil Delight, Peach Parfait, Whisper White and Basic Black.
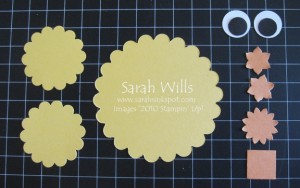
You need to cut the following shapes:
2 x Yellow Scallop Circles using the 1 3/4″ Scallop Circle Punch
1 x Yellow Scallop Circle using the Scallop Circles #2 Bigz Die
2x White Circles using the 3/4″ Circle Punch
2 x Black Circles using the 1/2″ Circle Punch
1 x Orange Square using the 3/4″ Square Punch
3 x Orange shapes using the Boho Blossoms Punch
To assemble your Chick:
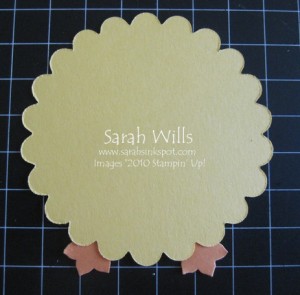
Attach two Mini Glue Dots to the tops of the two shapes you punched out to use as his feet…
And adhere to the back of the large yellow scallop circle…
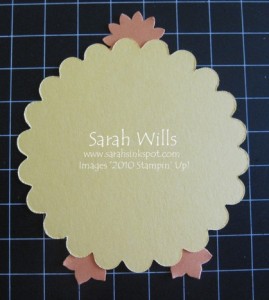
Do the same thing to attach his hair…
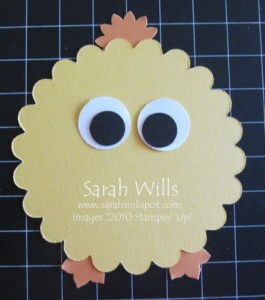
Add his eyes…
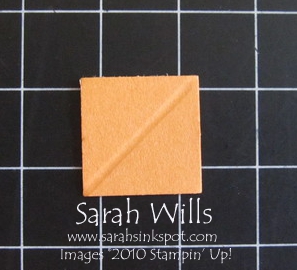
And to make his beak, take your 3/4″ orange square and score from corner to corner…
Fold in half, along the score line, and attach the back of the beak to his face, leaving the top part to freely flap up and down…
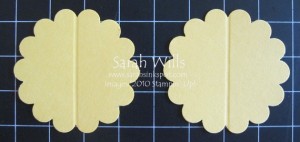
Score both of the smaller yellow scallop circles in the center…
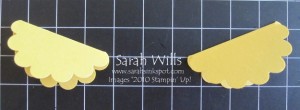
And fold each in half…
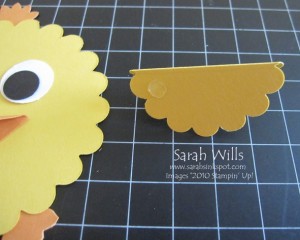
Put a Glue Dot on the top corner and adhere to the back of your chick…
Repeat for the other side and this is what you will have – the wings are adhered each side…
Place your filled Cello Tube between the flaps of the wings and adhere in place using Glue Dots…
And there you have one cute Chick just ready for a lucky owner!
Isn’t he just adorable?!
I know that you might not have all the Dies and Punches to be able to make your own and so…
I HAVE PUT TOGETHER A MAKE-A-CHICK KIT!
Containing ALL consumable items needed for you to make 10 of these cute Chicks!
What is in a Kit? ALL the consumables you need to make 10 Chicks including all the die cut, punched out and scored pieces of cardstock PLUS 10 Cello Tubes.
The Make-a-Chick Kit price includes shipping – please note that you will need to supply adhesives and the candies to put into your cello bags
How do you purchase my Make-a-Chick Kit?
By clicking on my Buy Now link below – I ship to US mailing addresses only. I am offering kits to make 10 or 20 Chicks – email me if you want more!
Just want the Cello Tubes?
They are available in packages of 20 or 50…or email me if you want more! Please note that shipping is to US mailing addresses only.
WANT TO PRINT OUT THIS TUTORIAL? PLEASE CLICK HERE FOR A PRINTABLE VERSION WHICH WILL OPEN IN A NEW BROWSER WINDOW
Please click HERE to view my other Project Tutorials
