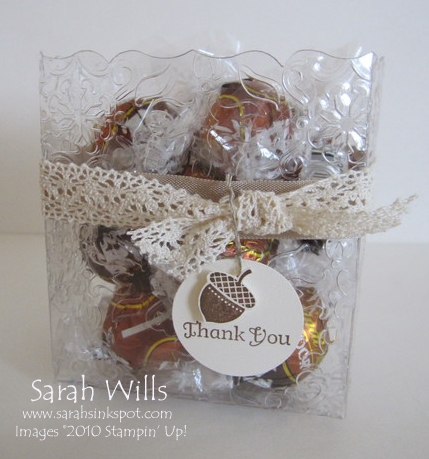
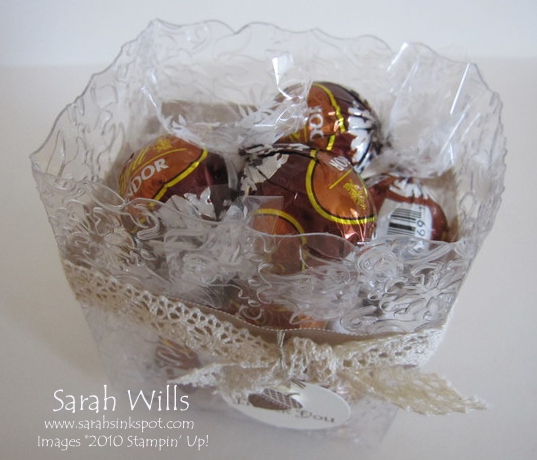
This is just beautiful way to present treats…it gives the look of crystal or glass when in fact it is made using a thick acetate window sheet…
And you can theme it for any occasion simply by changing your ribbons & embellishments and the style of embossing folder that you use – what a perfect treat for Thanksgiving & Christmas place settings – and these would make beautiful wedding, party & shower favors too.
This treat bag is so quick & easy to put together – the bag is made using the Big Shot & Fancy Favor Bigz XL Die and an Embossing Folder of your choice – that’s it!
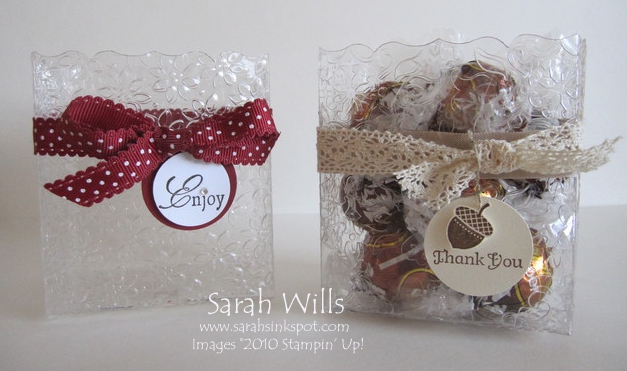
Here is my Fall themed version that I plan to make for each place setting this year…
And here is another – just by adding Christmas themed ribbon you can see what a different look you get…
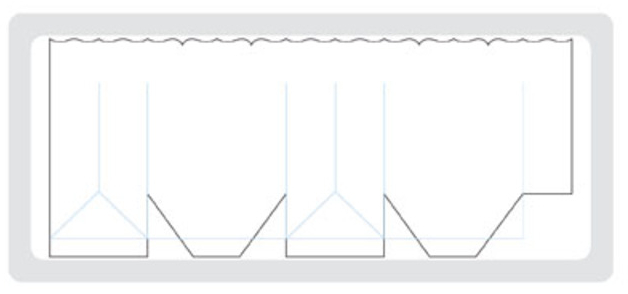
Here is the shape of that Die – the top edge has a beautiful trim…
Want to view the Fancy Favor Bigz XL Die online? Click HERE to go to it!
Here is my tutorial so that you can make your very own Clear Embossed Box – at the end of this tutorial you will find a printable version too so that you can print it out and keep it for reference.
To get a closer view of the photos below, click on them – this will enlarge each for easier viewing.
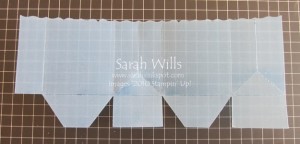
Take a thick acetate window sheet and run it through your Big Shot with the Fancy Favor Bigz XL Die – if your acetate has a protective sheet on, leave it on for cutting – it helps avoid scratches…
Remove your beautiful die cut shape and if it has protective coverings, remove those at this point.
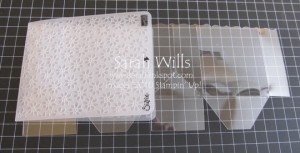
Take the Embossing Folder of your choice – you can find them all on pgs 218-219 of the Catalog – here I am using the Petals-a-Plenty Folder – for my Fall themed bag I used the Vintage Embossing Folder.
Take your acetate sheet & slide the end without the flap on the end into your embossing folder as far as it will go – make sure that you line it up so that the panels are fully covered by the folder – it doesnt matter about the bottom flaps – but you do want all of the panel to be embossed…
Tthen run it through your Big Shot using the Multipurpose Platform…
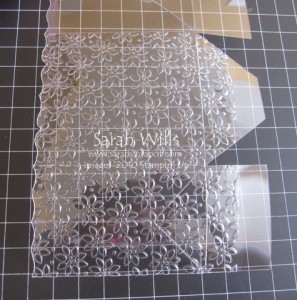
And this is what you will get – half of your box beautifully embossed…
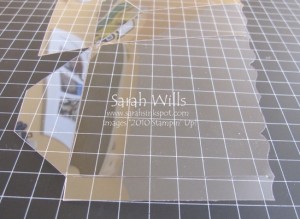
At the other end – trim down that end flap – that is a tab that will hold your adhesive tape – I trim it down to the width of my Sticky Strip…
And then slide this end into your embossing folder and run through your Big Shot.
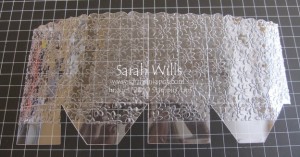
And this is what you will have – one beautifully textured piece of acetate.
Use a VERY strong adhesive tape such as Sticky Strip to adhere your side & bottom flaps together – and then add your ribbons & embellishments as wished and fill with goodies…
WANT TO PRINT OUT THIS TUTORIAL? PLEASE CLICK HERE FOR A PRINTABLE VERSION WHICH WILL OPEN IN A NEW BROWSER WINDOW
Please click HERE to view my other Project Tutorials
