This is such an easy but oh so effective technique – curving your petals really gives your cards that ‘wow’ factor and is so simple to do…
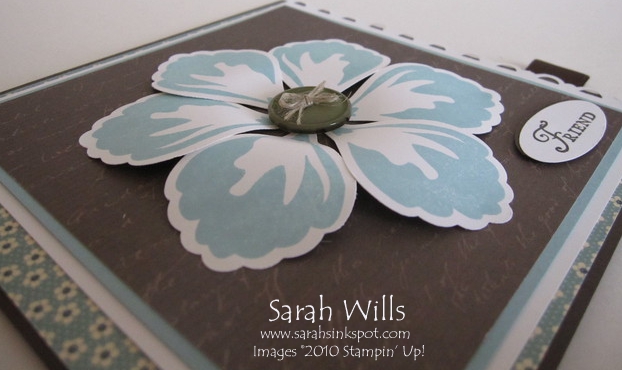
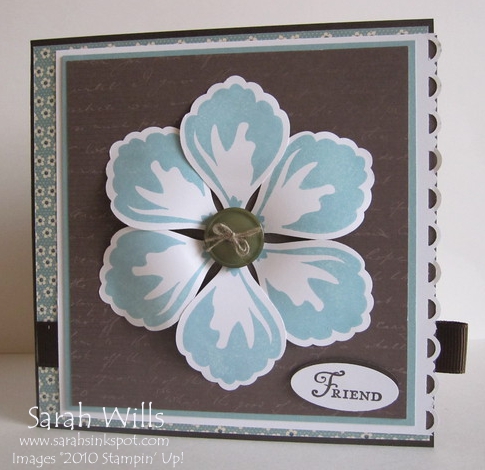
In my card here I have curved my petals downwards – this gives a very realistic look to my flower…
All you need to do this is a Paper Piercing Tool – very cheap and gives a very smooth look to your finished petals. You can find the Paper Piercing Tool on pg 198 of the Catalog or click HERE to find it in the online store. Priced at just $3.50 it is one very versatile tool that will last you forever…
In my tutorial I am showing you how to create these petals using the new Build a Blossom stamp set and co-ordinating Blossom Petals Punch featured in the Occasions Mini Catalog – of course you can use this technique with any petals but by using this stamp set and punch makes it is very easy to make a beautiful flower…
Here is my tutorial so that you can make your own curved petals – at the end of this tutorial you will find a printable version too so that you can print it out and keep it for reference.
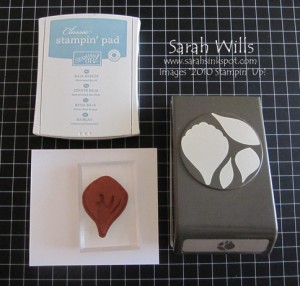
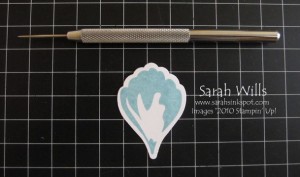
Firstly gather your supplies – I am using Baha Breeze Ink, my Build a Blossom stamp, my Punch and white card stock…
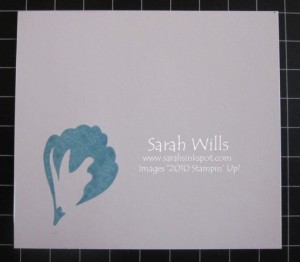
Then simply stamp your stamp onto the card stock…
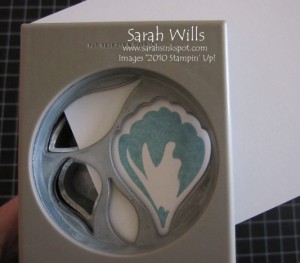
And cut or punch it out – I am using my Blossom Petals Punch – see how easily it lines up with the stamped image? You can stamp and punch 5 or 6 of these within minutes…
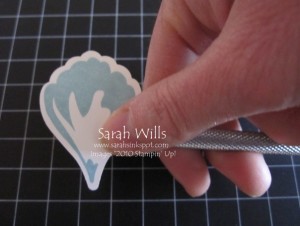
Then take your Paper Piercing Tool in one hand (I am right handed so use my right hand for this) and grasp your flower petal at the narrowest end in your other hand.
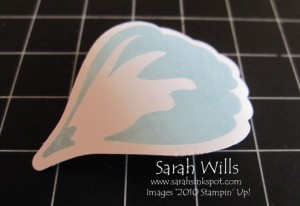
Then simply use the thinnest end of the tool and place it underneath the petal – whilst tightly grasping the end of your petal in your left hand, hold the tool between your right thumb and and finger and gently pull it towards the wide end of your petal…repeat several times and you will see the curve taking shape…
Continue until you are happy with the curve that you have…
And use on your projects…it really is as easy as that!
Here is my finished card – I love the effect this gives to flowers…
WANT TO PRINT OUT THIS TUTORIAL? PLEASE CLICK HERE FOR A PRINTABLE VERSION WHICH WILL OPEN IN A NEW BROWSER WINDOW!
Please click HERE to view my other Tutorials
