Did you come here because you are one of my Monthly Club Members and you received this FREE Card Make & Take from me in the mail?
Then this is where you will find out how to put it together!
If you would like to join the next round of my Monthly Club please click HERE to find the details and forms – I AM ACCEPTING APPLICATIONS THROUGH JULY 31st AND FOR THE MONTH OF JULY I HAVE A BONUS ITEM TOO SO YOU WILL RECEIVE TWO CLUB GIFTS – click on that link to find out what they are…
And you will sometimes get Make & Takes like this card in your mailbox too – in fact some months you will receive gifts of packs of Card Kits to make beautiful seasonally themed cards…
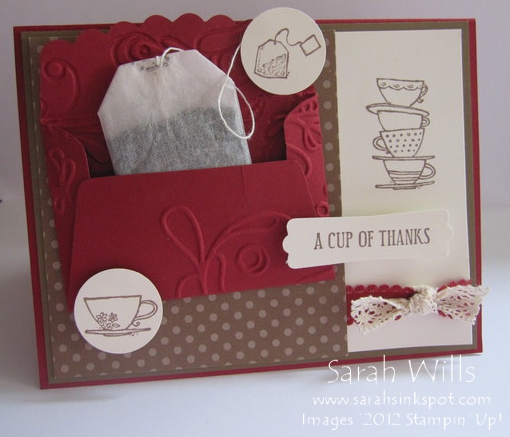
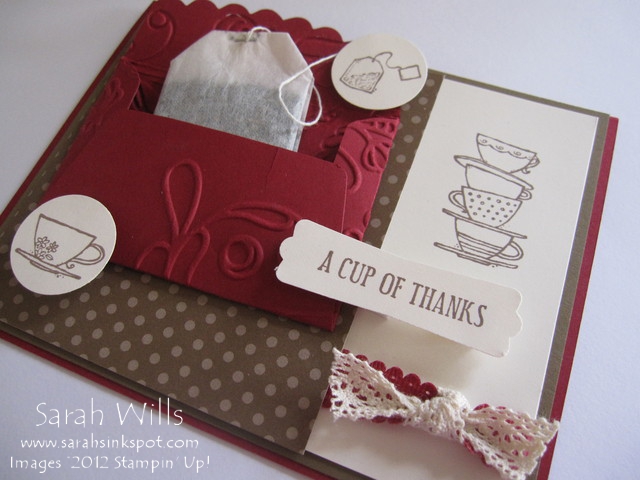
Time for Tea Card
Take out all the components of your Time for Tea Card Kit -you have all supplies that you need to make it – and if you want to make more, the supply list I used to create it is at the bottom of this page.
Let’s assemble your card:
Take your Cherry Cobbler card base and onto it, adhere that brown mat – then put this to one side.
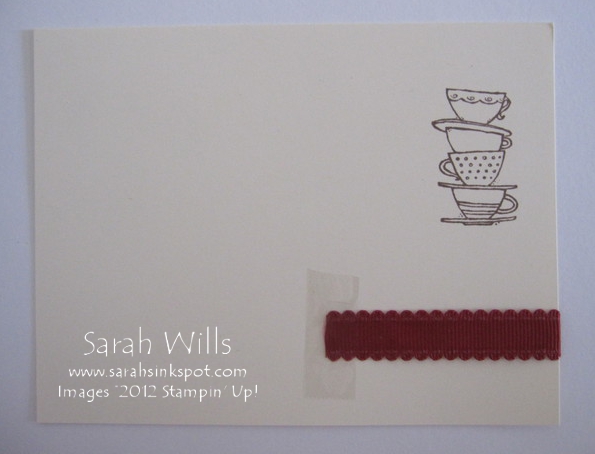
Take your Very Vanilla layer with the tea cups stamped onto it and attach your piece of Cherry Cobbler Scallop Dotted Ribbon onto it using scotch tape – tape one end on top of the card and the other on the back, like this:
You can choose which side of the ribbon you have facing up – plain or polka dots – I choose the plain side for my card.
Then take your piece of lacey Crochet Trim Ribbon and tie a knot in the center of this piece of ribbon.
Adhere this layer to your card base.
Take your piece of polka dotted Designer Series Paper and adhere in place on the Vanilla mat – be sure to cover the tape on the ribbon to conceal it.
Find your embossed Scallop Envelope – fold along all the score lines and then use adhesive to stick the bottom flap onto the two side flaps, to give you that envelope shape – and then attach to your card.
Pop your tea bag into the envelope and trim off the tag on the end of it.
Take your tea bag stamped image and add it to the end of the string & your card using a Dimensional.
Add your two other stamped images – the tea cup & the sentiment – to your card, again using Dimensionals and voila…your card is done!
Got questions? Email them to me by clicking HERE


