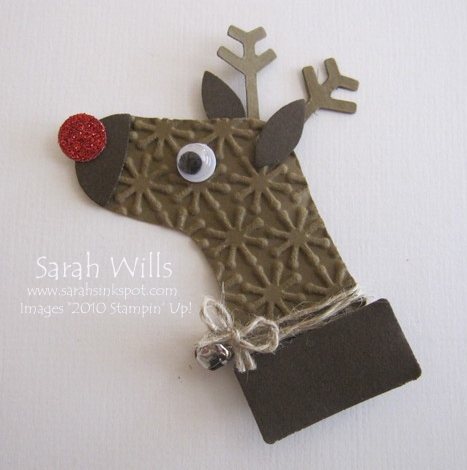
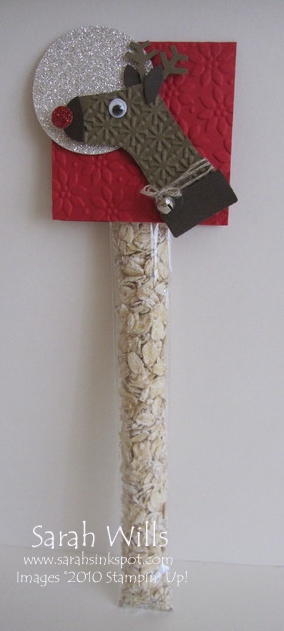
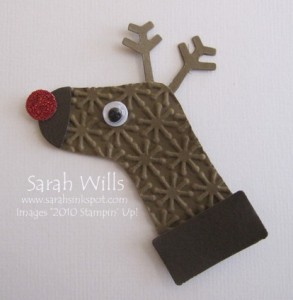
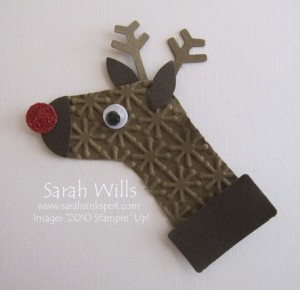
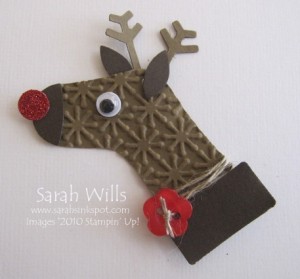
This is a super cute Reindeer made using Punches – he makes a fabulous focal point on a card or gift bag OR you can make cute Treat Toppers using him too…
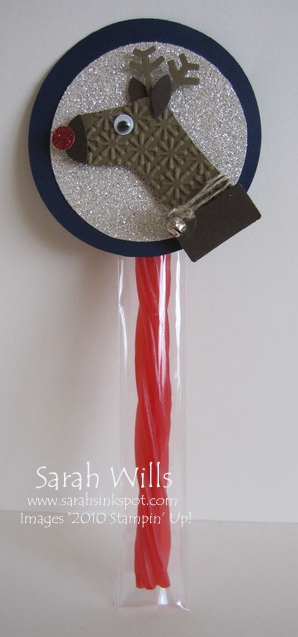
To do this easily, simply add him to the top of a Cellophane Bag Tube filled with treats – you can put M&Ms, Jelly Beans, a Twizzler, a Pencil – anything you can think of into this bag to make a cute treat.
You can find these Cellophane Tube Bags on pg 11 of the Holiday Mini Catalog – or by clicking HERE – they are priced at just $2.95 for a pack of 50 making them a fabulous deal!
Here he is:
You can even use this Reindeer and a Cellophane Bag to make a tube of Magic Reindeer Food for the kids…isn’t it cute?
I have a FREE tutorial showing you how to make the Magic Reindeer Food Tube & Topper that you can find by clicking HERE – enjoy!
Here is my tutorial so that you can make your very own Punch Art Reindeer – at the end of this tutorial you will find a printable version too so that you can print it out and keep it for reference.
To get a closer view of the photos below, click on them – this will enlarge each for easier viewing.
Here are the supplies you will need to make him:
From the Holiday Mini Catalog:
124095 Stocking Builder Punch $16.95 pg 34
124096 Snow Burst Embossing Folder $7.95 pg 33
121790 Red Glimmer Paper $4.95 pg 41
From the main Catalog:
119852 Snowflake Punch $16.95 pg 210
115318 Soft Suede Cardstock $6.95 pg 180
119686 Early Espresso Cardstock $6.95 pg 180
104199 Linen Thread $4.50 pg 194
Other:
Googly eyes – or make your own using 1/4” & 1/8” Circle Punches
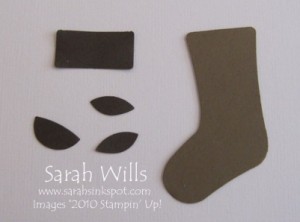
Punch the following shapes:
- from Soft Suede cardstock – one stocking shape for his head
- from Early Espresso cardstock – one stocking trim for his collar, one stocking toe part for his nose and two stocking heel parts for his ears
This is what you will have…
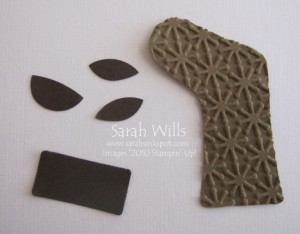
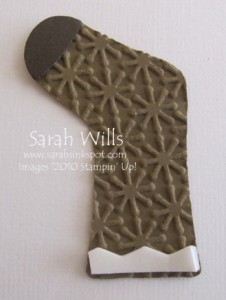
Run your stocking piece through your Big Shot in an Embossing Folder – I used the Snow Burst Embossing Folder for mine…
Add the toe section to the top of the stocking piece…and then add Dimensionals to the bottom…
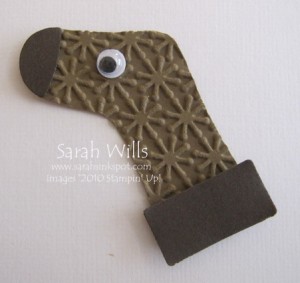
Add the brown collar piece to the row of Dimensionals and add your eye…
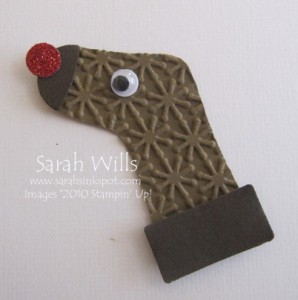
Add the shiny red nose…
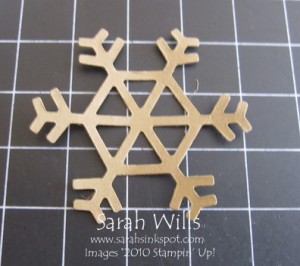
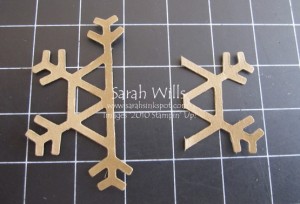
Punch or die cut a snowflake shape from Soft Suede cardstock…
And cut two long parts away…
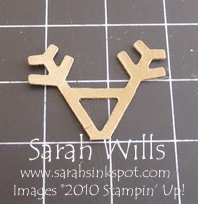
Use sharp scissors to cut this down so that you have no adjoining pieces – you can keep the center strut if you like…
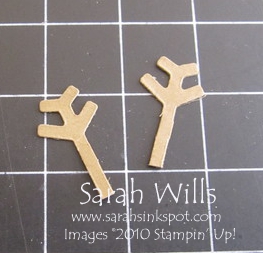
Or you can cut it away to give two separate pieces…
And then adhere your antlers in place to the back of the Reindeer head…
Take your two ears and adhere one on the back and the other on the front…
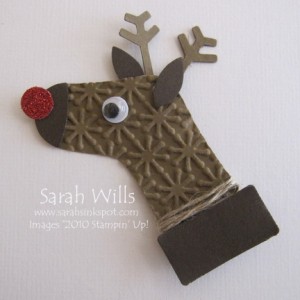
Wrap around some Linen Thread…
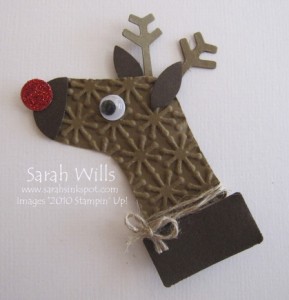
And finish with a cute bow…
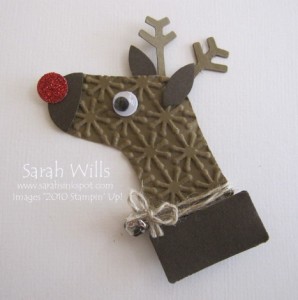
Or a bow and Jingle Bell…
Or a Button…
And use him to embellish your treats…such as those Magic Reindeer Tubes…
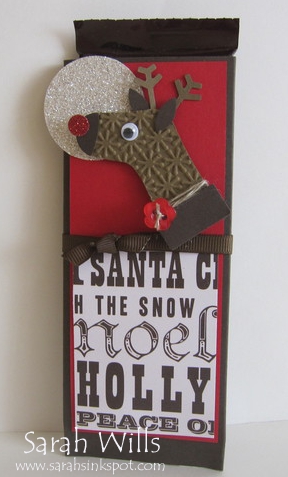
Or a Ch0colate Bar Wrapper…perfect for the grown-ups…
The chocolate simply slides out of the top – isn’t it cute?
I have a tutorial for the Chocolate Bar Wrapper that you can find by clicking HERE
I made it using Early Espresso & Real Red cardstocks, paper from Letters to Santa DSP and Early Espresso Grosgrain Ribbon – and of course that gorgeous Reindeer at the top.
Or add him to a Cellophane Tube with a red Twizzler inside…or fill it with M&Ms, Jelly Beans, a Pencil…there are SO many ways to use him…
WANT TO PRINT OUT THIS TUTORIAL? PLEASE CLICK HERE FOR A PRINTABLE VERSION WHICH WILL OPEN IN A NEW BROWSER WINDOW
Please click HERE to view my other Project Tutorials
