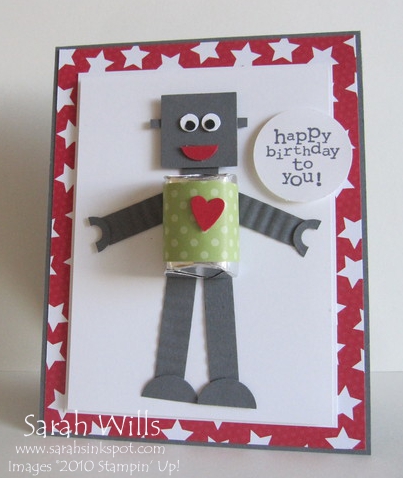
This Robot is just darling and he is made by using various paper Punches and simply cutting cardstock into strips…
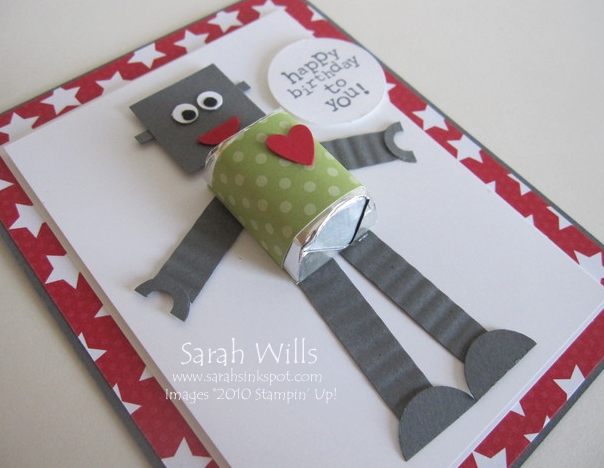
I think he makes an adorable card for a child – his belly is a Hershey Nugget that is disguised in patterned paper – and the recipient can even take the chocolate Nugget off to eat it and the card will not be spoiled…
Here is my tutorial so that you can make your very own Punch Art Robot – at the end of this tutorial you will find a printable version too so that you can print it out and keep it for reference.
To get a closer view of the photos below, click on them – this will enlarge each for easier viewing.
Firstly you need to gather a few supplies:
1 x piece of cardstock for your base sized 3 3/4″ x 5″
1 x Hershey Nugget
1 x strip of patterned paper sized 1″ x 3 1/4″
1 x strip of patterned paper sized 1 1/4″ x 3/4″
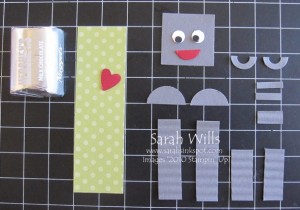
And punch out shapes for your robot:
1 x Basic Gray head – 1″ x 1″
2 x eyes – use small circle punches to make them
2 x Real Red hearts – I used the Heart-to-Heart Punch to make mine
2 x Basic Gray feet – 3/4″ gray circle cut in half
2 x Basic Gray legs – 2 strips of gray cardstock 1 1/2″ x 3/8″
2 x Basic Gray arms – 2 strips of gray cardstock 1″ x 3/8″
2 x Basic Gray hands – use a 1/4″ circle punch and then punch over it using a 1/2″ circle punch
3 Basic Gray strips – for the neck and bolts on the head
And this is what you will have…
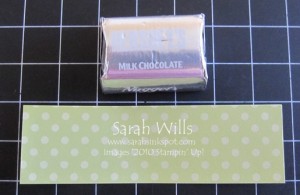
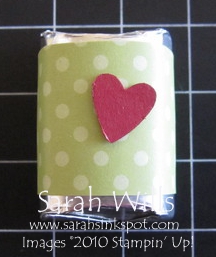
Take your Nugget and strip of Designer Series Paper…apply adhesive to the back of your paper and wrap around the nugget…
Add your heart and that is your Nugget dressed…I use Mini Glue Dots to adhere small punched out pieces like this heart – quick and easy…
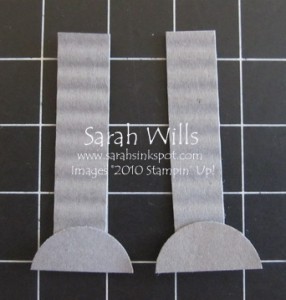
Take the leg parts and the feet parts and adhere those feet on top of the legs…
Notice the texture on my legs? You can leave them plain or you can do what I did and put them through a Paper Crimper – it is easiest to crimp a larger sheet of cardstock and then cut it up into the sizes that you need…
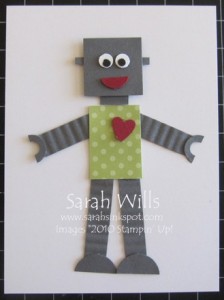
Adhere the legs to the base and then assemble the rest of your robot onto it, working your way up.
I attached the head using Dimensionals and the rest of his body using Mini Glue Dots.
So that the chocolate can be removed and eaten without damaging the card this is what I do…
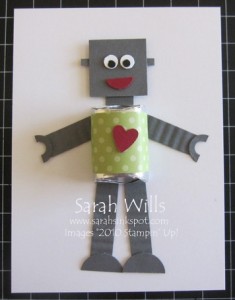
I simply take the piece of patterned paper that is a little smaller than the size of a Nugget – 1 1/4″ x 3/4″ – and attach it to where the belly of the robot is, adding a heart on to it…so my robot looks like this…
I then attach my Nugget onto this piece of patterned paper using removable tape – that way the chocolate can be removed without damaging the robot beneath and the card still looks cute even without it’s nugget…
You can then attach your robot to the card base…
My card base is Basic Gray onto which I layered a piece of bright and fun patterned paper from Big Top Birthday DSP (pg 186)…
I then matted my white robot layer onto another piece of white cardstock a little larger to give a framed look. My ‘happy birthday’ sentiment is from the set Up, Up & Away which punched out using my 1″ Circle Punch and added to my card using Dimensionals…
And there is one very cute card perfect for those small people in your life…
WANT TO PRINT OUT THIS TUTORIAL? PLEASE CLICK HERE FOR A PRINTABLE VERSION WHICH WILL OPEN IN A NEW BROWSER WINDOW
Please click HERE to view my other Project Tutorials
